Fable LOFTY Sunburst Cardigan
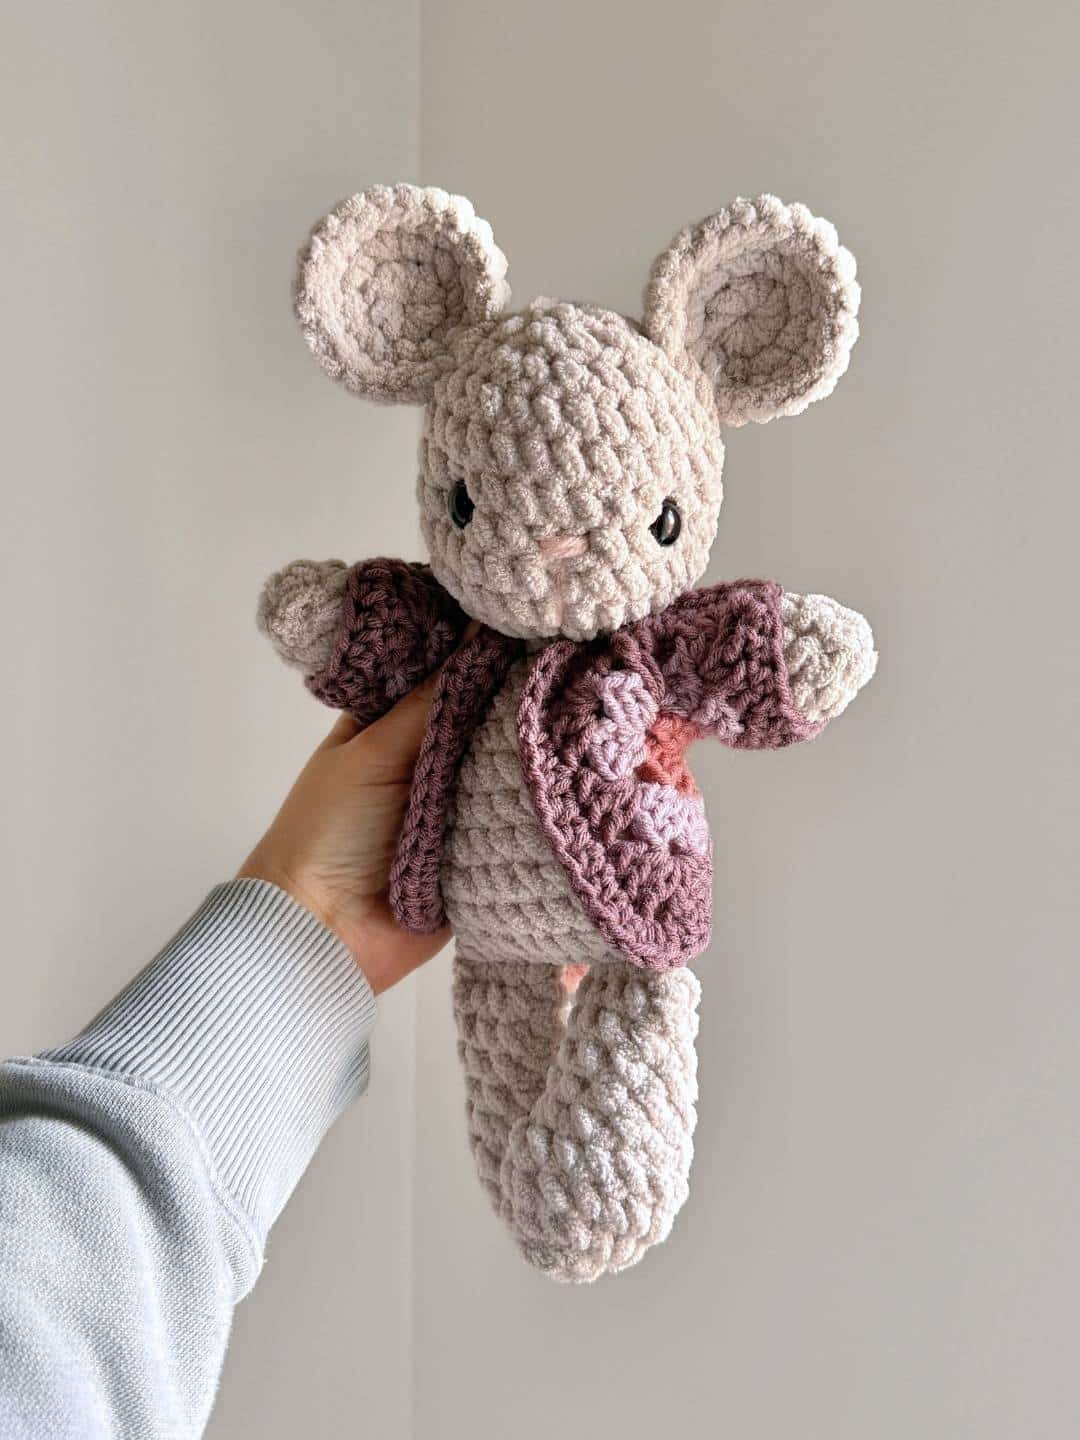
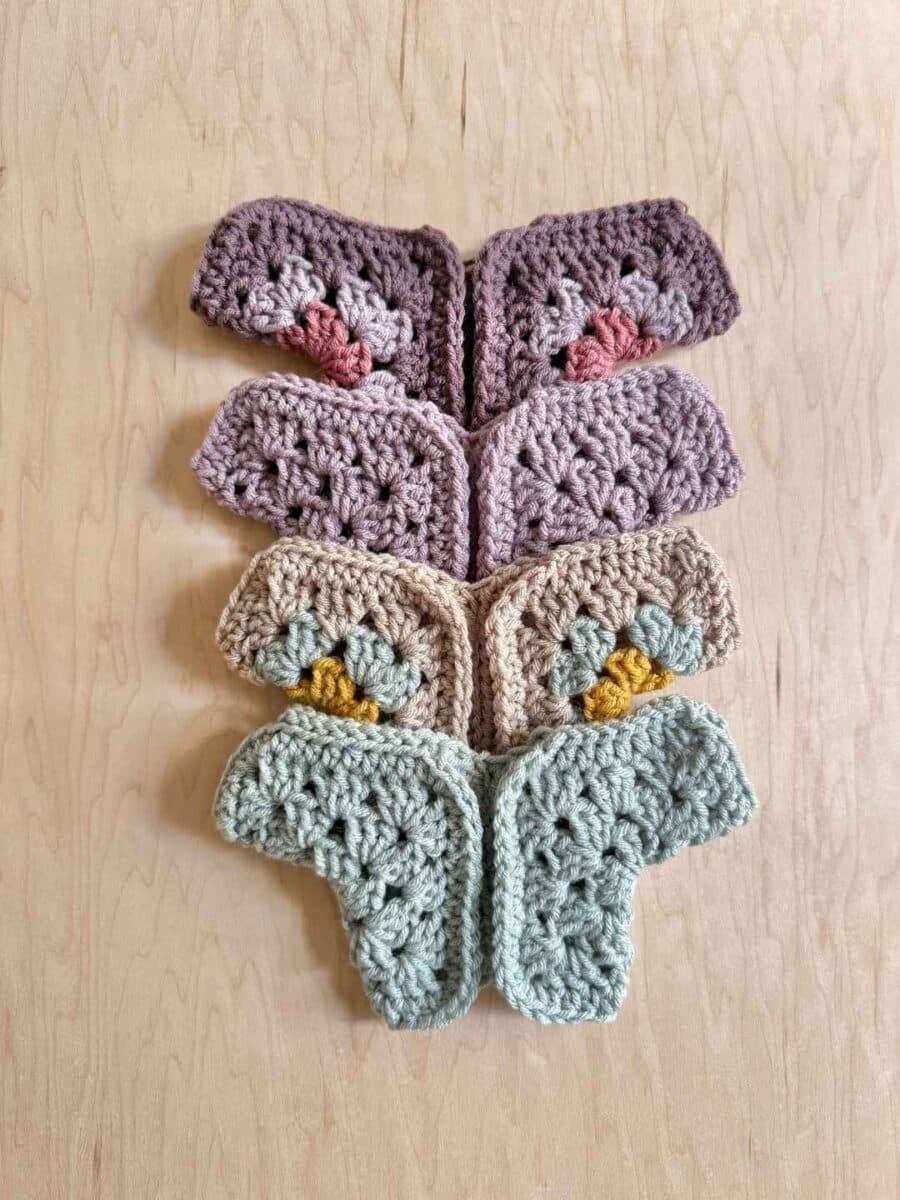
The leaves are falling, the air is crisp, and your Fable LOFTY animals are ready to get cozy! This post includes a FREE crochet pattern for the sweetest LOFTY-sized Fable Collection cardigan. These tiny sweaters are quick to make, and add a layer of color and texture to your LOFTY Fable friends!
The Sunburst Cardigan is shown here on the LOFTY Brie Mouse Crochet Pattern.
If you prefer the ad-free PDF version, you can pick up a copy of the Fable LOFTY Sunburst Cardigan in my shop or on Etsy.
ABOUT HEXAGON CARDIGANS
Hexagon cardigans are a popular style of crochet sweater construction that can be adapted to fit any size – from adults and kids to babies and dolls! The cardigan is made by crocheting two hexagons, folding them into an “L” shape to create the body and sleeves, then joining them together. The finished size can be changed by adjusting the number or rounds.
This sweater was also designed in a similar style to the LOFTY Sunburst Pixie Hat – also available for free on my blog. I love how both of these patterns provide an opportunity to play with color combinations on a smaller scale. Because if you’re like me, crocheting a full-sized sweater takes a level of commitment that I haven’t yet achieved!
About the LOFTY Fable Patterns
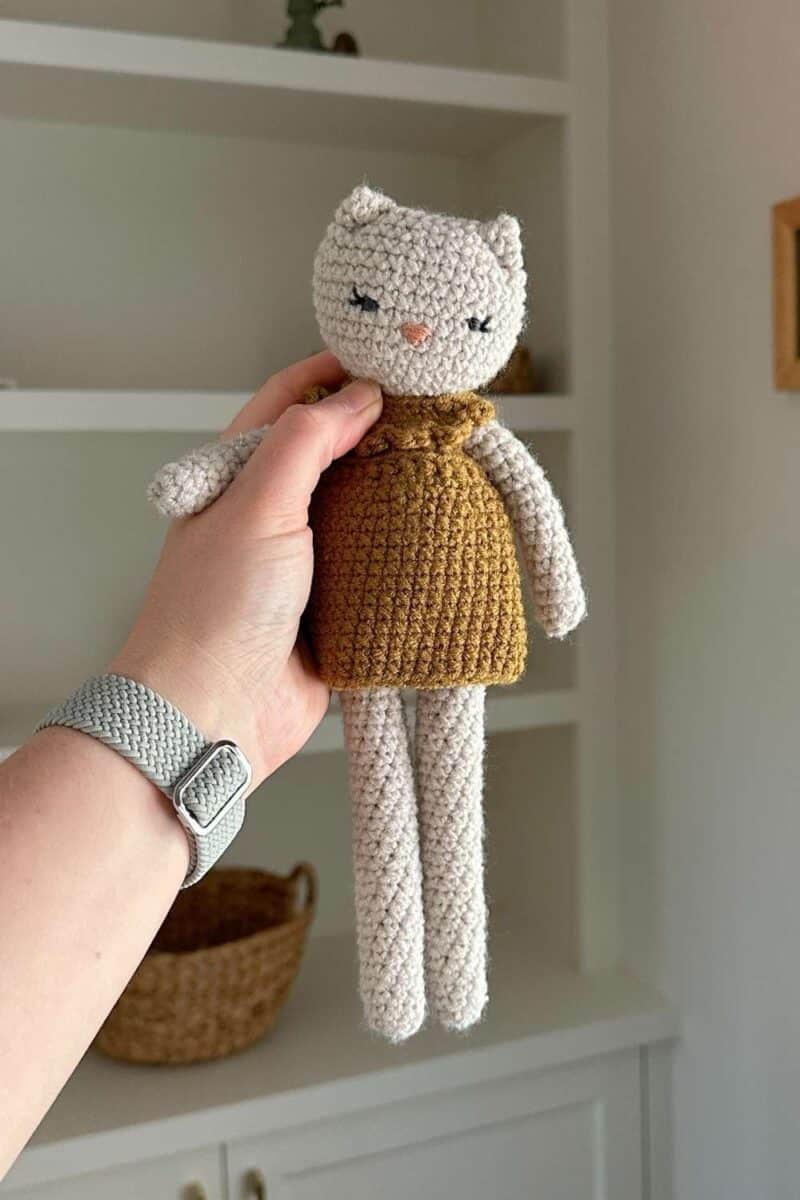
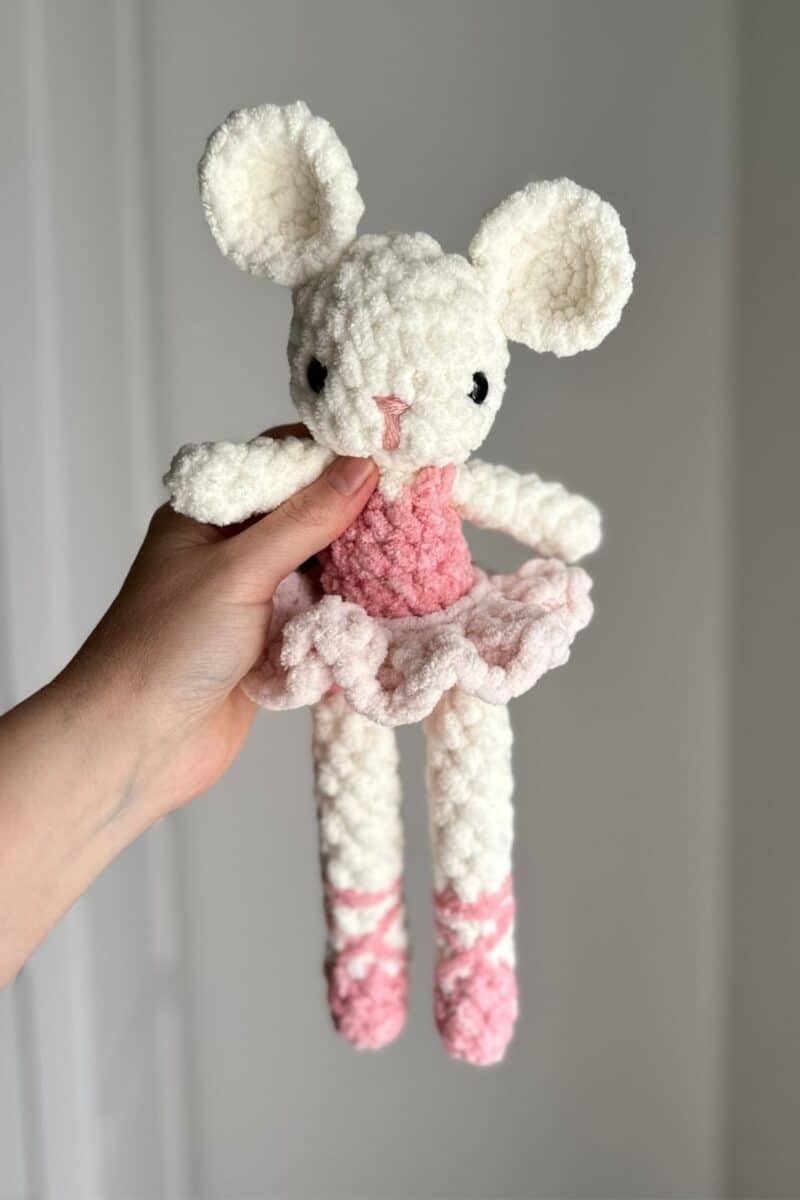
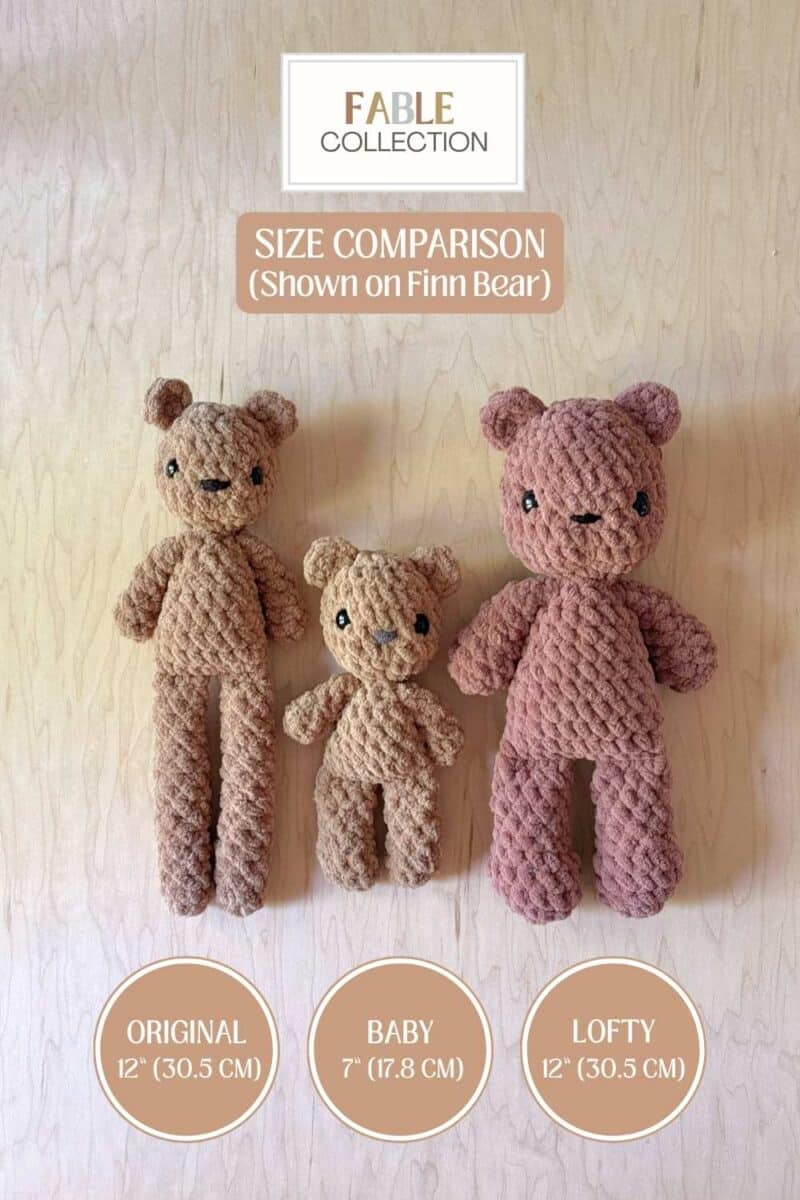
The LOFTY sized Fable Collection animals are the bigger and more huggable version of the series. The body shape has evolved since my very first design. It all started with the original worsted-weight Jolene Kitty and Beth Bunny, then moved to a blanket yarn version (both with the doll-style longer legs).
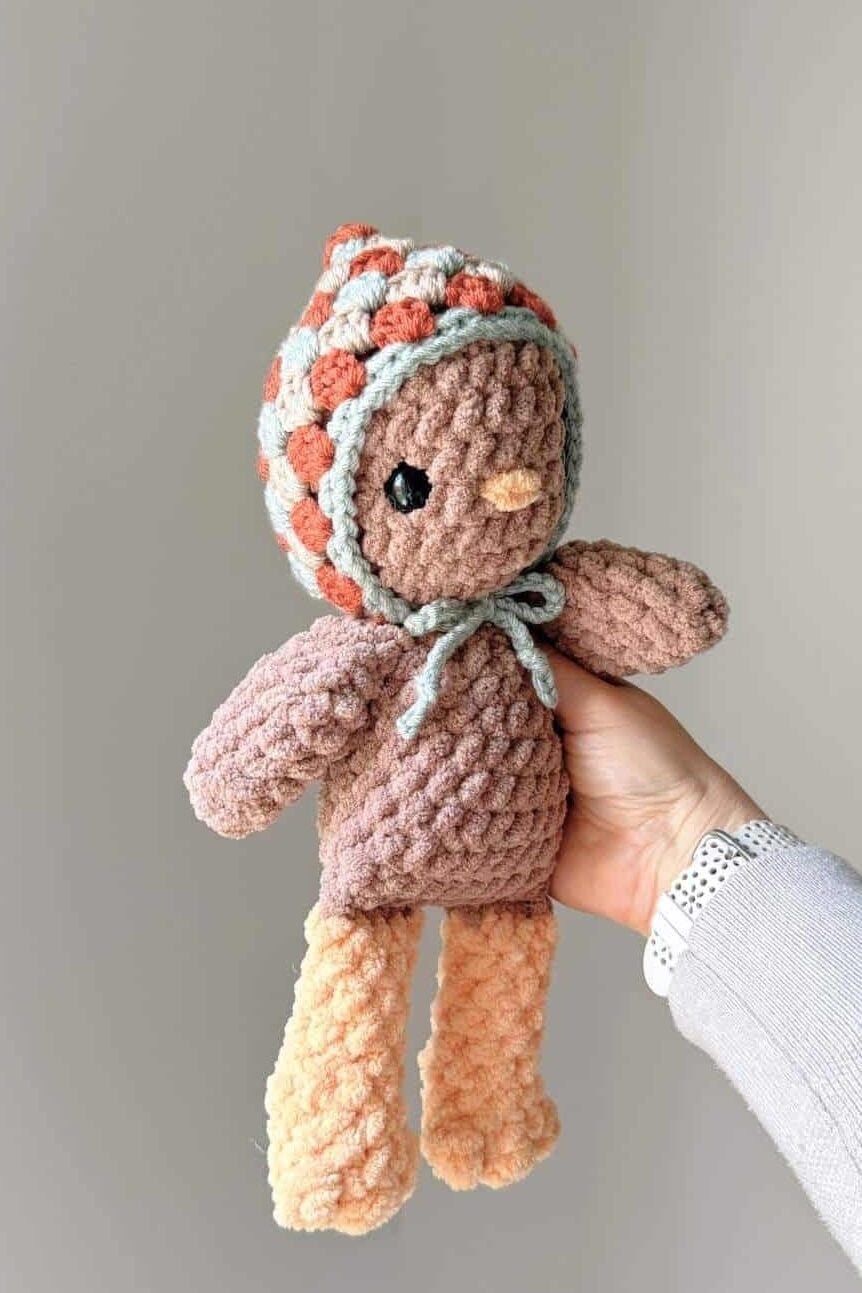
Shown here on the left, is the original worsted weight pattern (Jolene Kitty) and the blanket yarn version (Brie Mouse) on the right.
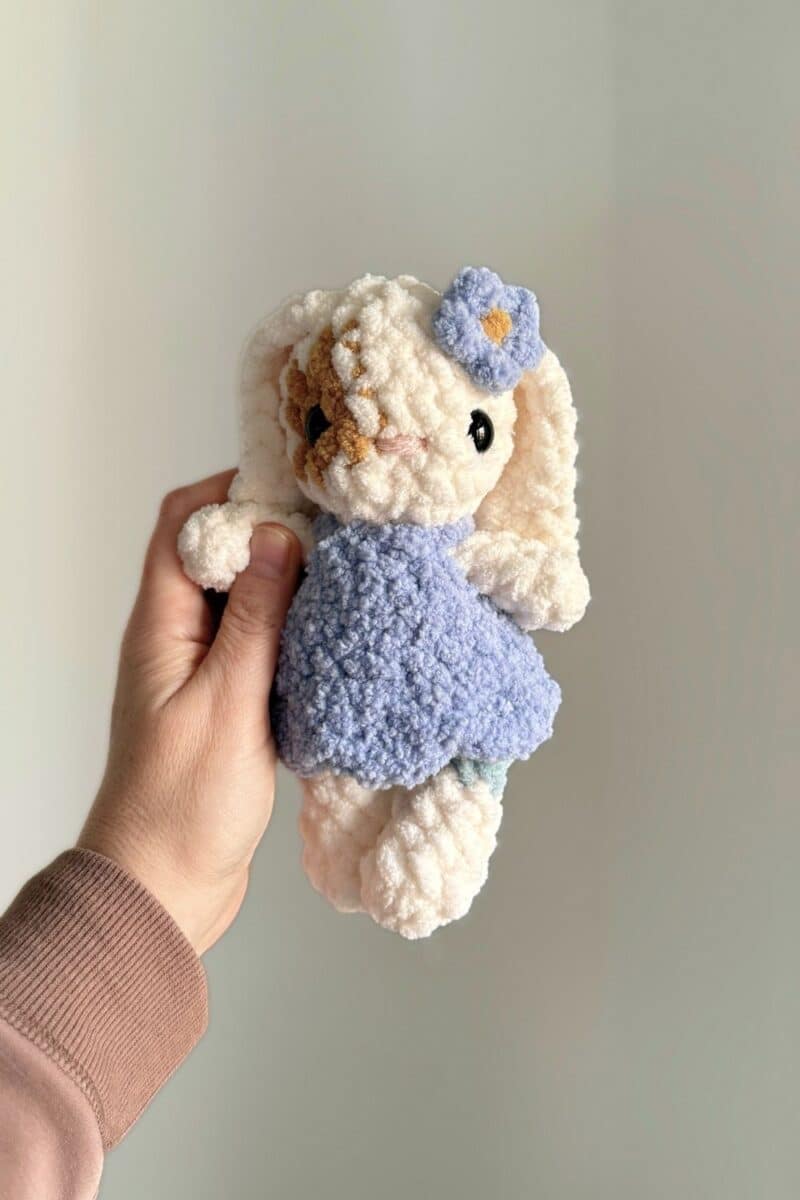
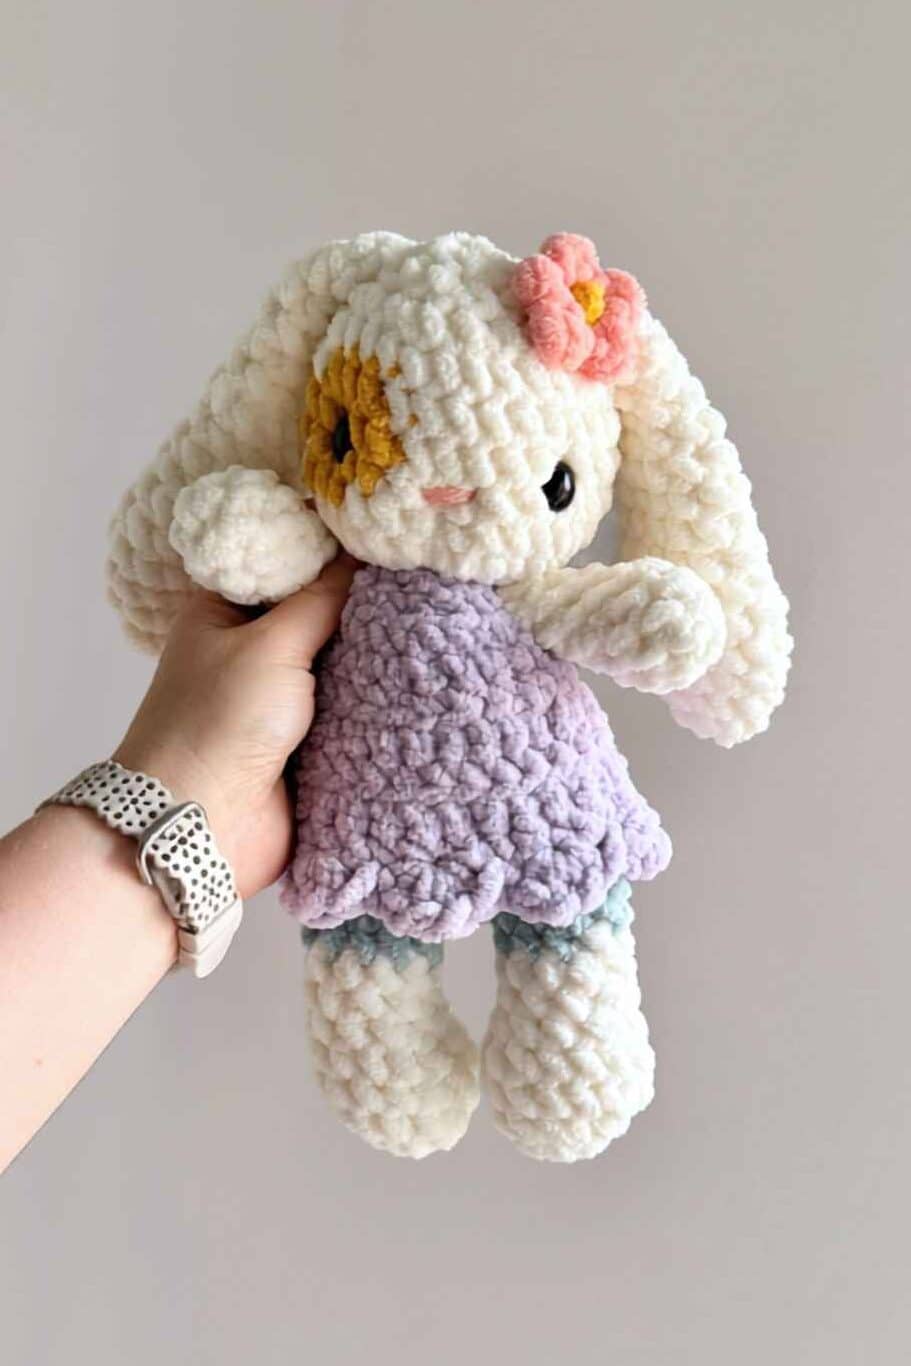
Next came the Fable Babies, which grew into the Fable Lofties, a larger version, based on the same leg style. Shown here – Fable Baby Prim Bunny on the left and the LOFTY Prim Bunny version on the right.
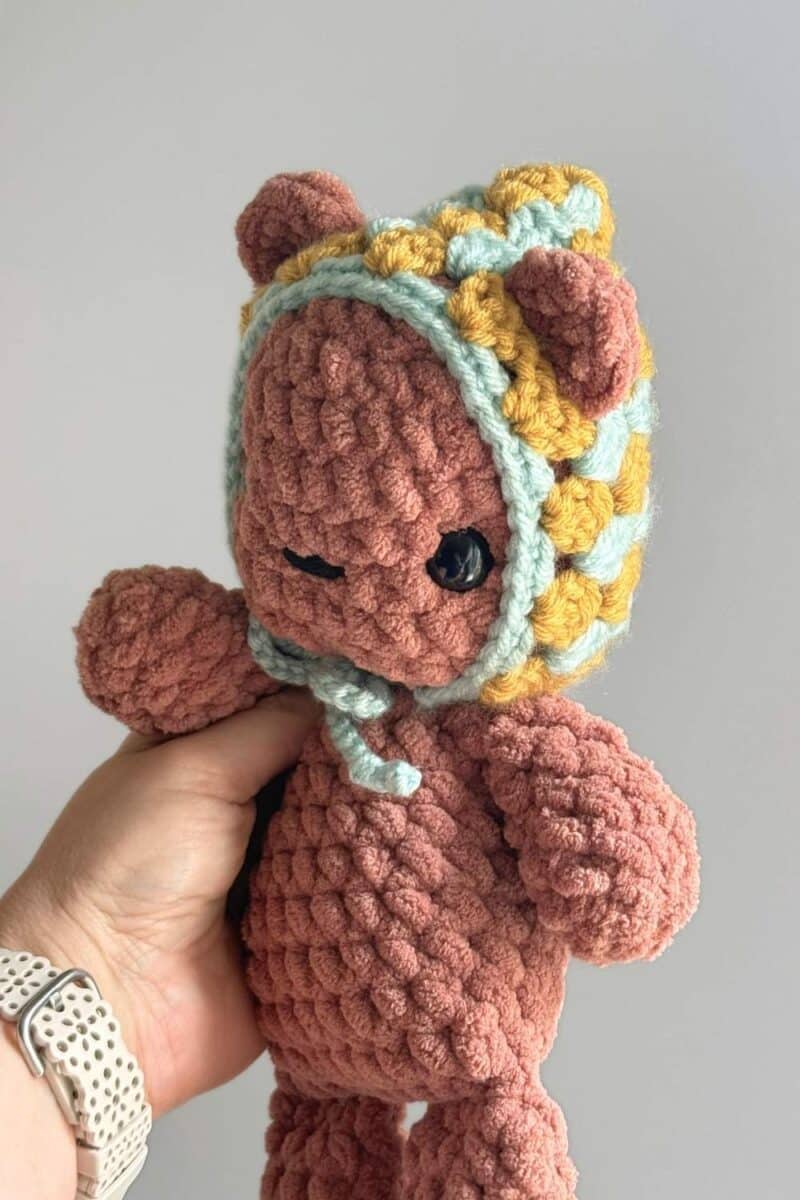
Here’s a photo showing all three of the blanket yarn versions for sizing comparison shown on the Finn Bear pattern.
Let’s jump in!
This post contains affiliate links for Etsy and Amazon. If you make a purchase by clicking on them, I make a small commission at no extra cost to you. Read my full affiliate disclosure HERE. Thanks for your support!
SUPPLIES:
- Yarn: worsted weight (size 4) in 1 to 3 colors. (Yarn used for these pattern photos -Yarn Bee Soft & Sleek in various colors)
- Hook: 5mm
- Yarn needle
- Scissors
NOTES:
- You can watch a full tutorial video HERE!
- This cardigan uses the classic construction of joining two folded hexigons and stitching them down the back.
- This pattern requires some very basic knowledge of crochet stitches.
- This pattern is worked in joined rounds.
- Initial chain stitches count as a stitch.
- It’s recommended to use YO/YO for this pattern.
- You can use a different weight of yarn for this pattern, adjusting to the appropriate hook size, however the size of the finished product will be different.
ABBREVIATIONS:
(US Crochet Terms)
ch – chain
dc – double crochet
FO – fasten off
hdc – half double crochet
mc – magic ring
sl st – slip stitch
sp(s) – space(s)
st(s) – stitch(es)
YO – yarn over
YU – yarn under
SPECIAL STITCHES:
3 dc cluster
A cluster of 3 double crochet stitches worked into the same space.
INSTRUCTIONS:
CHANGING COLORS
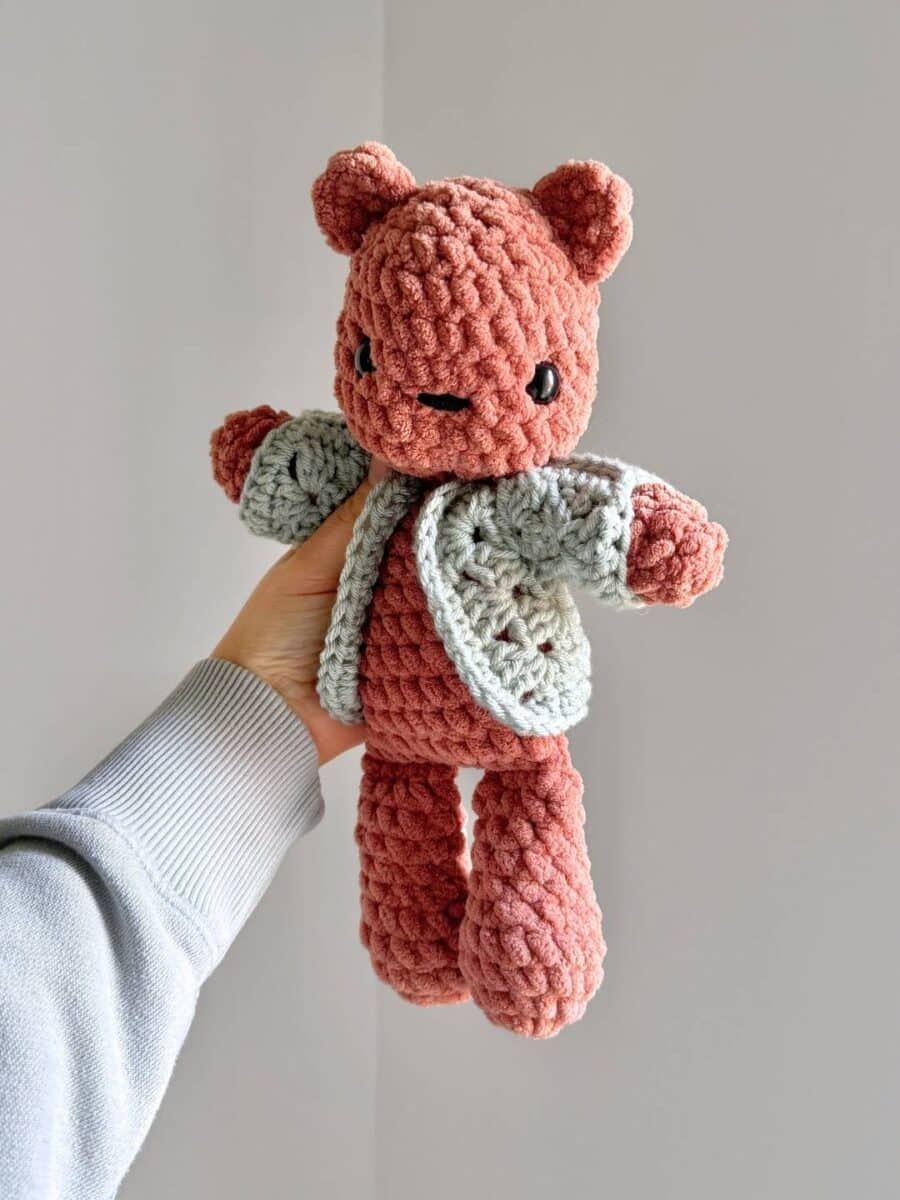
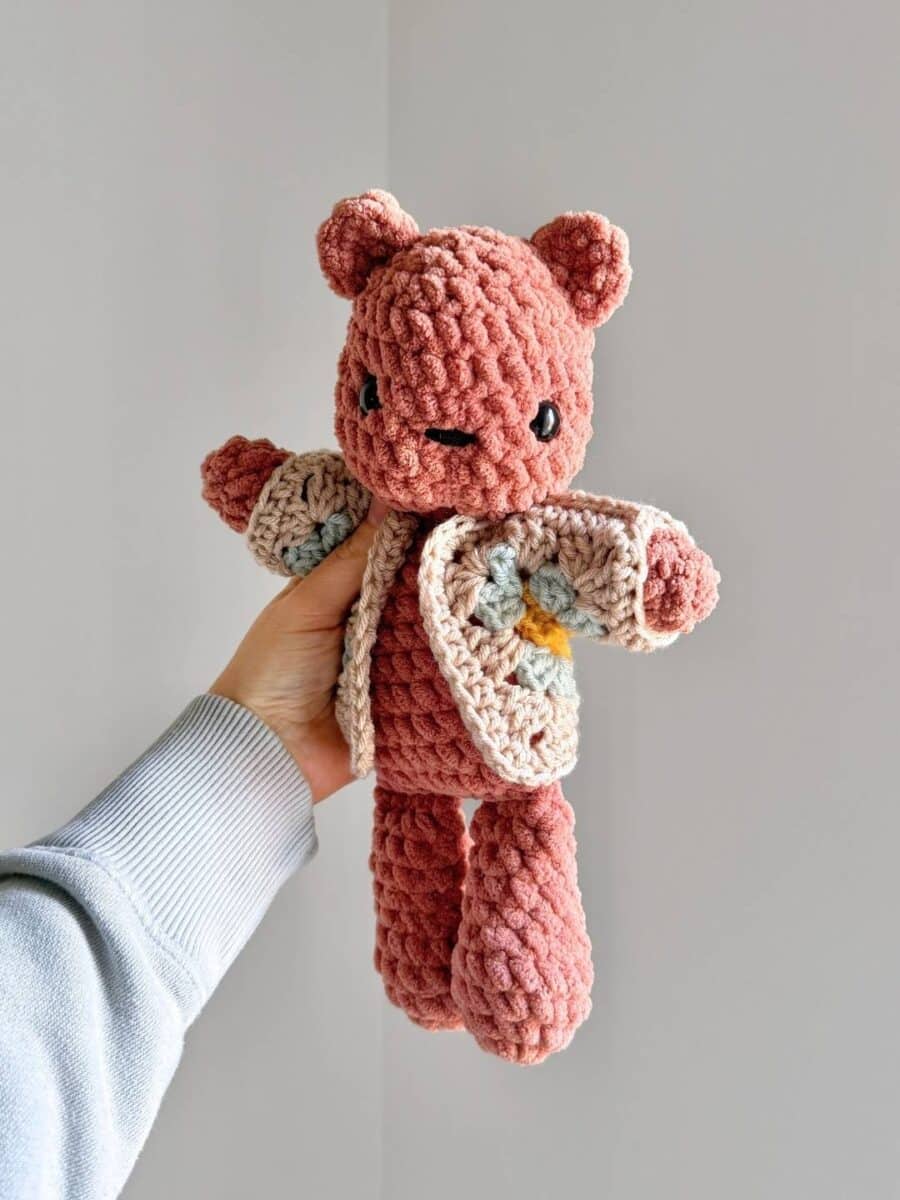
The cardigan can be made in a solid color or with multiple colors between rounds. A different method will be used to transition between each round depending on your choice.
You can see one of each shown here on LOFTY Finn Bear!
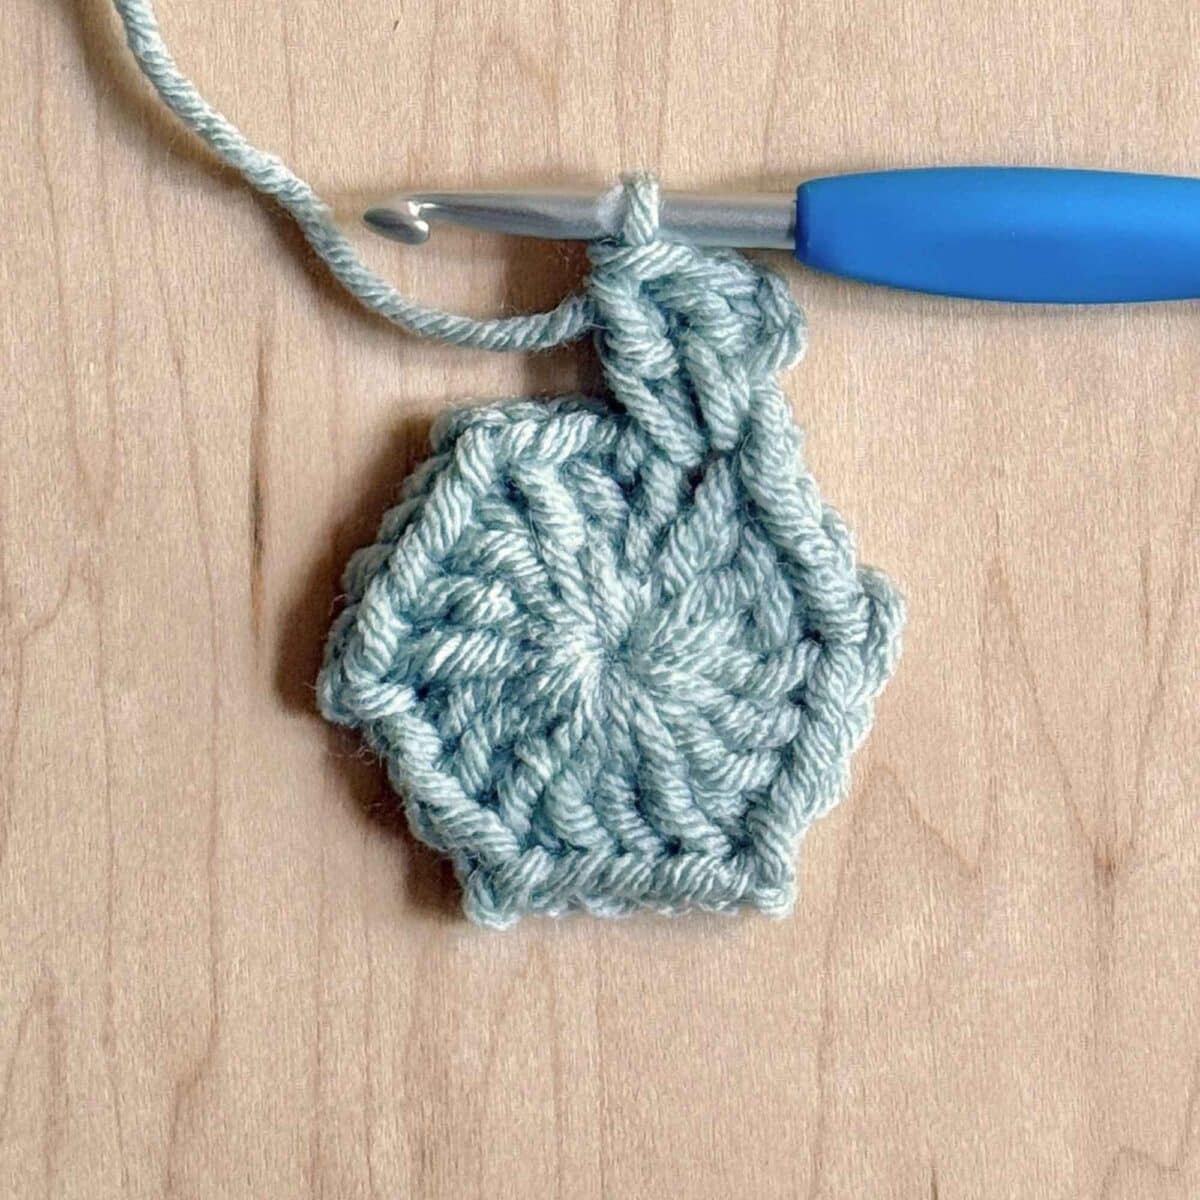
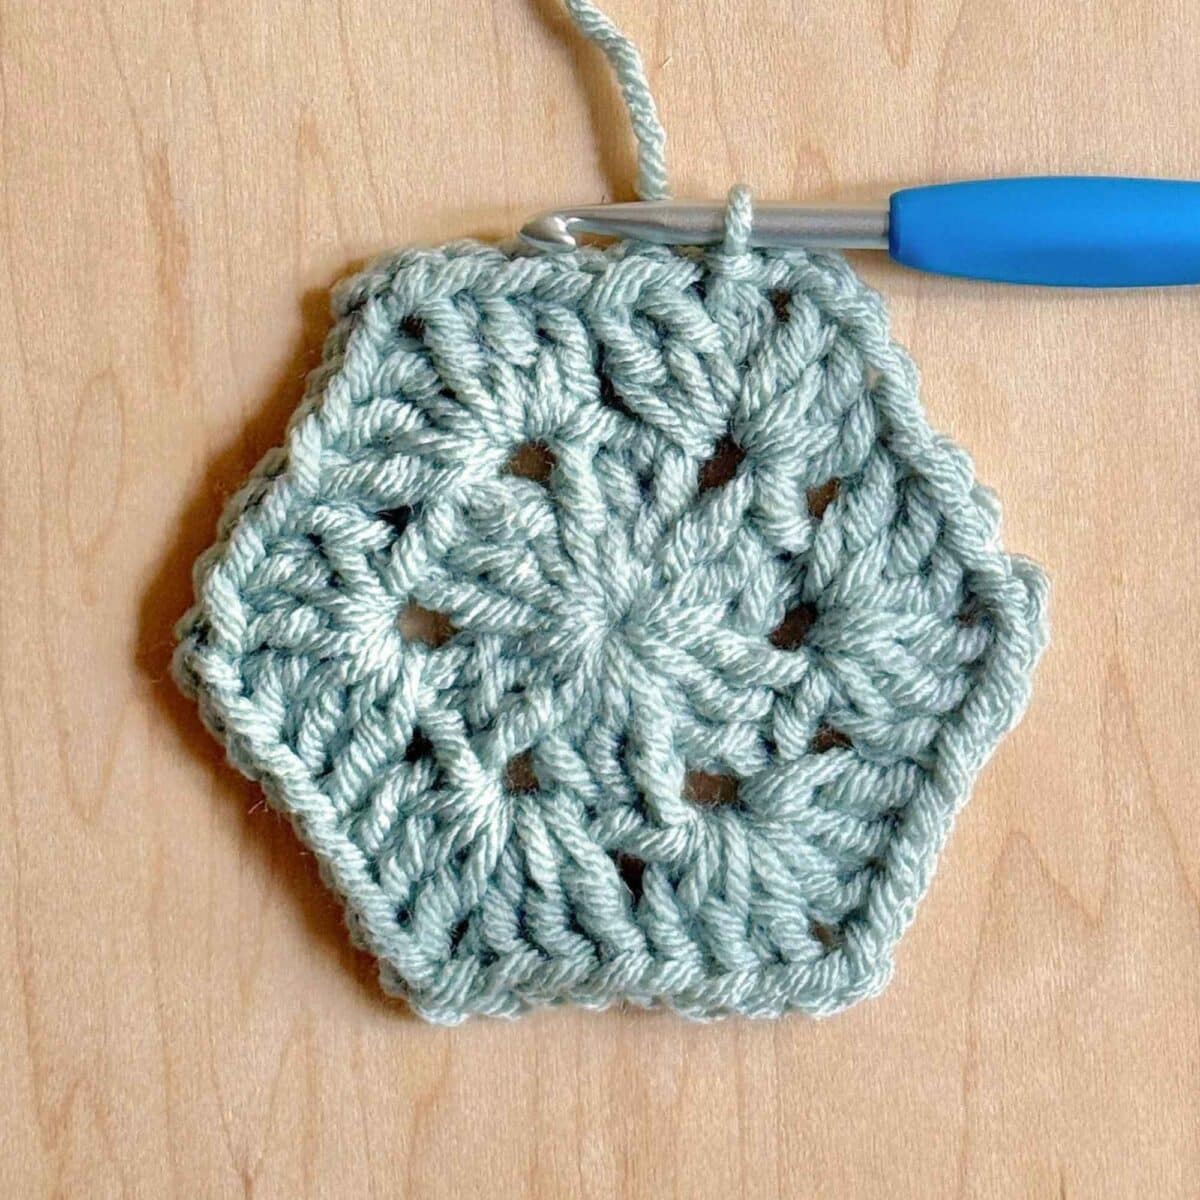
SOLID COLOR
1: Once the final (dc cluster, ch 2) is completed from the previous round, sl st into 1st ch 3.
2: Ch 3 to begin the 1st corner cluster of the next round.
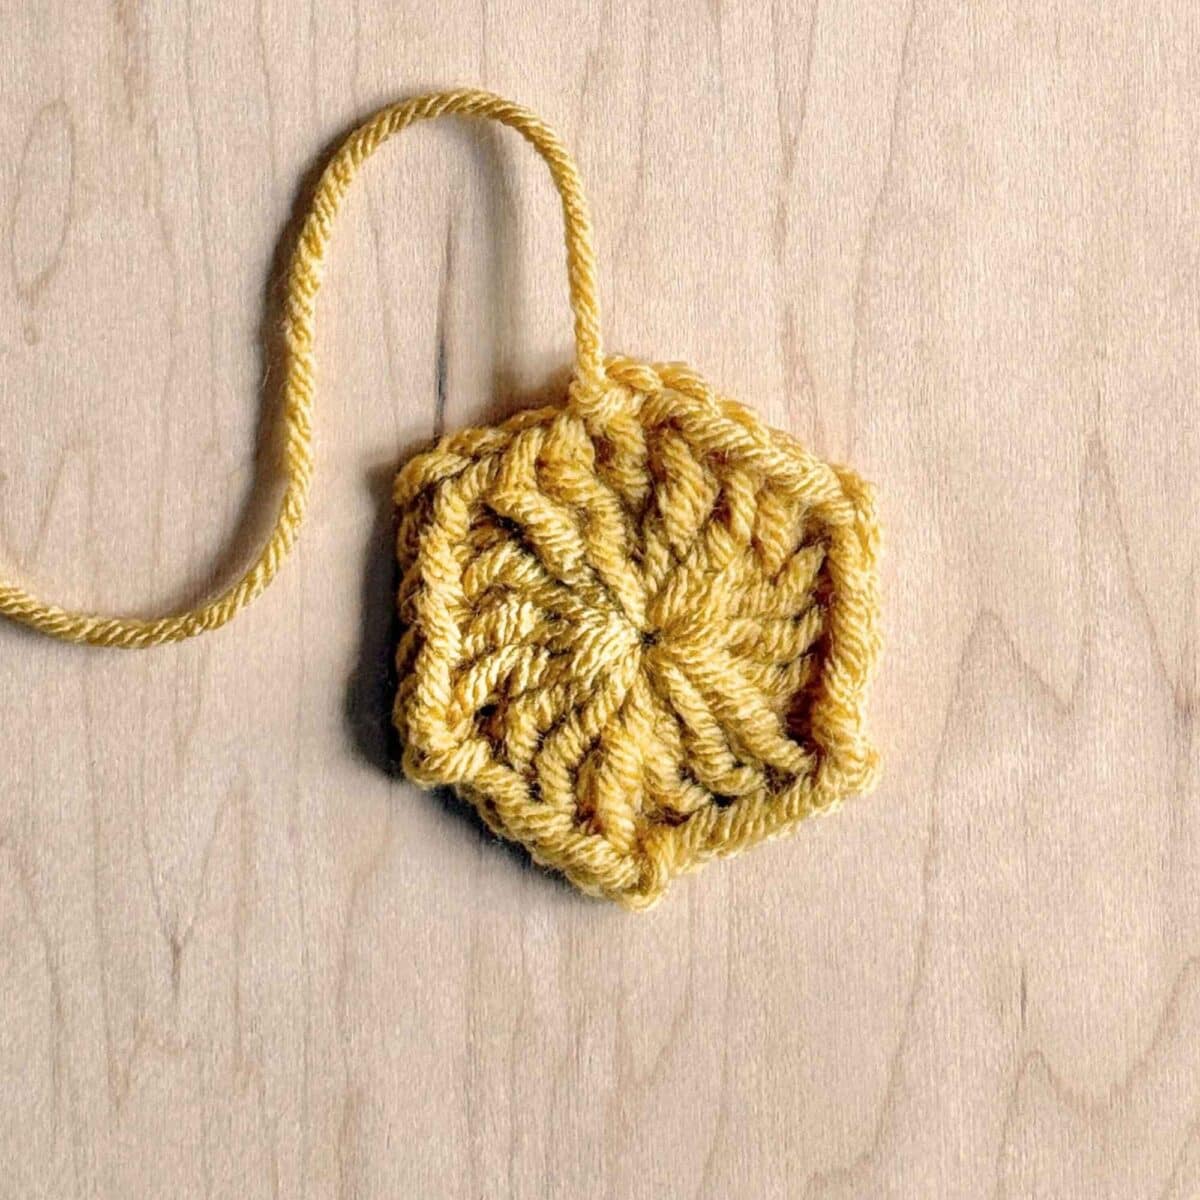
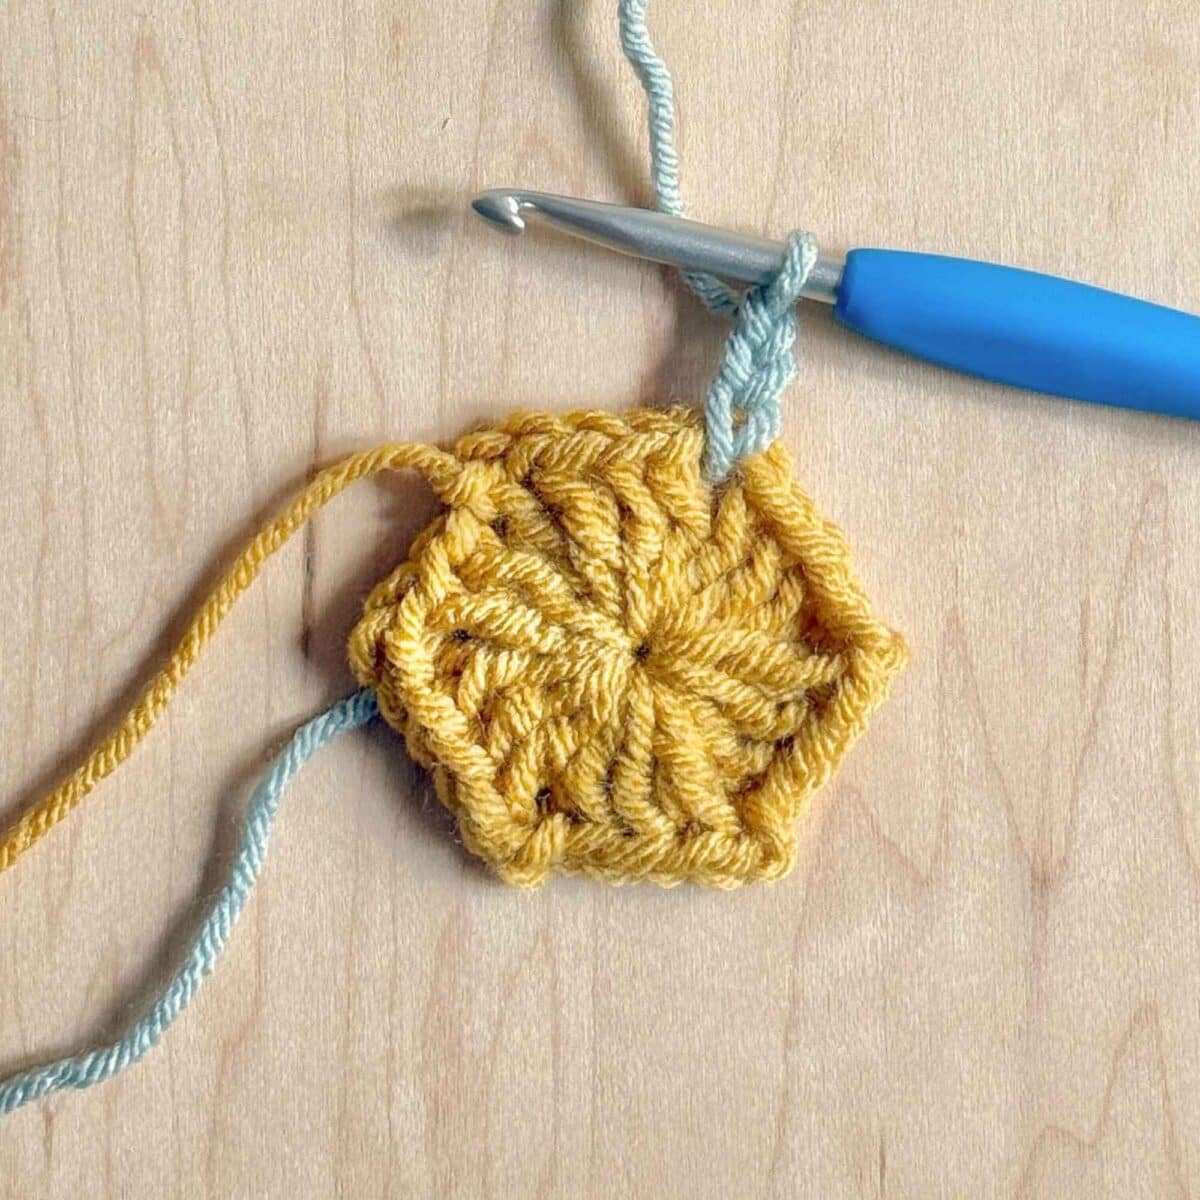
MULTIPLE COLORS
1: Once the final (dc cluster, ch 2) is completed from the previous round, sl st into 1st ch 3 and FO leaving a short tail.
2: Join color B in any ch 2 sp from the previous round, ch 3 to begin the 1st corner cluster of the next round.
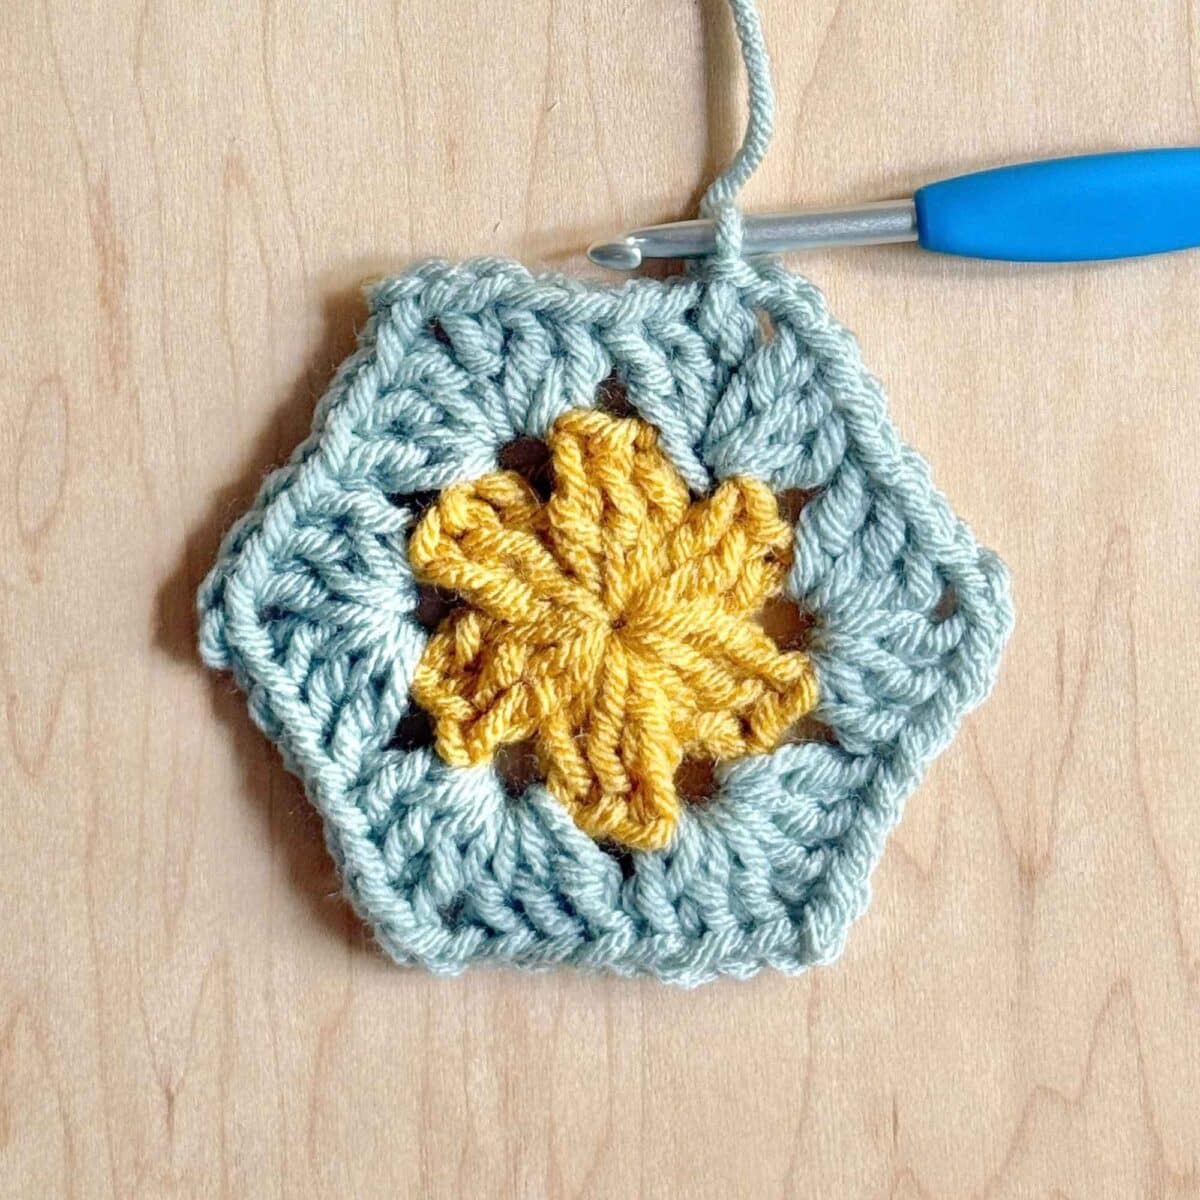
BEFORE STARTING
- Use a 5mm hook and YO/YO method.
- Each 3 dc worked into the same ch space is referred to as a 3 dc cluster.
- These instructions are for a solid color cardigan. Refer to Changing Colors section if using different colors between rounds.
FIRST HEXAGON
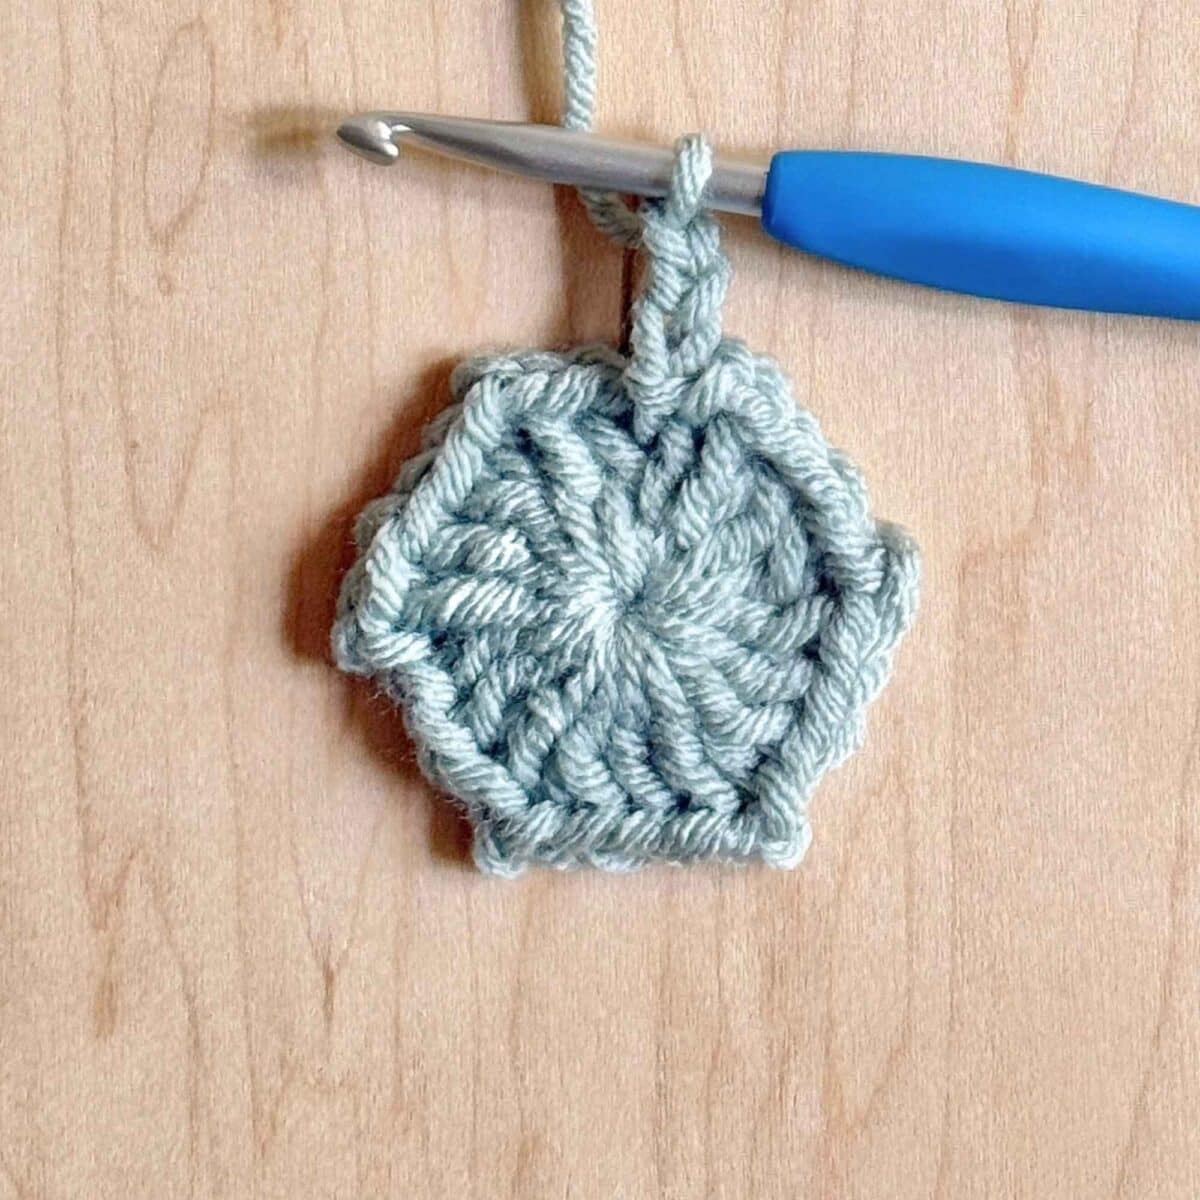
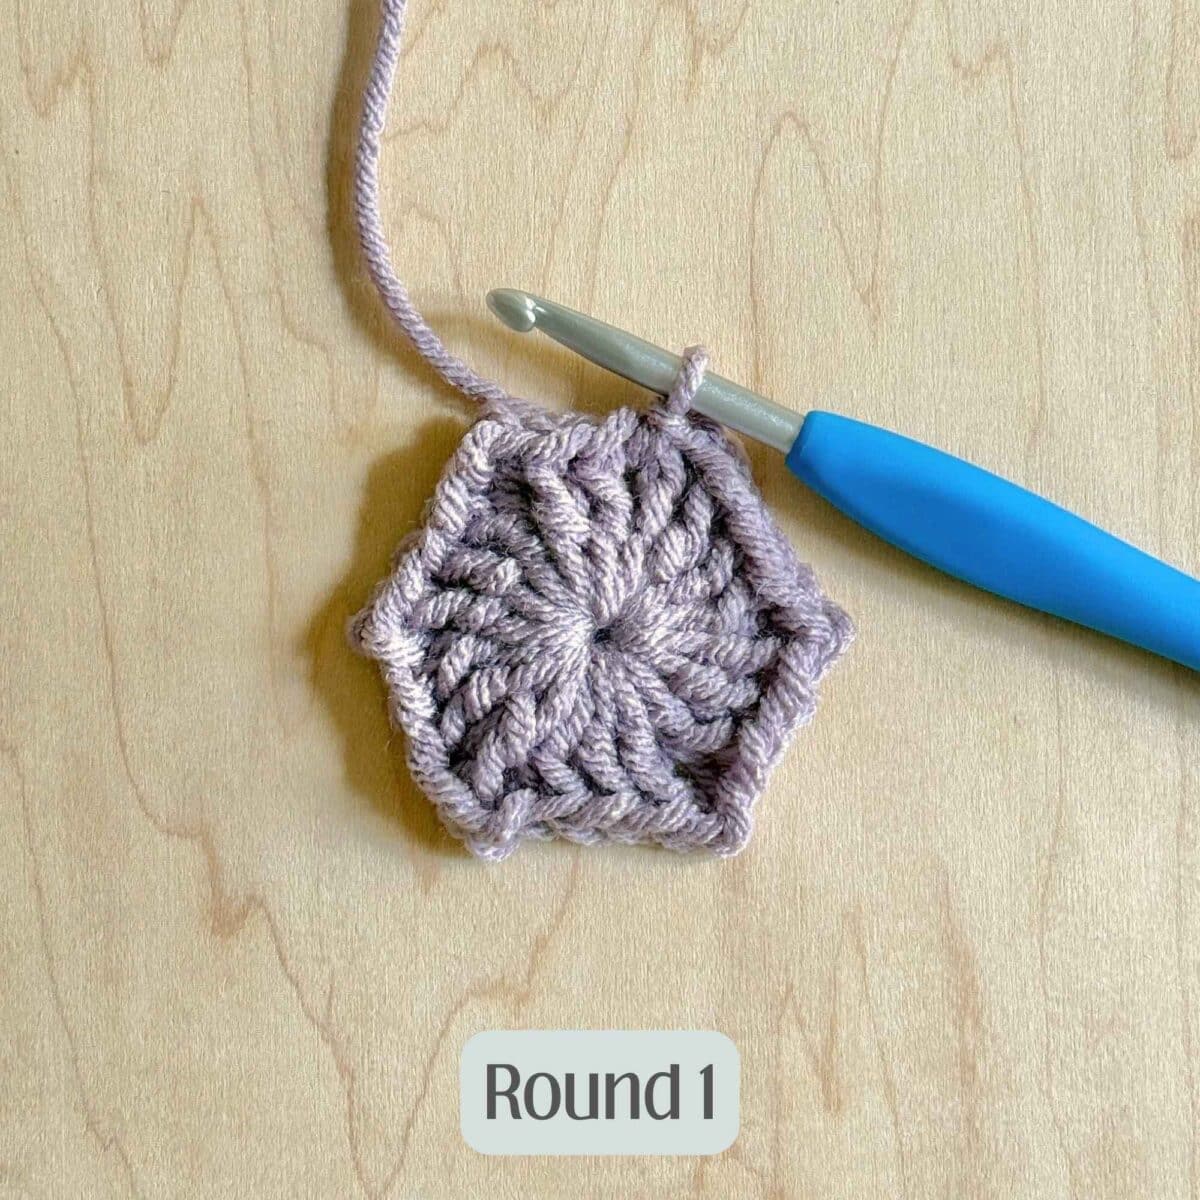
Round 1: Into a mc, ch 3, 2 dc, ch 2, (3 dc, ch 2) x 5, sl st into 1st ch 3. (6 clusters)
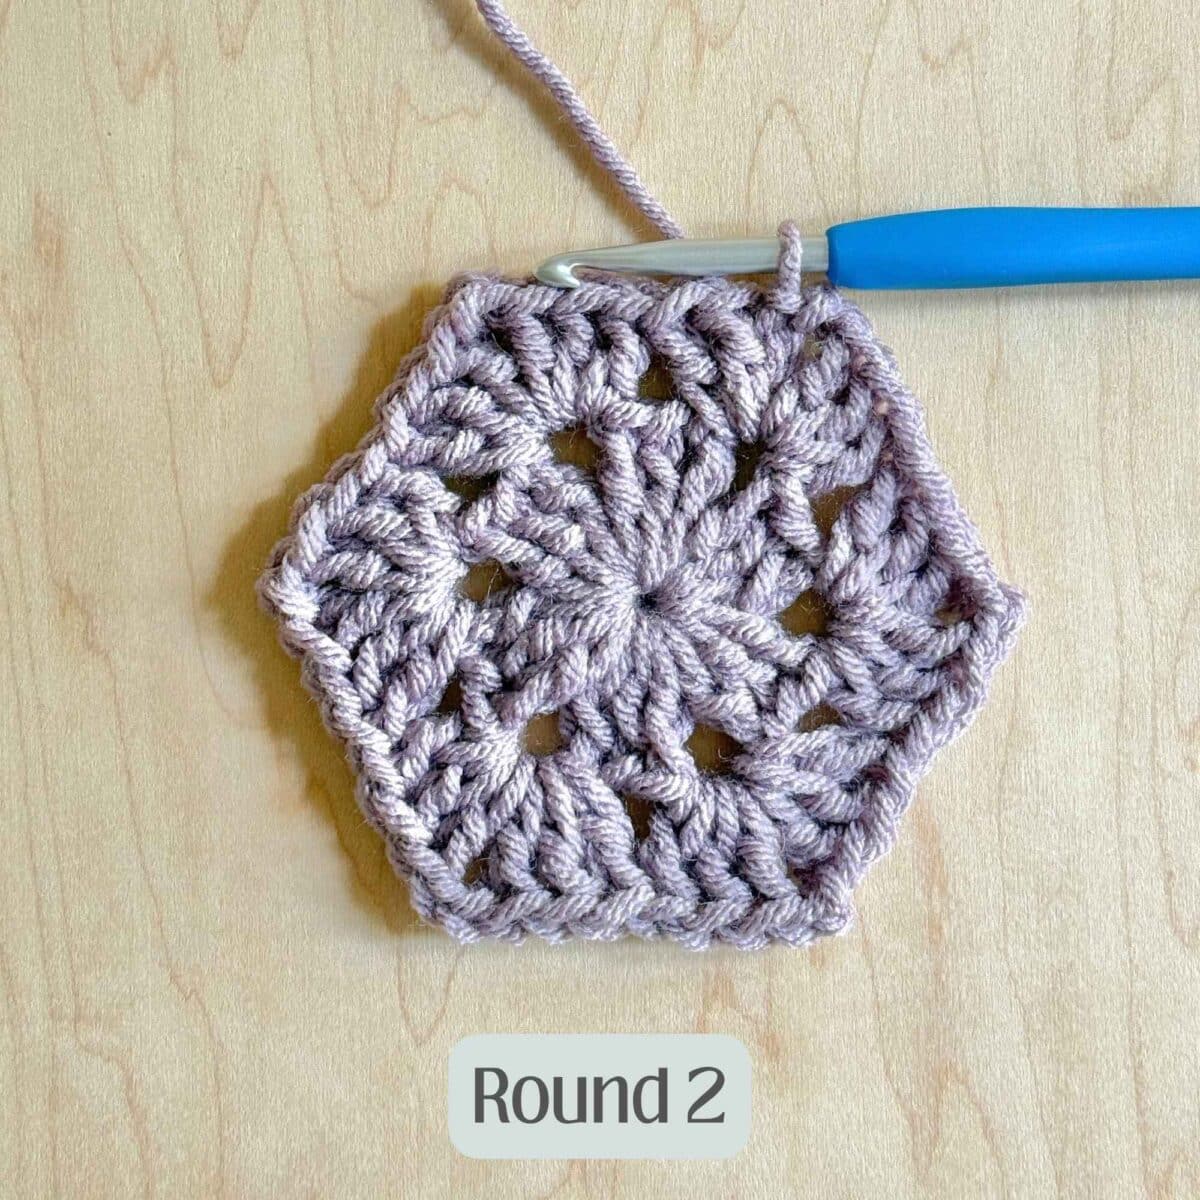
Round 2: Ch 3, 2 dc into last ch 2 sp of round 1. *Into next ch 2 sp, (3 dc, ch 2, 3 dc), repeat from * 4 more times. Work 3 dc into the ch 2 sp (next to the 1st 3 dc cluster), ch 2, sl st into 1st ch 3. (12 clusters)
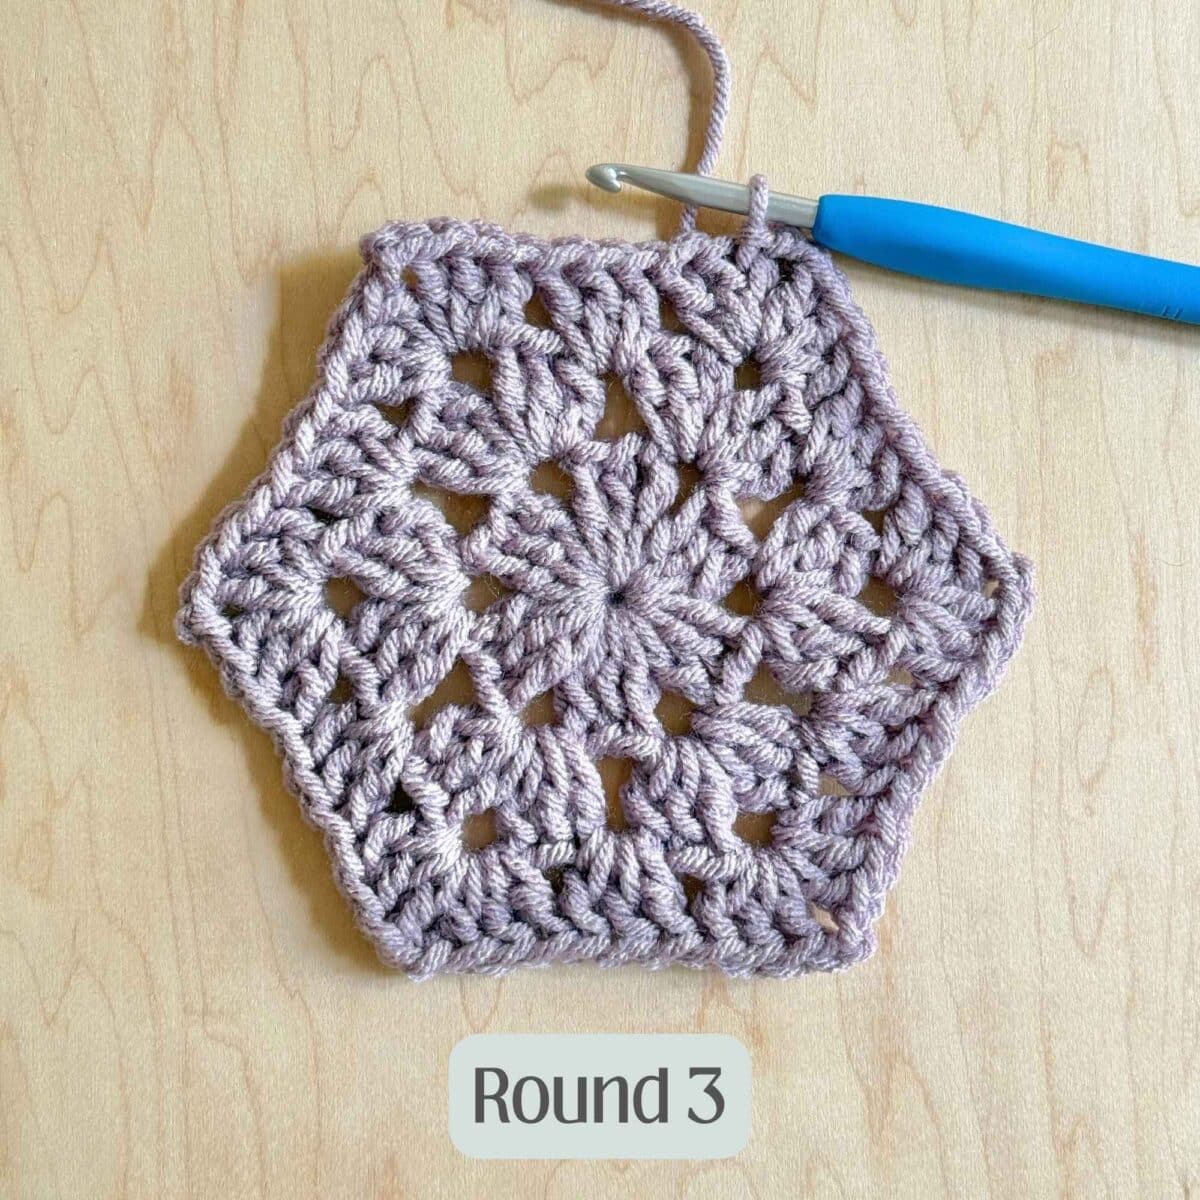
Round 3: Ch 3, 2 dc into last ch 2 sp of round 2. *Into next sp, 3 dc, then into the following ch 2 sp, (3 dc, ch 2, 3 dc), repeat from * 4 more times. Work 3 dc into the next sp, then 3 dc into the ch 2 sp (next to the 1st 3 dc cluster), ch 2, sl st into 1st ch 3. (18 clusters)
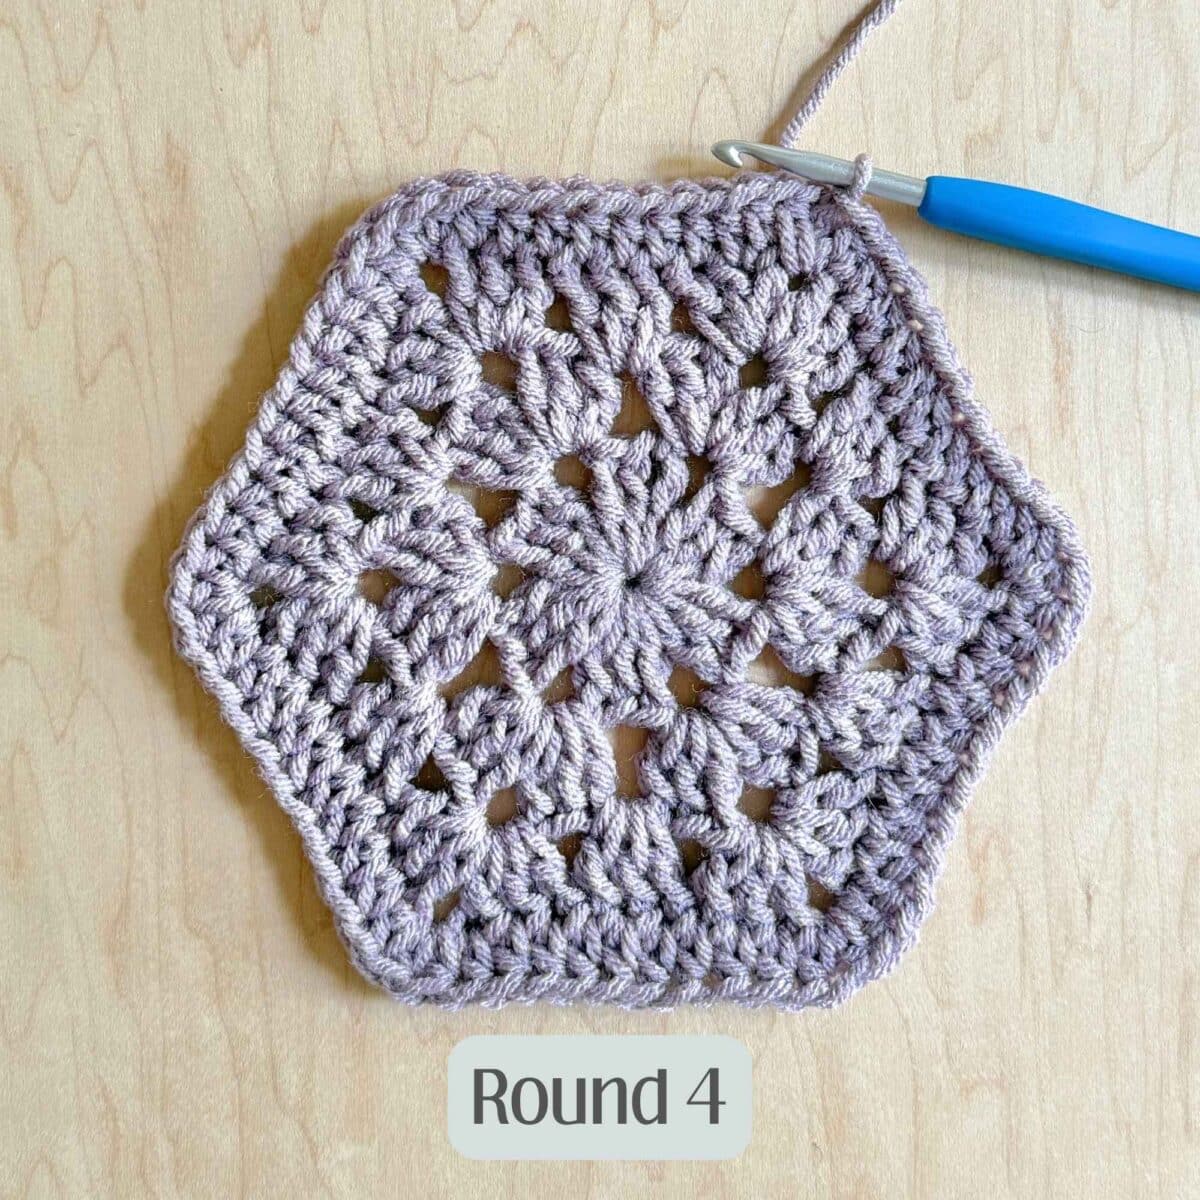
Round 4: Ch 2, 1 hdc into last ch 2 sp of round 3. Work hdc sts into each st around, adding 2 hdc into each ch 2 corner sp. Sl st into 1st ch 2.
Weave in any ends before next step, but do not FO working yarn.
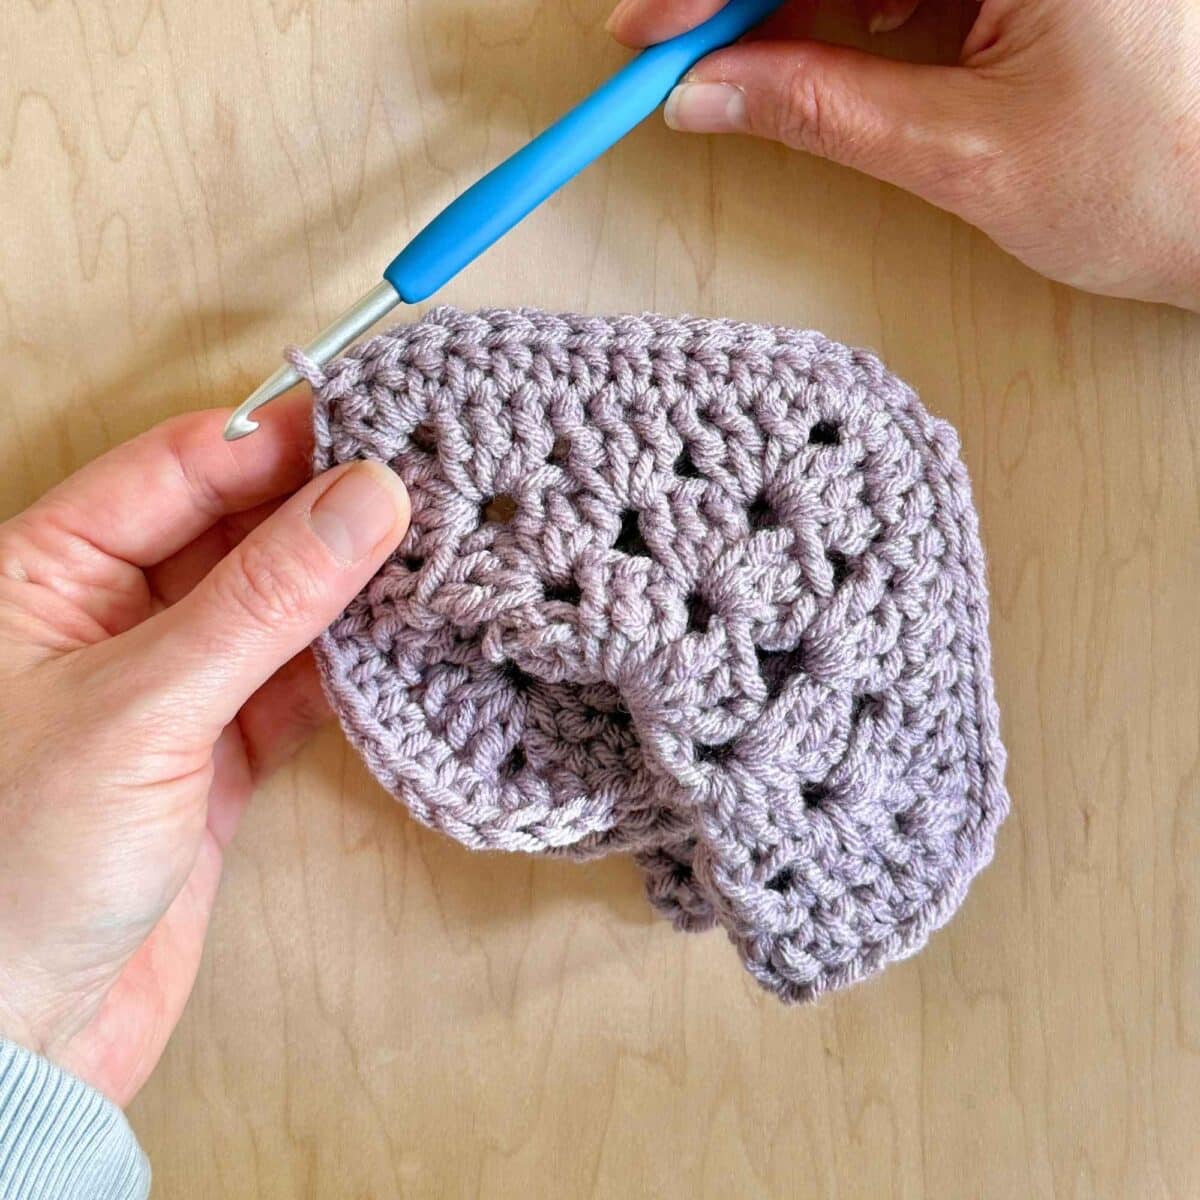
CLOSING THE FIRST HEXAGON
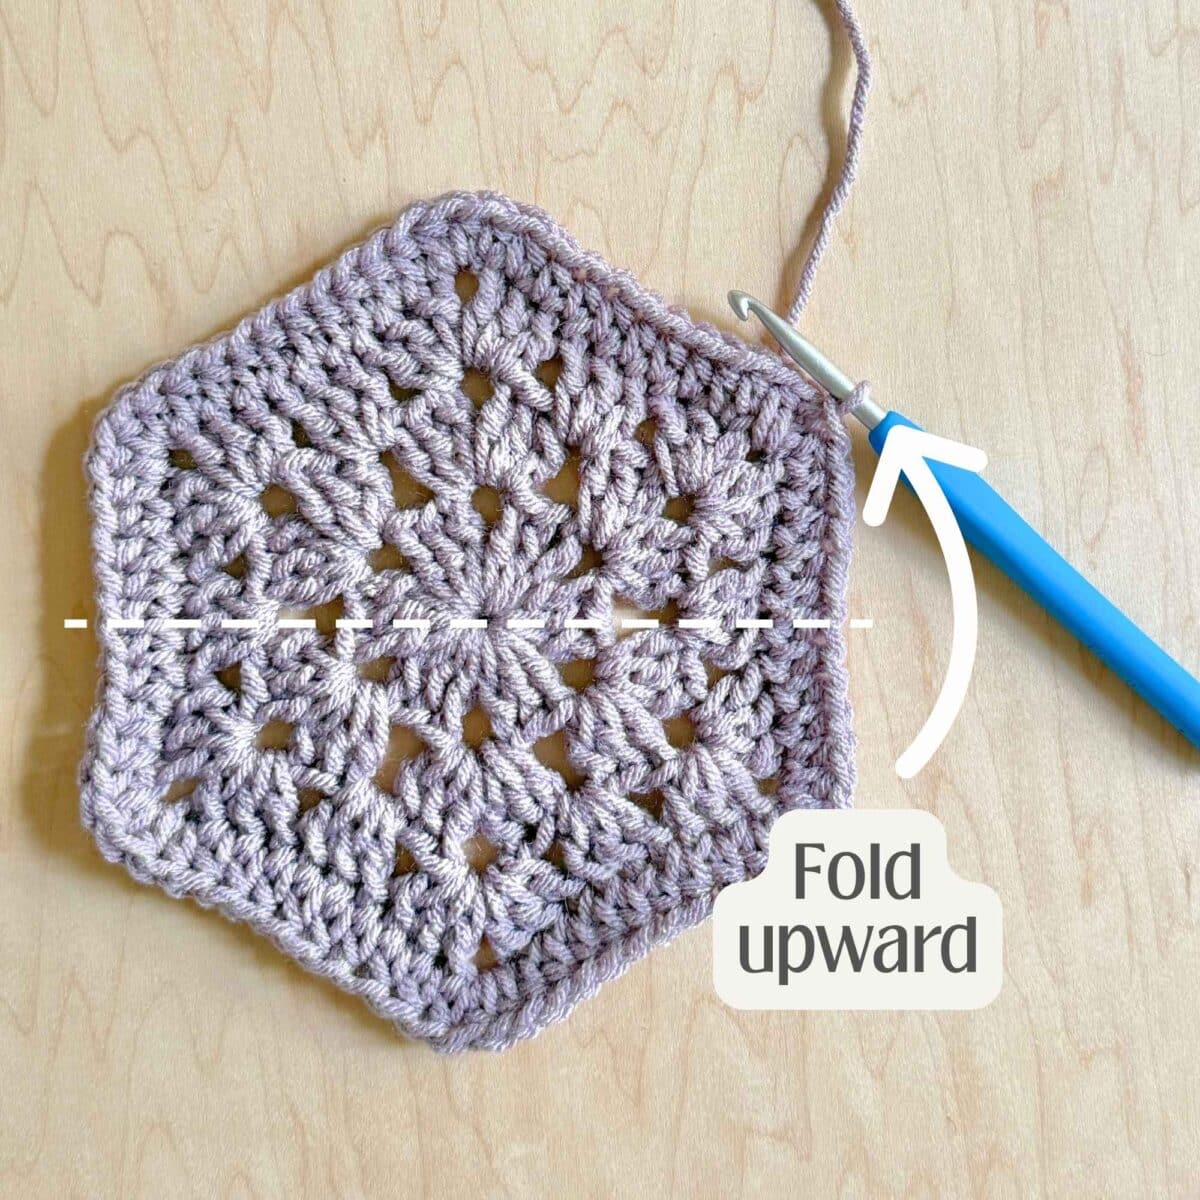
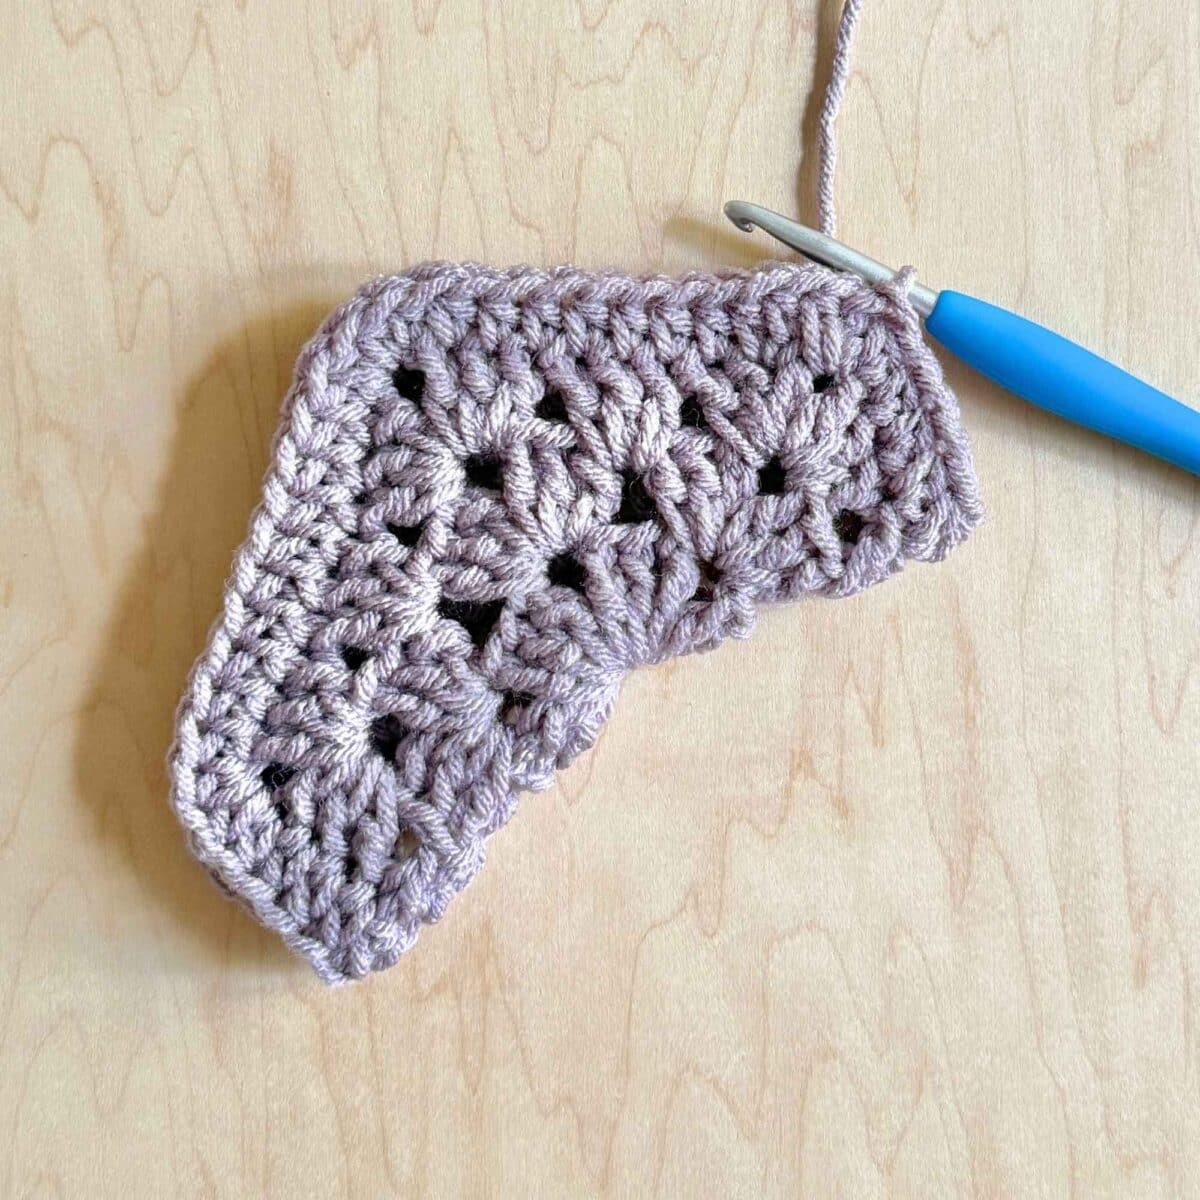
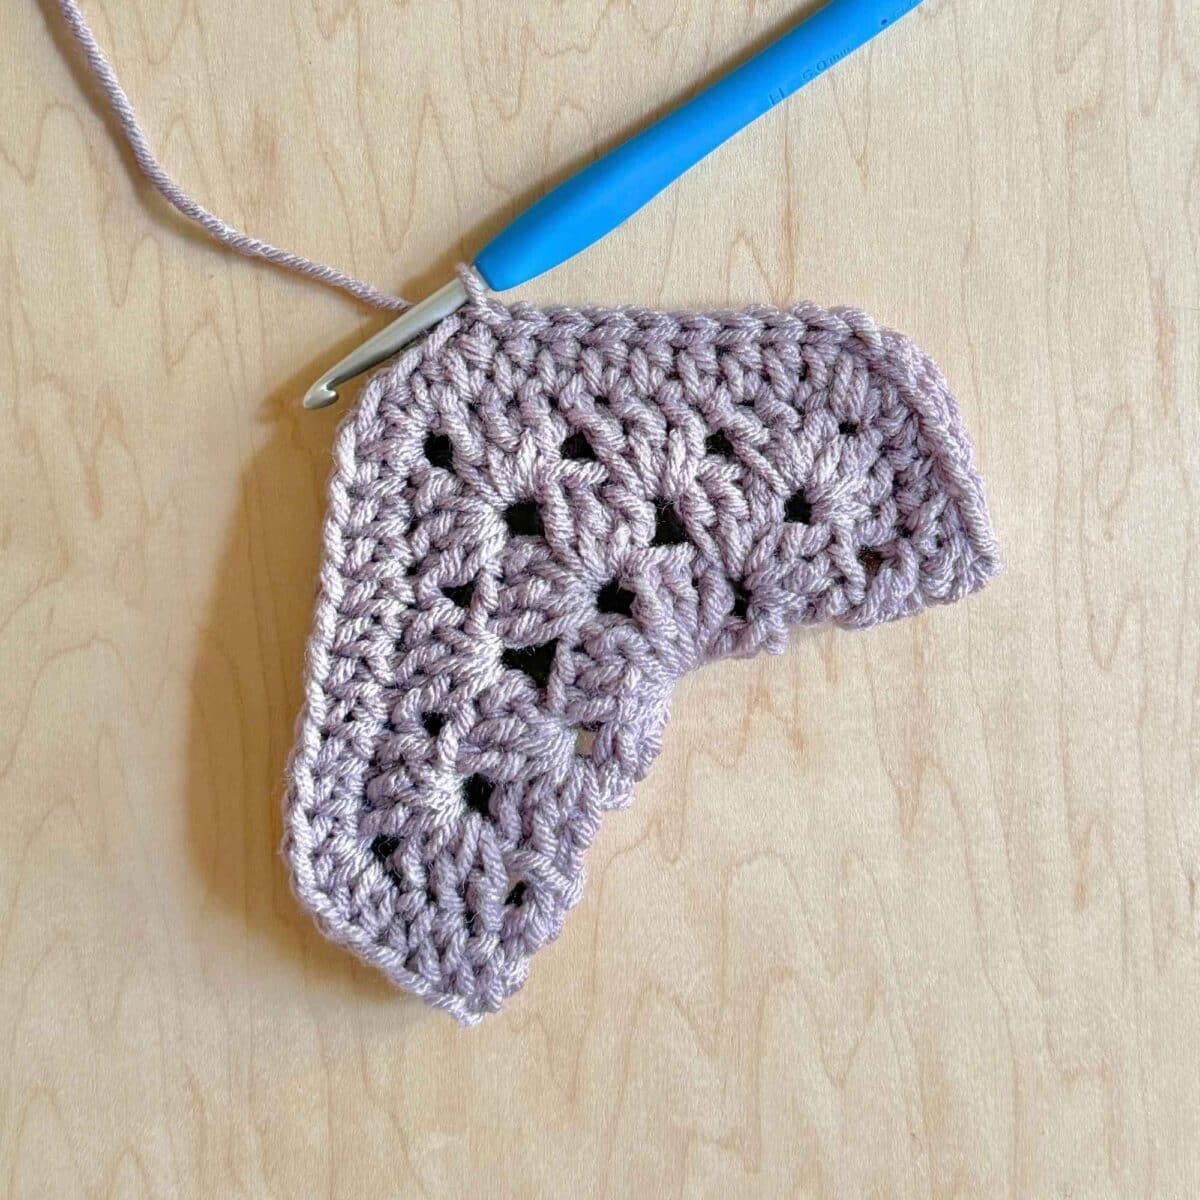
1: Fold the hexagon, right side facing out to form an “L” shape so your hook is at the top corner and in the front layer of the sleeve.
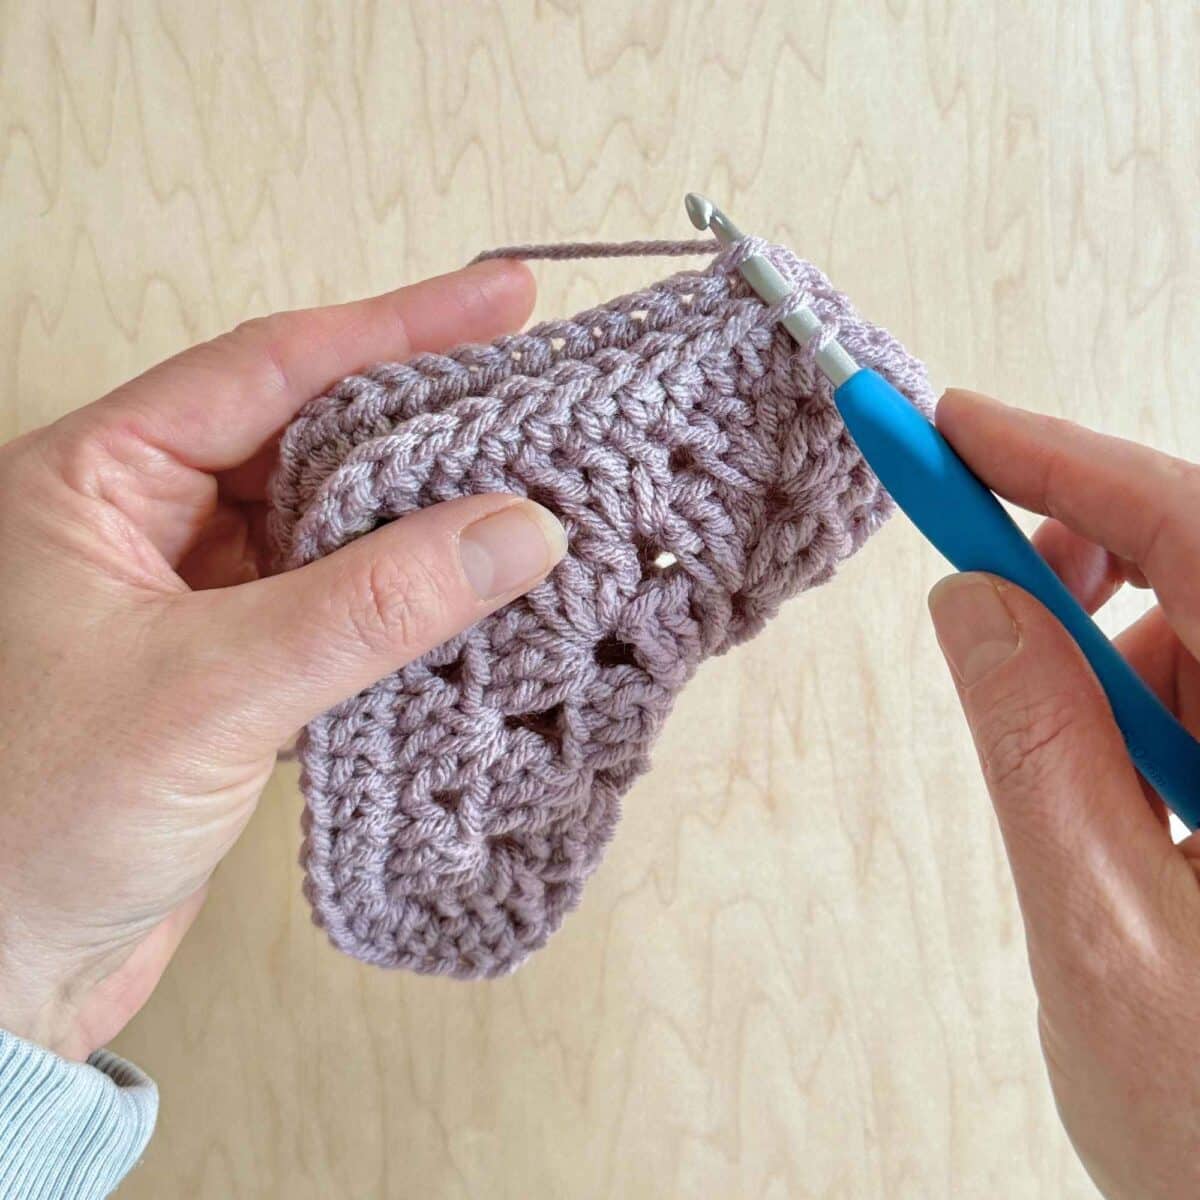
2: Insert hook into the front loop of the 1st st, and into the front loop of the corresponding st on the other side of the sleeve, complete a sl st.
3: Work 9 more sl sts through front and back loops, closing the sleeve (10 sl sts total).
4: FO, weave in end.
SECOND HEXAGON
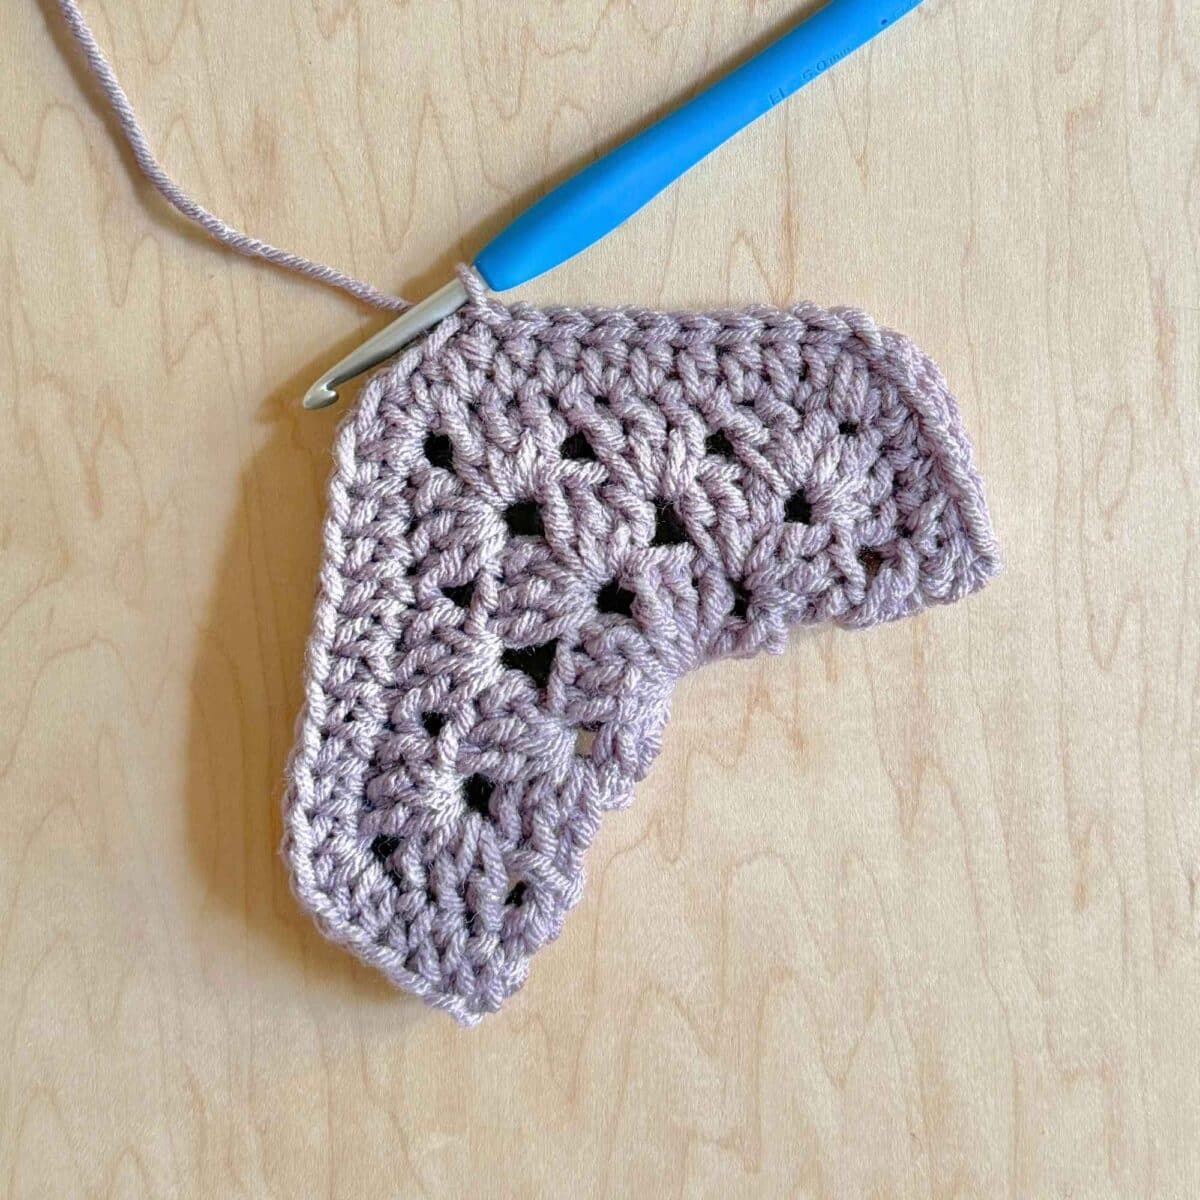
- Repeat rounds 1-4, then steps 1-3 from first hexagon instructions.
- Work 2 additional sl sts through 1 layer only (the layer closest to you). Do not FO.
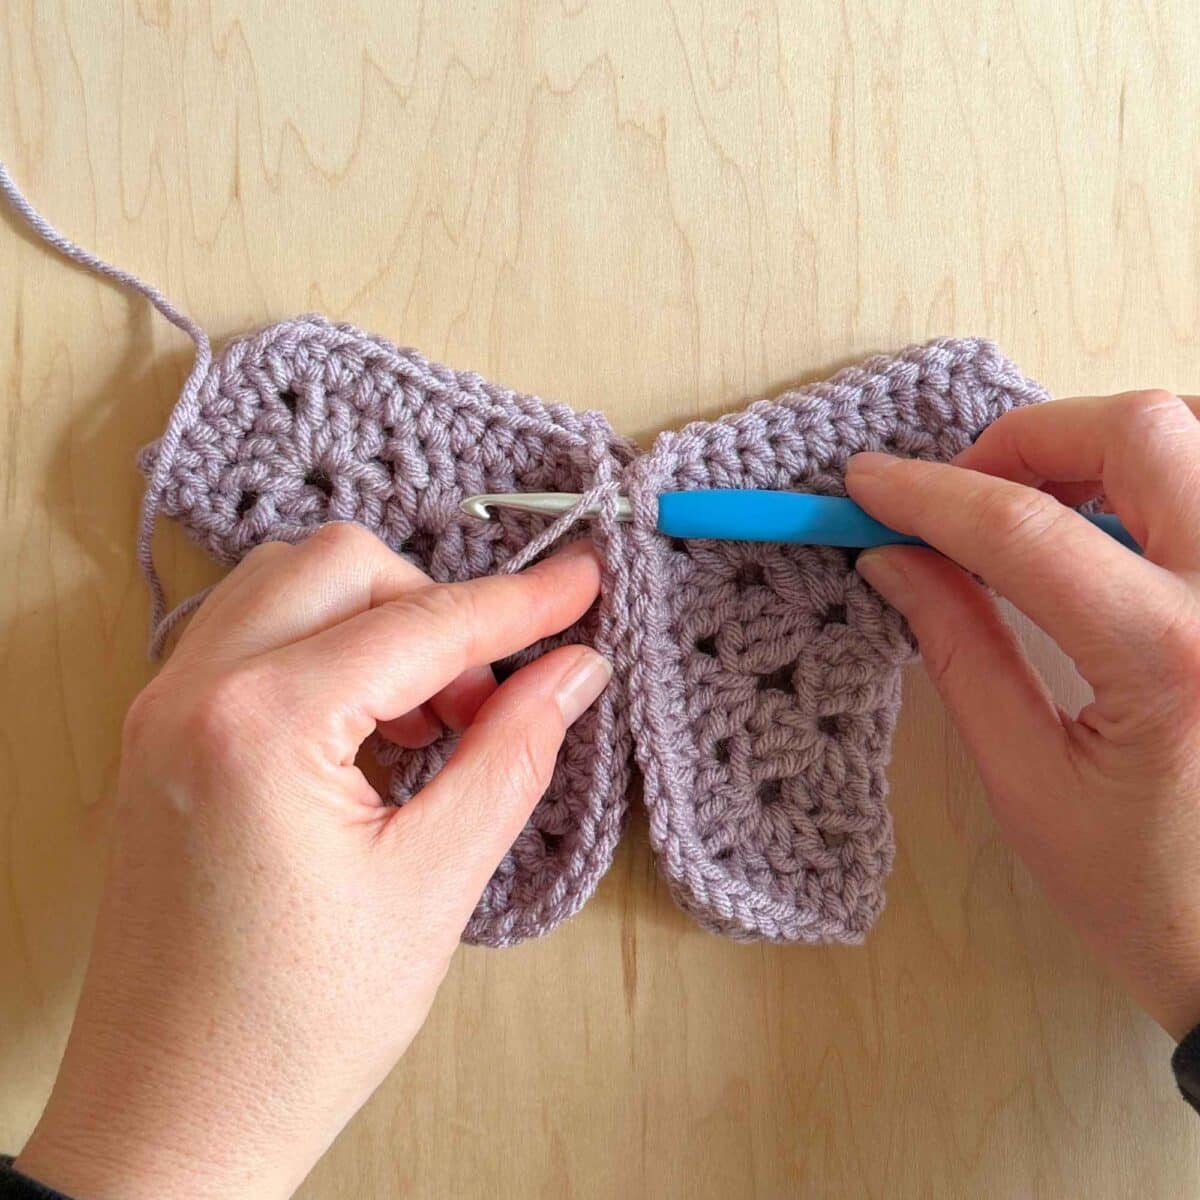
JOINING THE TWO SIDES
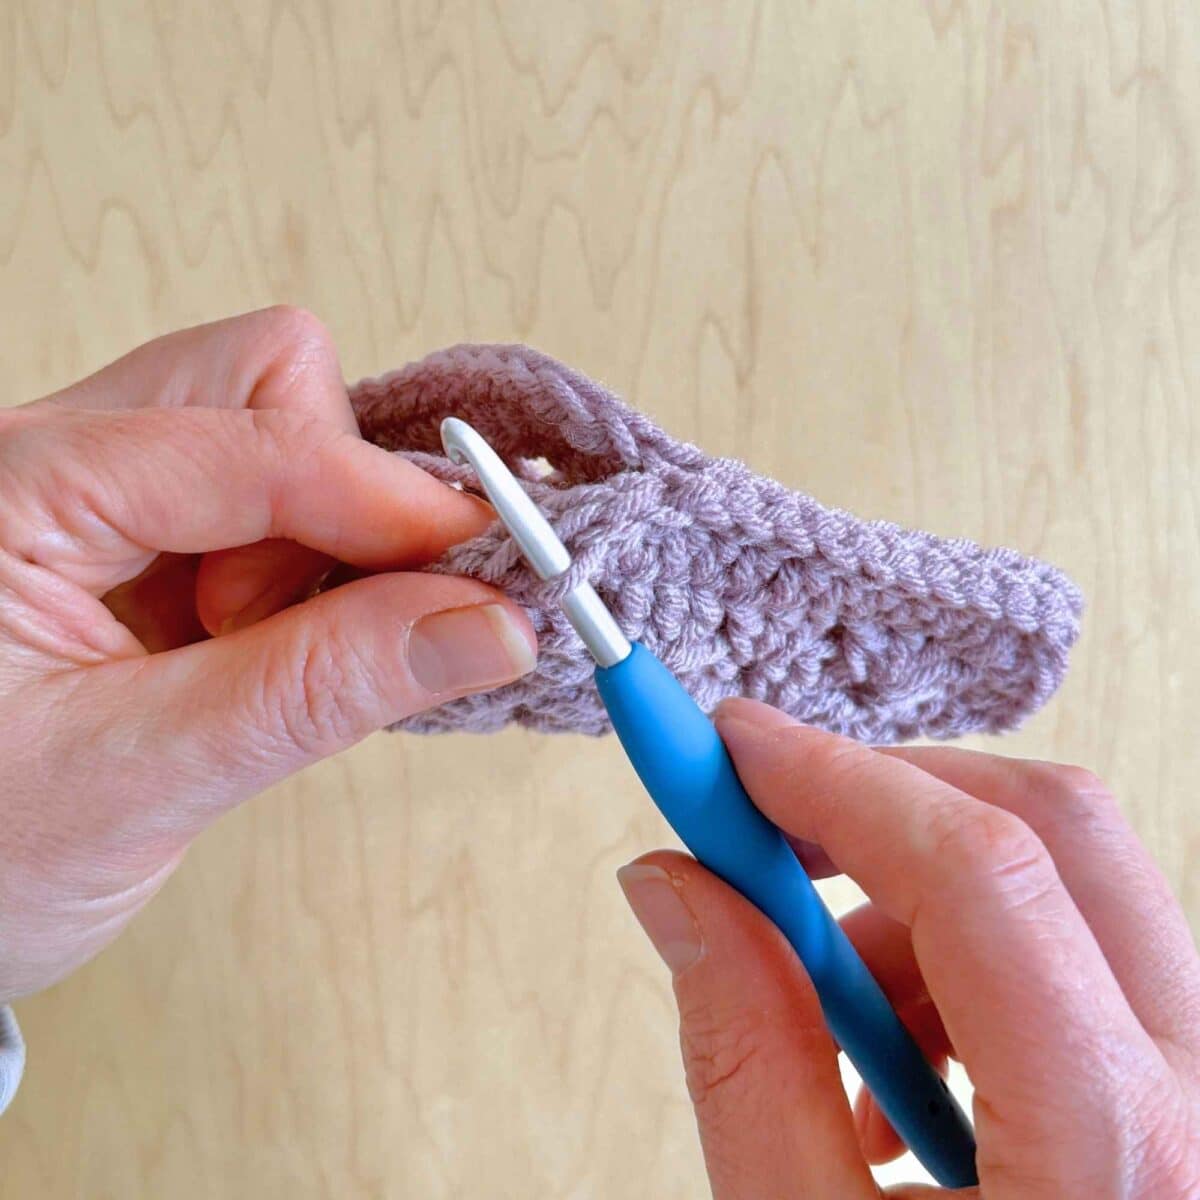
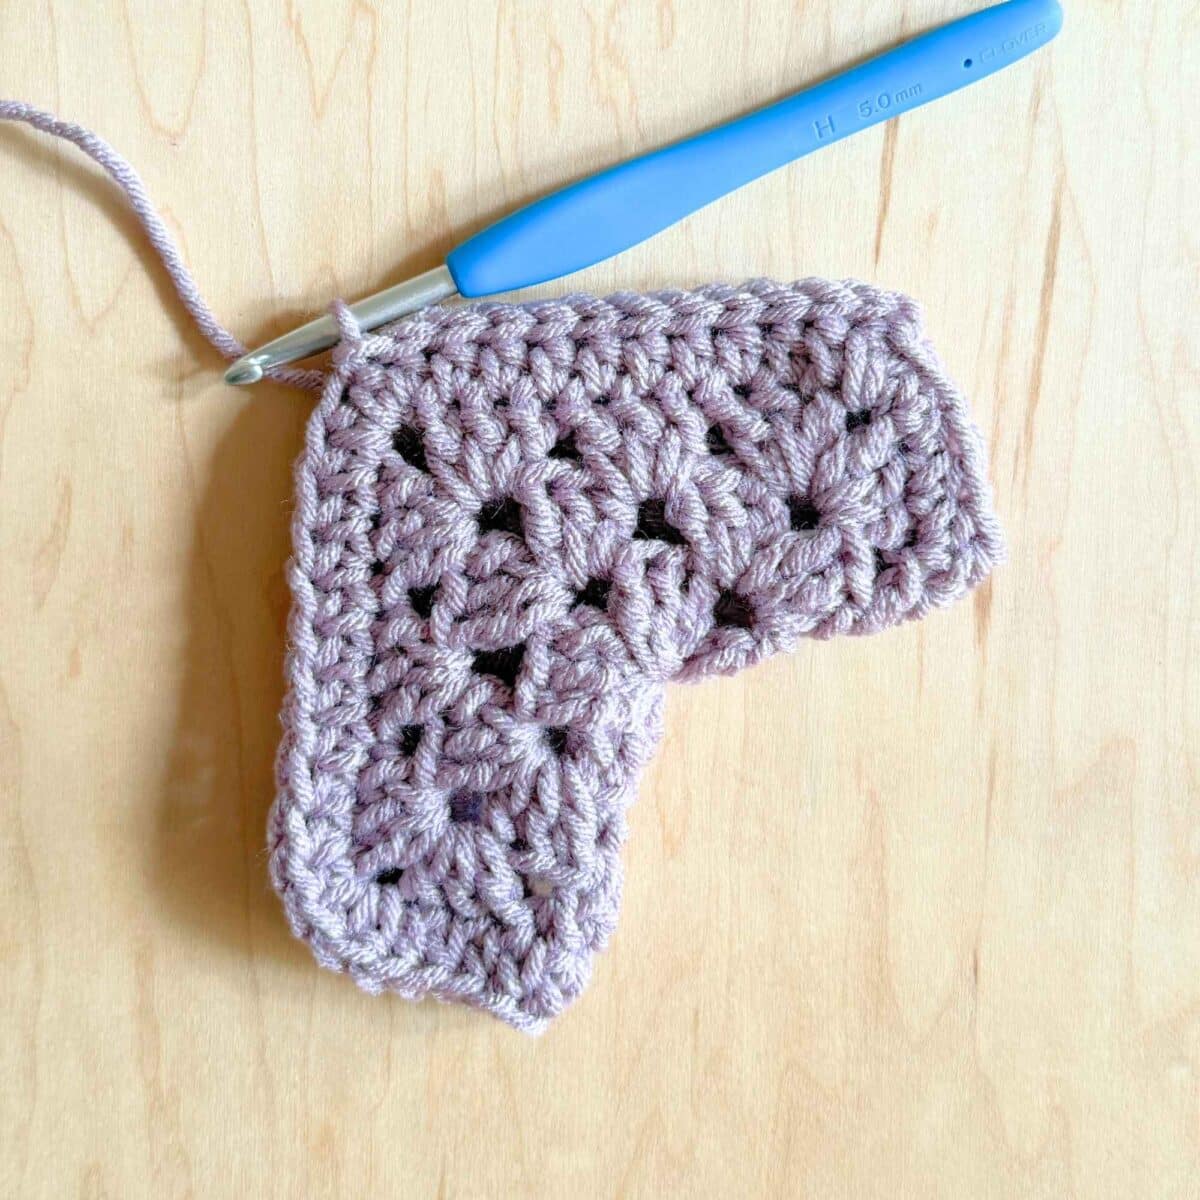
1: Place the two hexagons together so the back edges are aligned.
2: Insert hook into the front loop of the 1st st, and into the front loop of the corresponding st on the other hexagon, complete a sl st.
3: Work 13 more sl sts through front and back loops, closing the back seam (14 sl sts total).
4: FO and weave in ends.
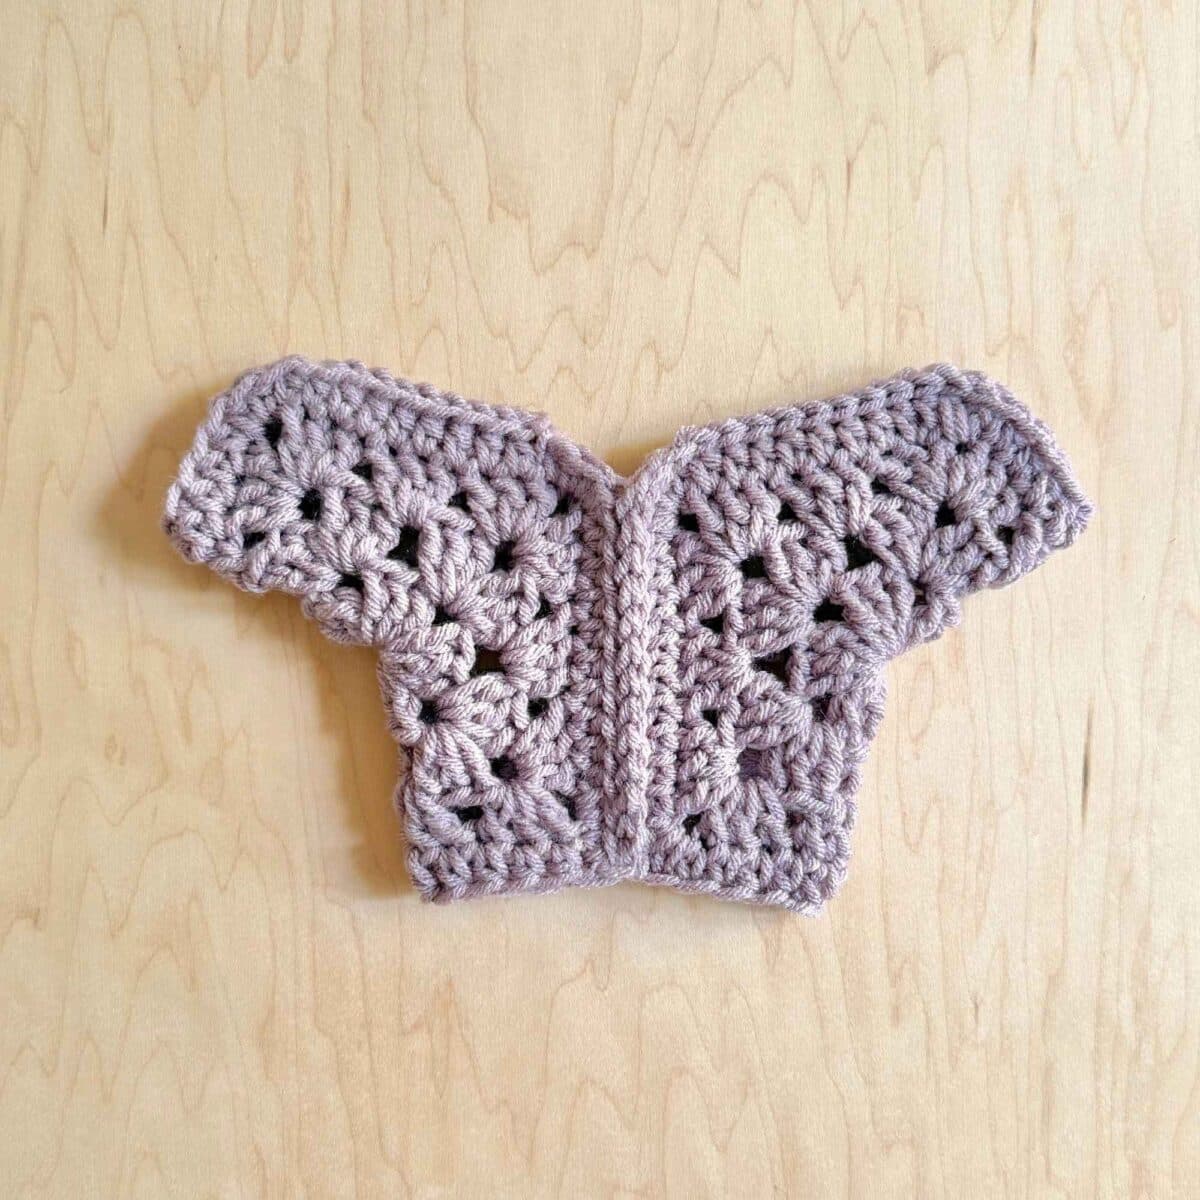
Your LOFTY Sunburst Cardigan is finished! I hope you love this cozy little sweater as much as I do!
Don’t forget – if you prefer the ad-free PDF version, you can pick up a copy of the Fable LOFTY Sunburst Cardigan in my shop or on Etsy.
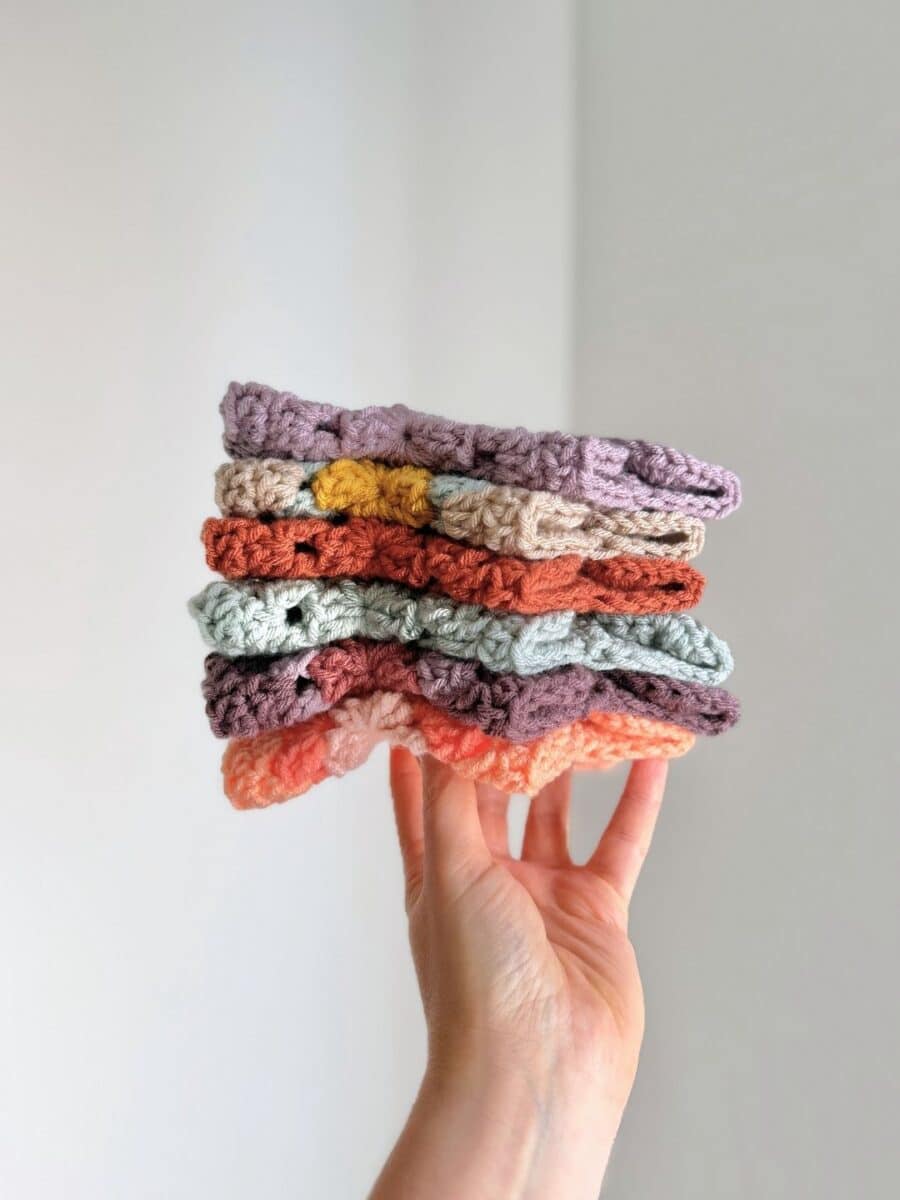
Watch the full tutorial video here!
Check out my other popular blog posts here:
Blanket Baby Lovey Crochet Pattern Mod
If you’d like to stay up-to-date with my latest blog posts and free patterns, sign up HERE for my newsletter!
All patterns, designs and photographs included in this blog post are property of Oak and Marlow. This pattern is for personal use only and may not be sold, distributed or transferred to any other person or website. Handmade items produced with this pattern may be sold as long as credit is given to the designer – Oak and Marlow. Copyright 2026.