
Eye Detailing for Crochet Plushies
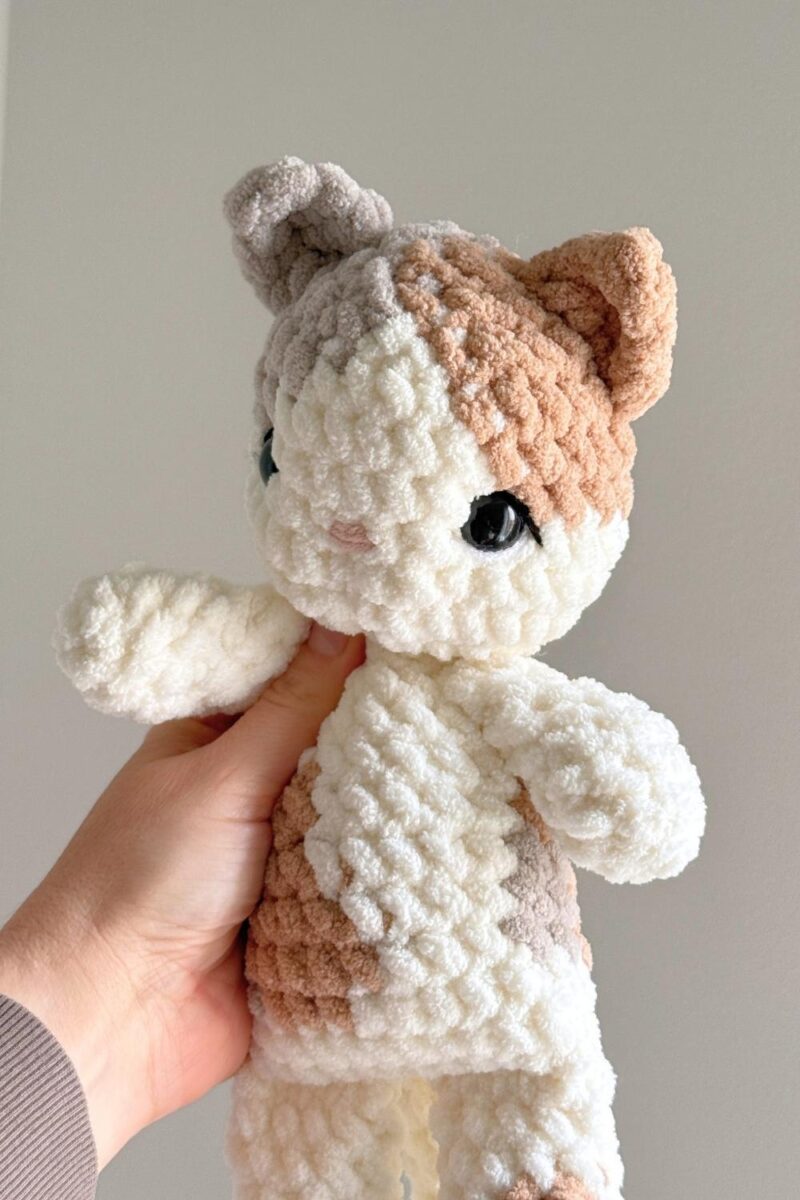
If you’re like me, you love the look of safety eyes on your crochet plushies, but like a little extra detailing to soften the look and give your finished pieces some depth and character. This eye detailing can be added to any of your crochet characters for a sweet soft look that will melt your heart!
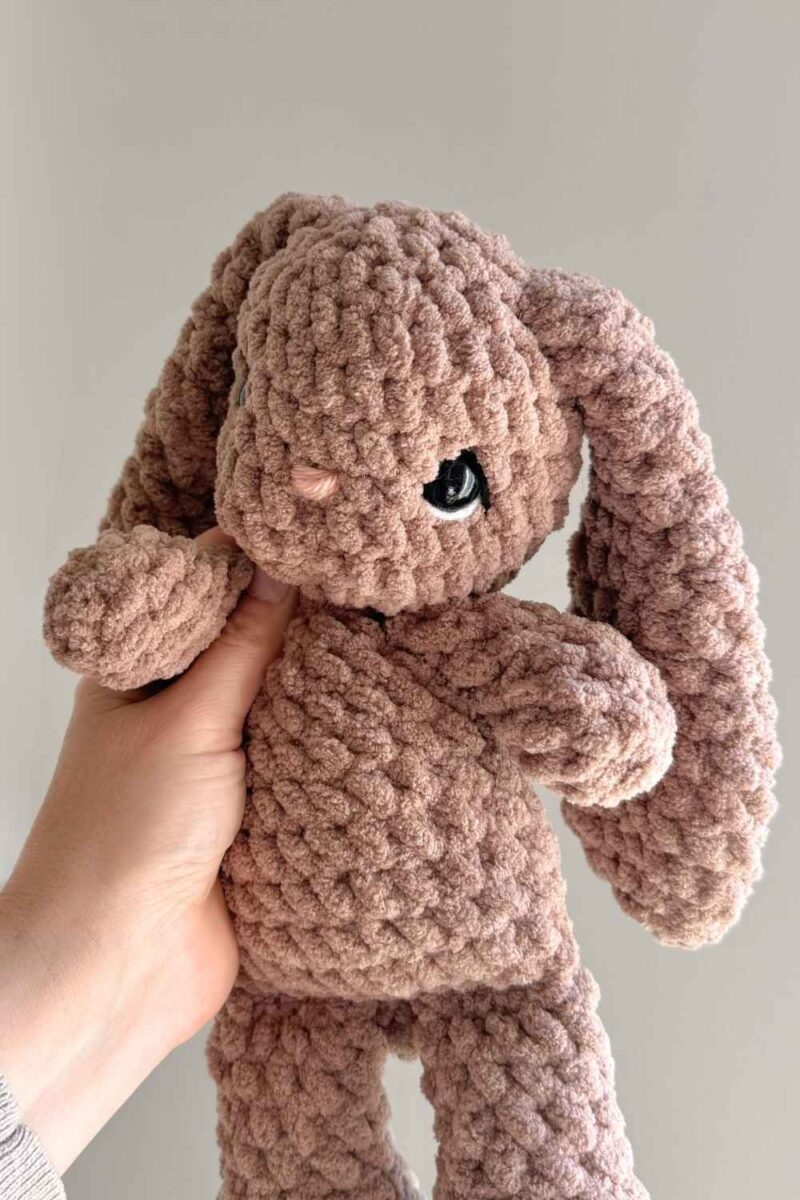
There are different ways you can add eyes to your crochet makes. Some prefer an embroidered eye but I still love the twinkle of a safety eye (with some tweaks, of course)! Most of my patterns include eye shaping instructions, which sinks the eye and gives them a softer look. You can watch an eye shaping video HERE.
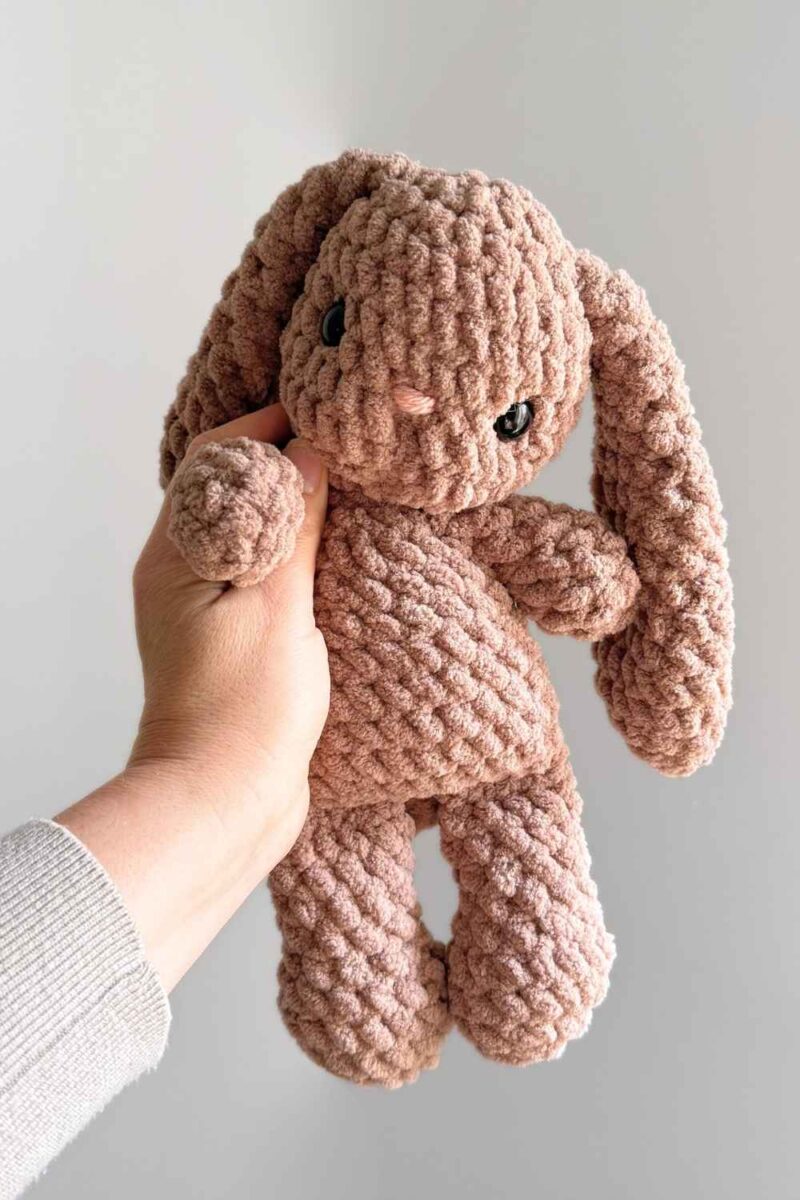
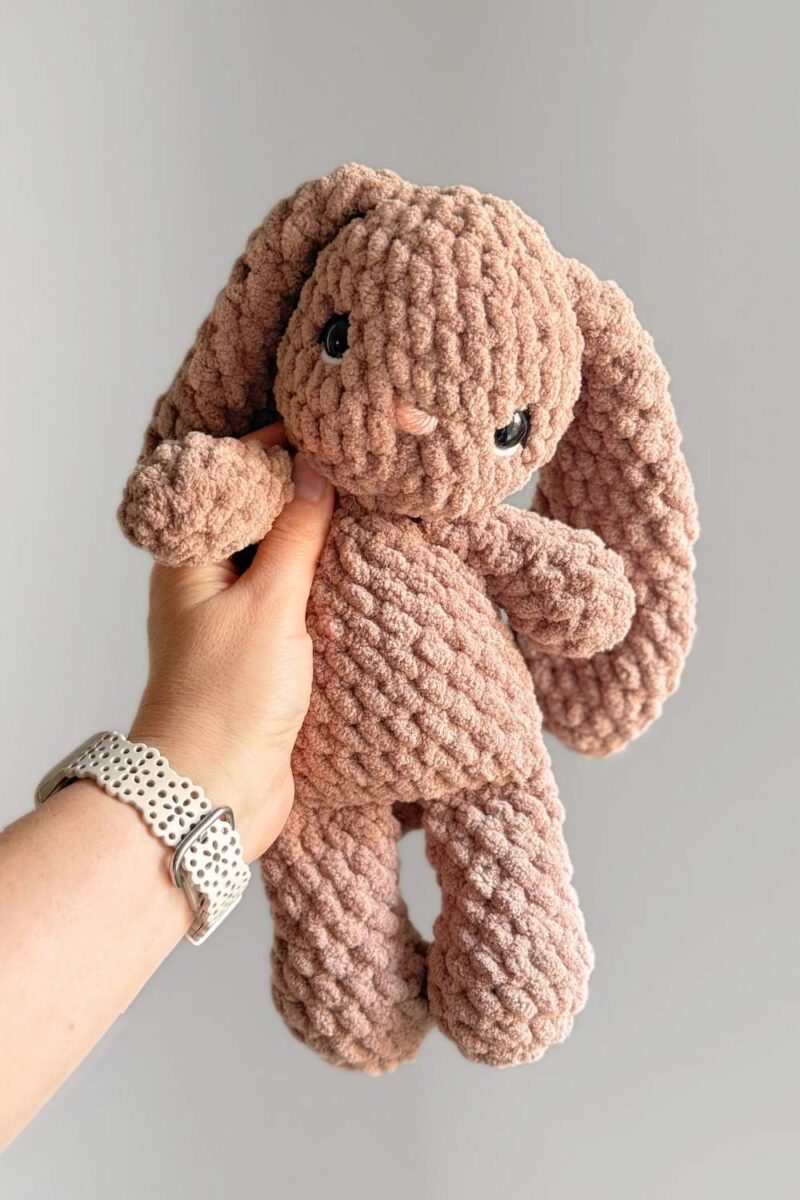
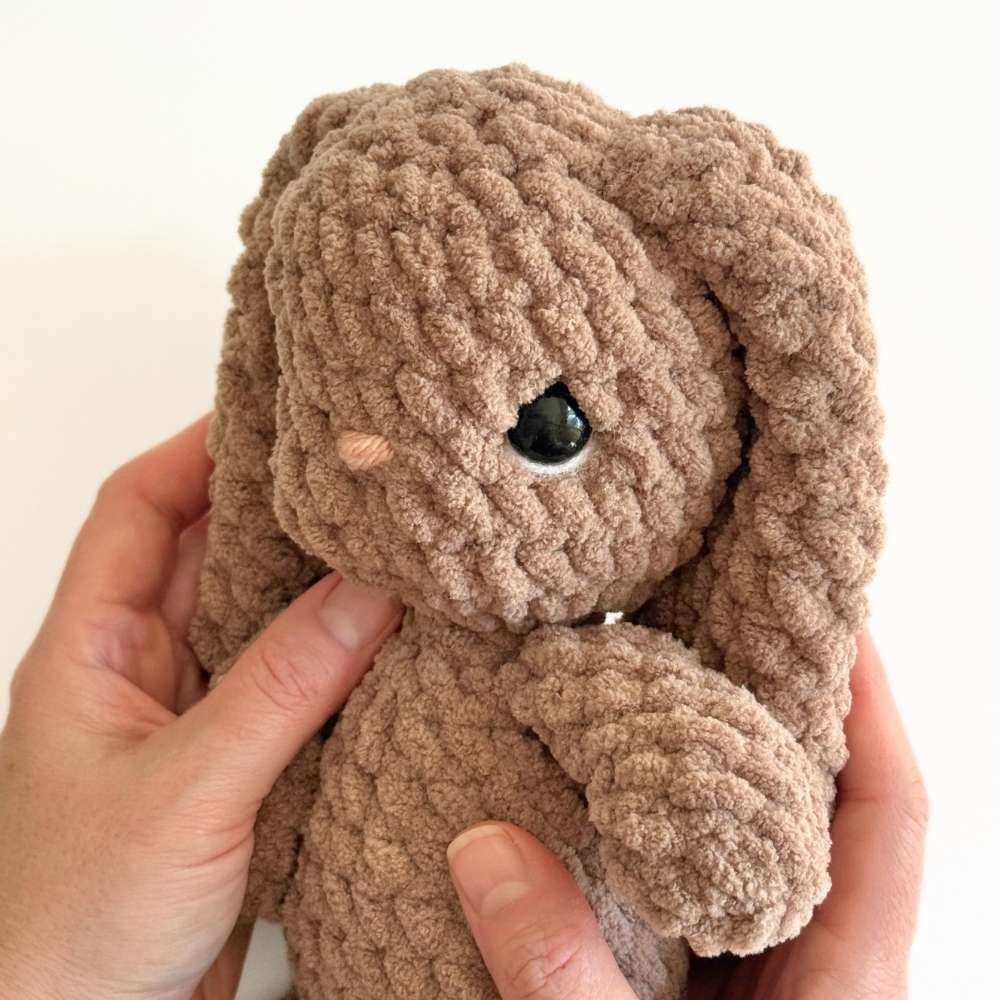
This eye detailing will show you how I add a little white to the eye and a lash as well. You can see the difference it makes before and after to this sweet Lofty Prim Bunny below. You can find the other Fable Collection Lofty friends in my shop!
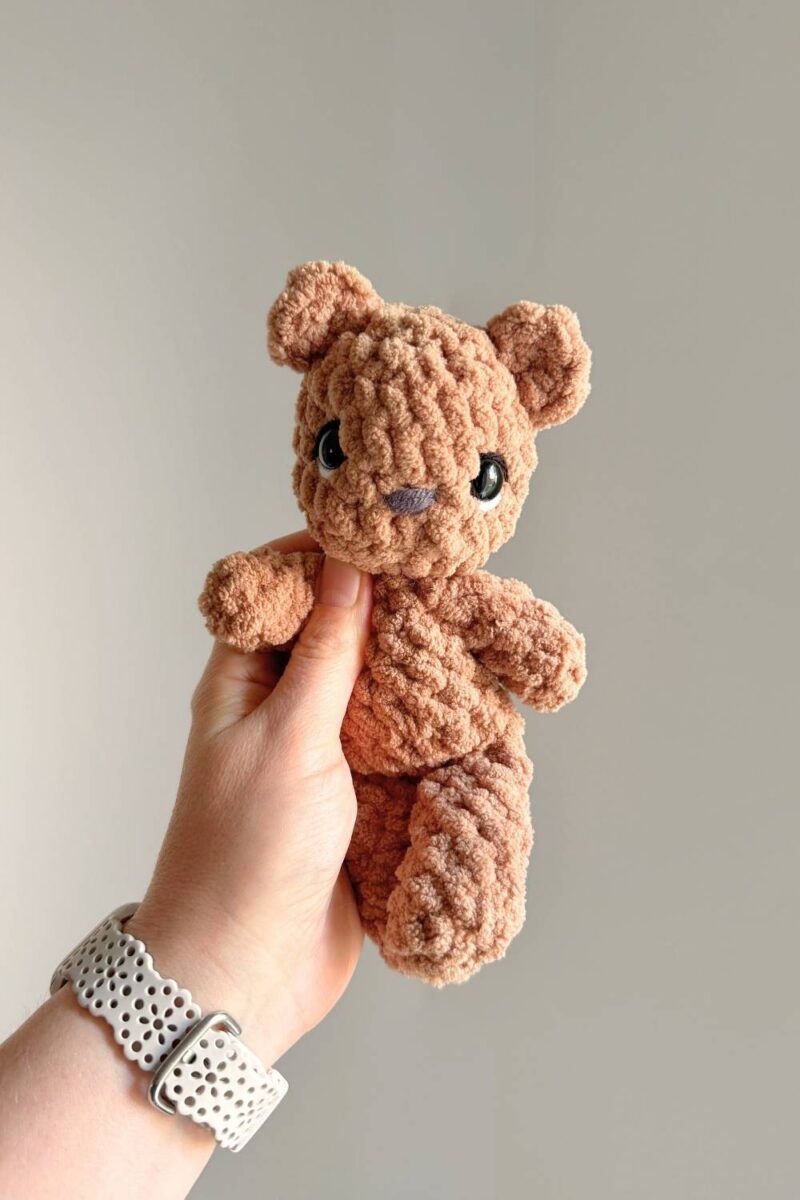
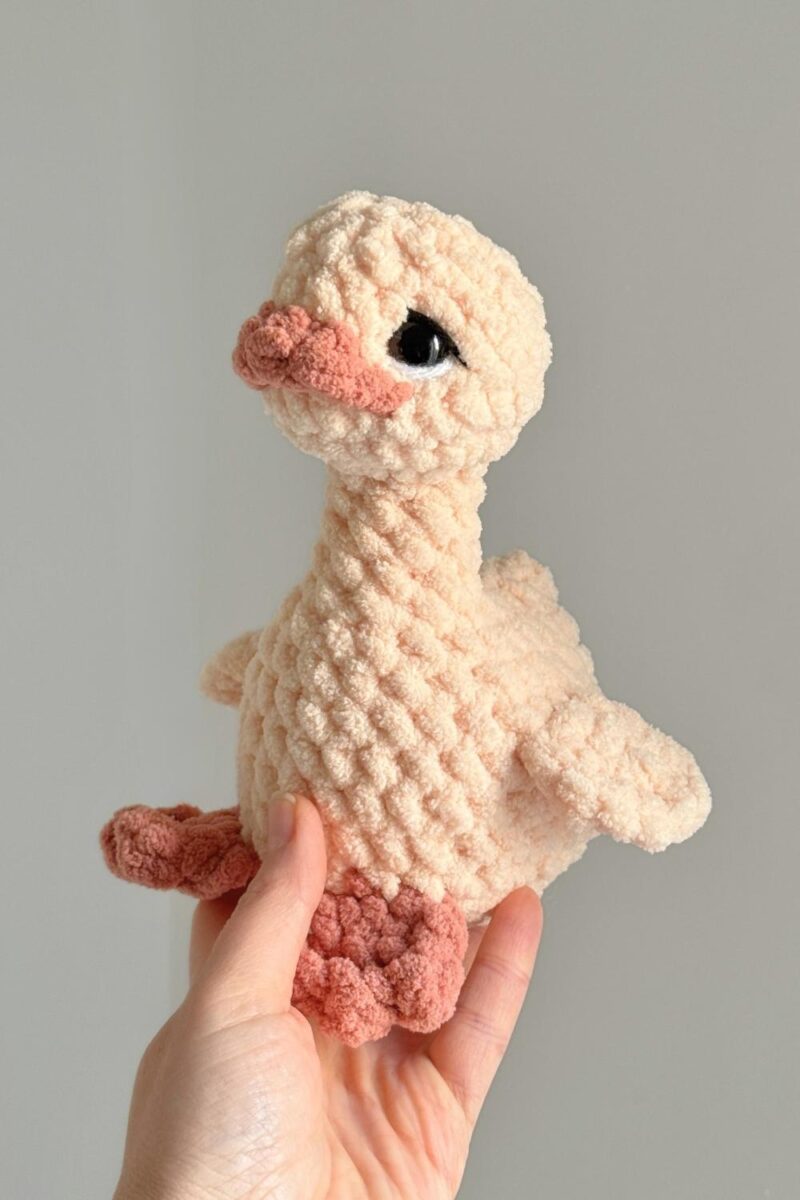
This method works for all of my crochet patterns – you can see it here on Baby Finn Bear and Marjorie Goose!
Let’s jump in!
This post contains affiliate links for Etsy and Amazon. If you make a purchase by clicking on them, I make a small commission at no extra cost to you. Read my full affiliate disclosure HERE. Thanks for your support!
SUPPLIES:
- Size 4 worsted weight yarn in black and white
- Your favorite plush crochet friend
- Yarn needle
- Scissors
UNDER EYE DETAILS
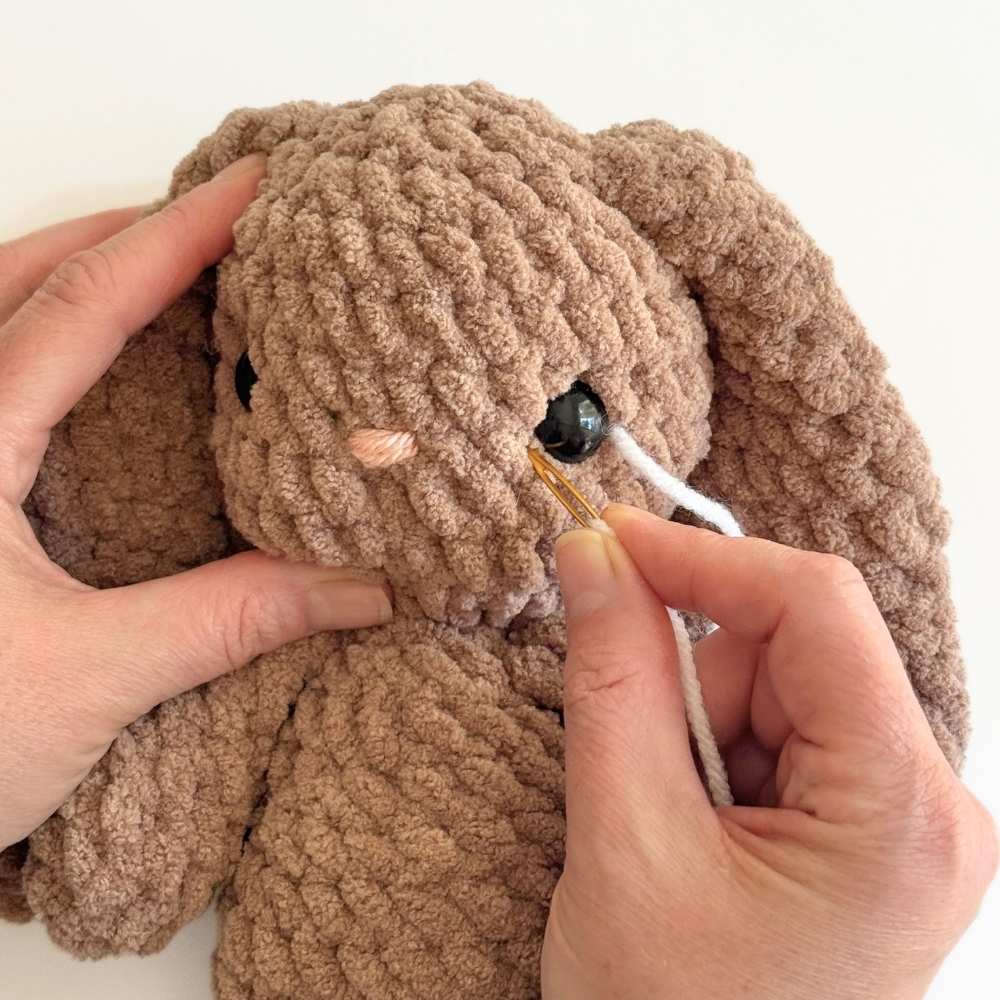
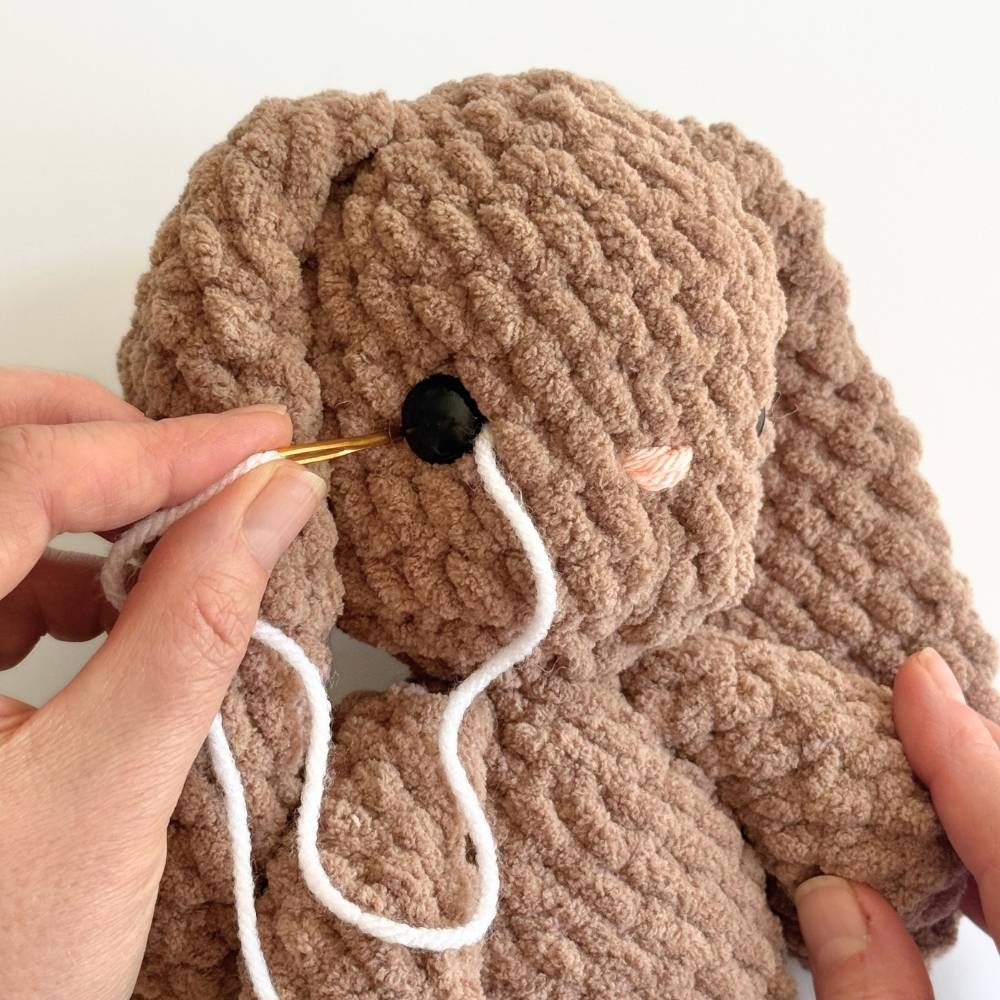
1: Using a 12″ strand of white worsted weight yarn, insert needle into any stitch on the back of the head and come out to the right of the right eye.
2: Insert needle back into head to the left of the right eye and come out to the right of the left eye. Slide the yarn to the lower edge of the safety eye.
3: Insert needle to the left of the left eye and out the same spot at the back of the head. Pull fairly snug, knot, and weave in ends.
LASHES
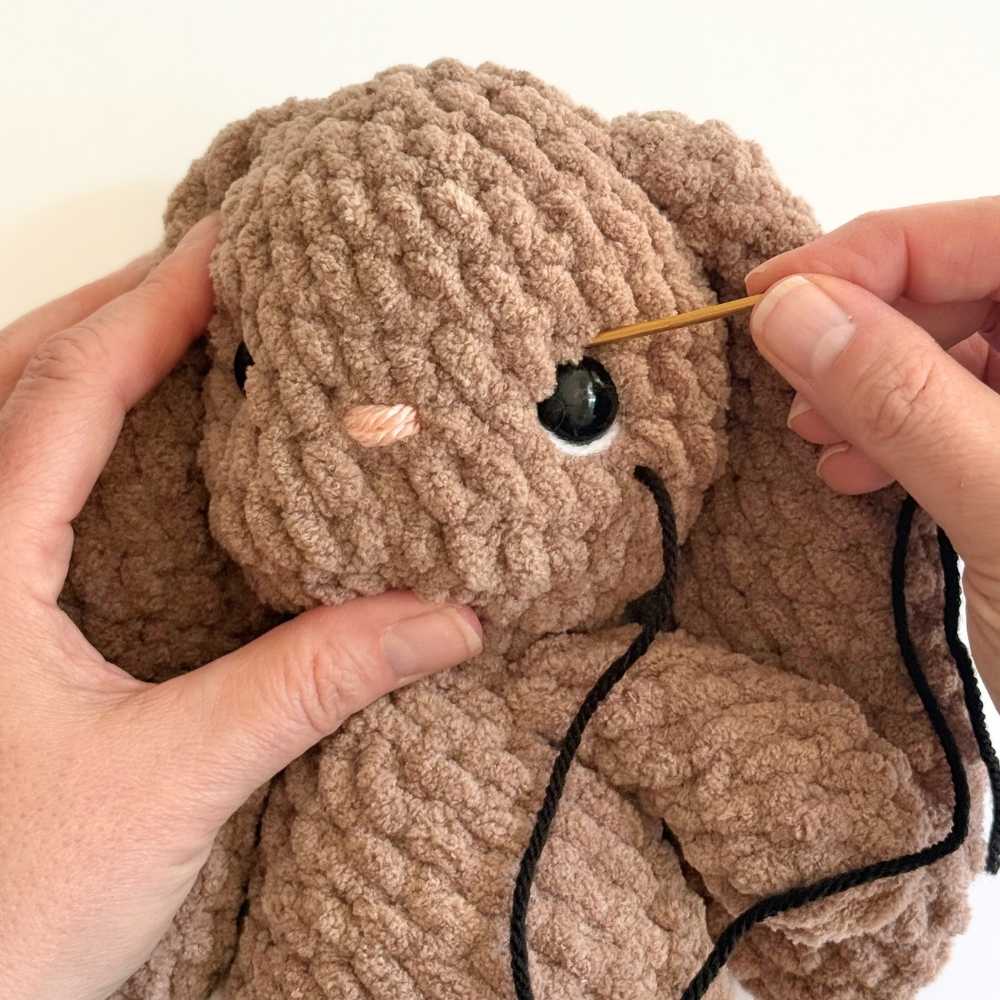
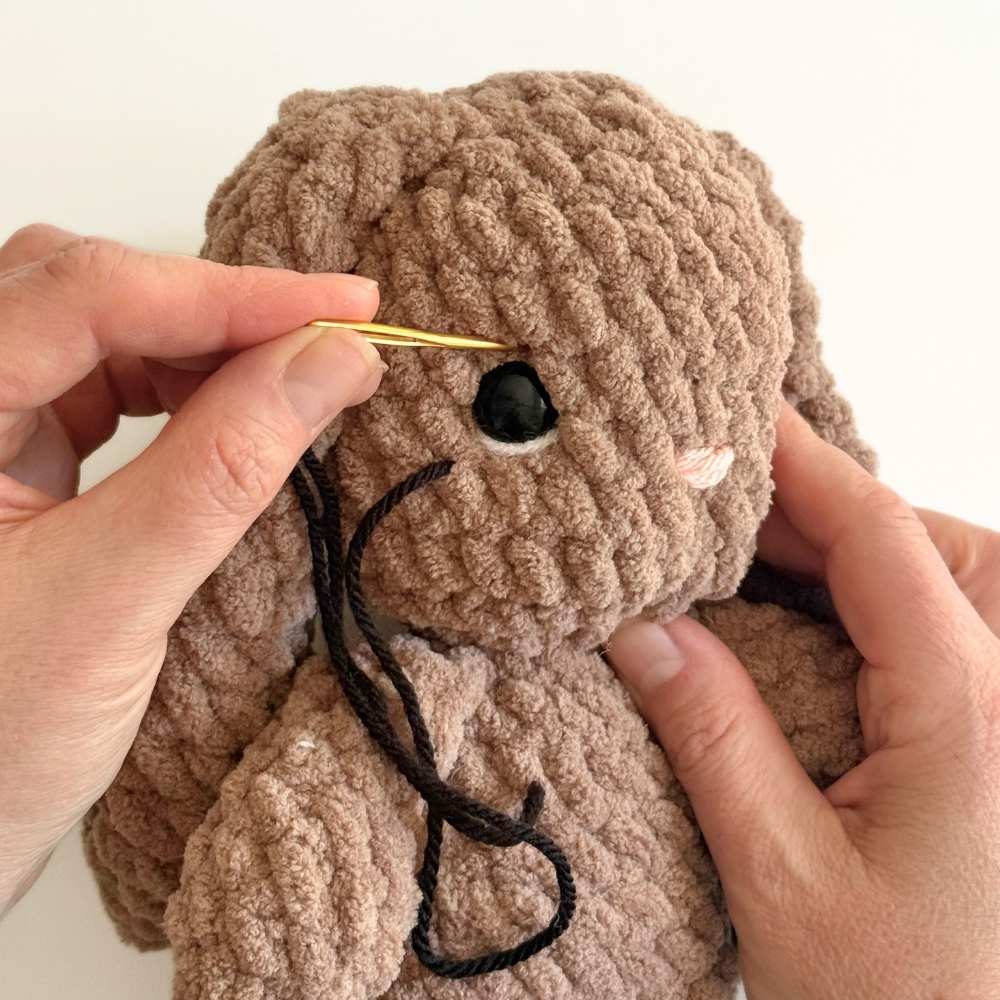
1: Using a 12″ strand of black worsted weight yarn, insert needle into any stitch on the back of the head and come out just below the outer edge of the right eye.
2: Insert needle back into head at the top/inner edge of the right eye and come out just below the outer edge of the left eye.
3: Insert needle into the top/inner edge of the left eye and out the same spot at the back of the head. Pull fairly snug, knot, and weave in ends.
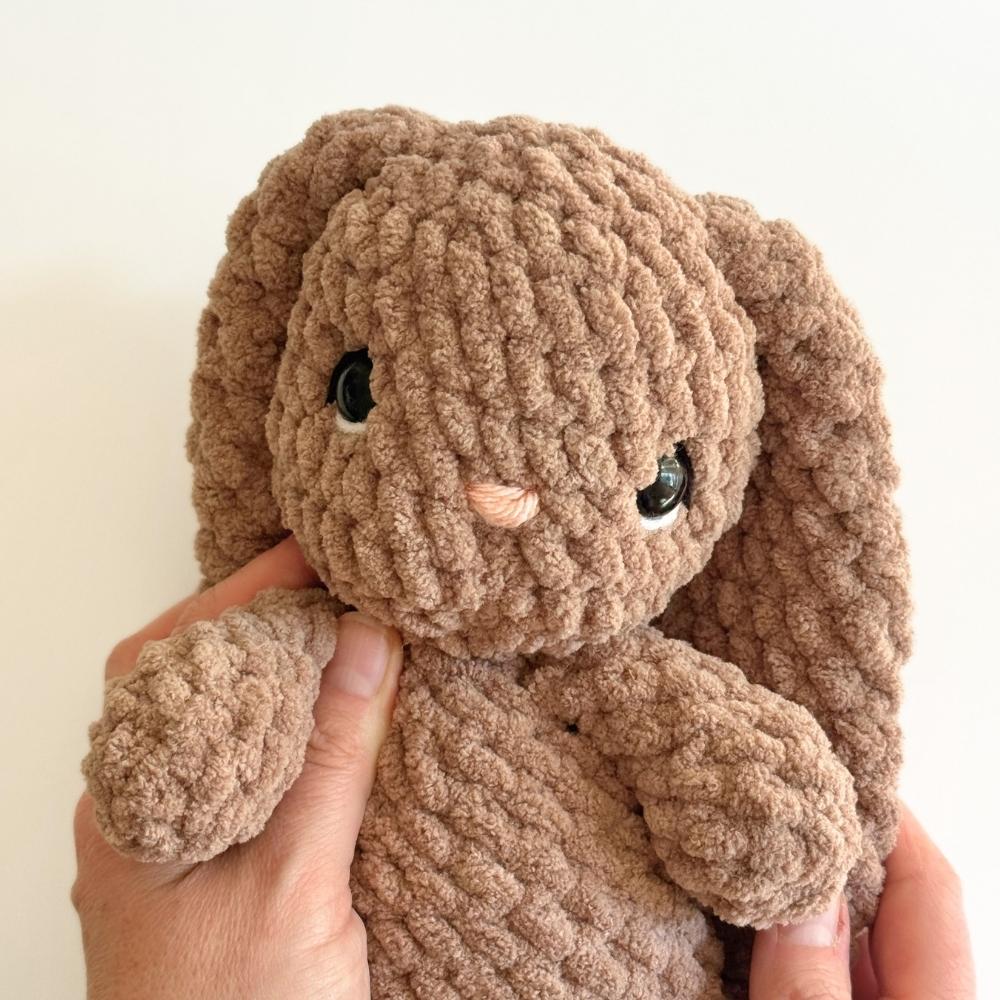
Your eye detailing is finished! I hope you enjoyed this little tutorial and it adds even more personalization to your beautiful makes!
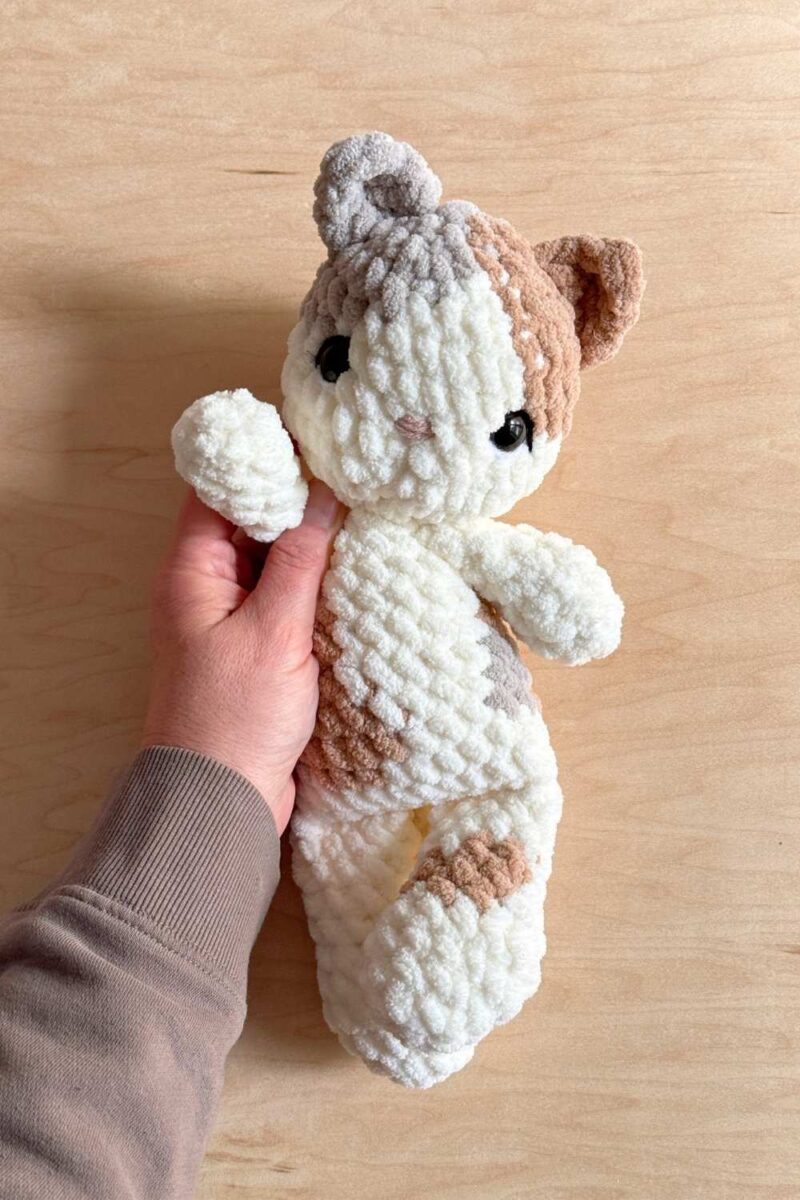
Check out my other popular blog posts here:
If you’d like to stay up-to-date with my latest blog posts and free patterns, sign up HERE for my newsletter!
All patterns, designs and photographs included in this blog post are property of Oak and Marlow. This pattern is for personal use only and may not be sold, distributed or transferred to any other person or website. Handmade items produced with this pattern may be sold as long as credit is given to the designer – Oak and Marlow. Copyright 2026.