Embroidered Eyes Tutorial
Looking for a quick and easy way to embroider eyes on your crochet plushies? This post walks you through my method for creating a soft and unique look for your handmade pieces.
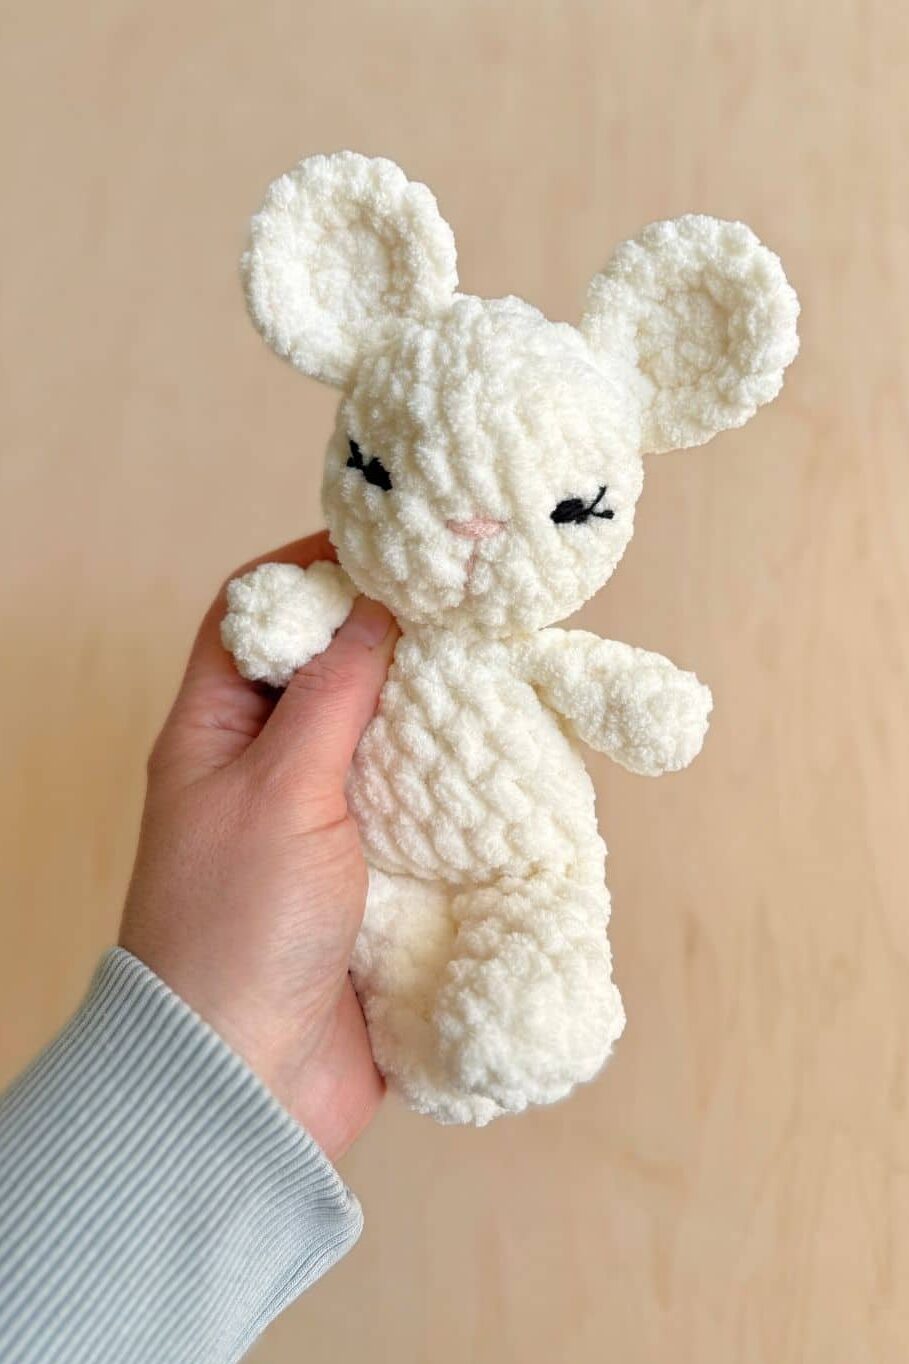
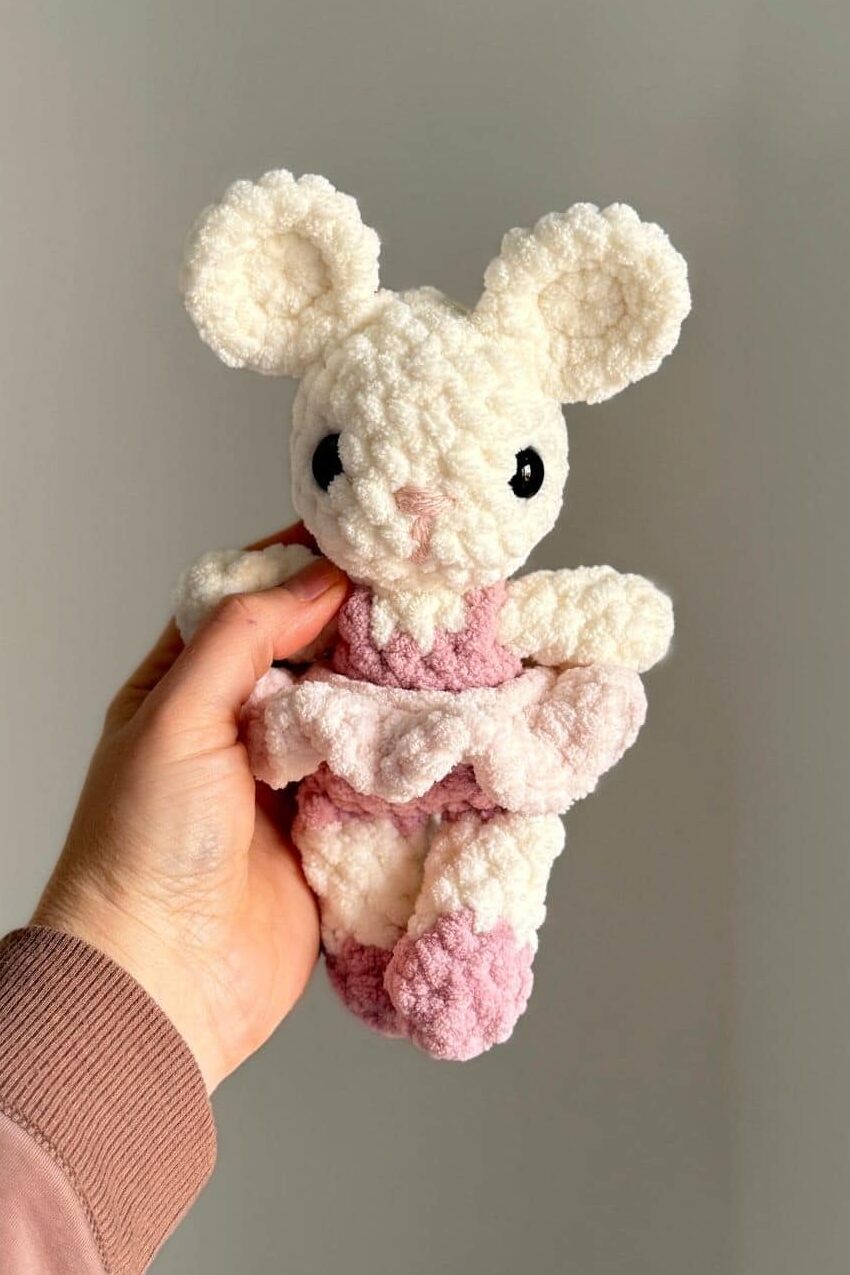
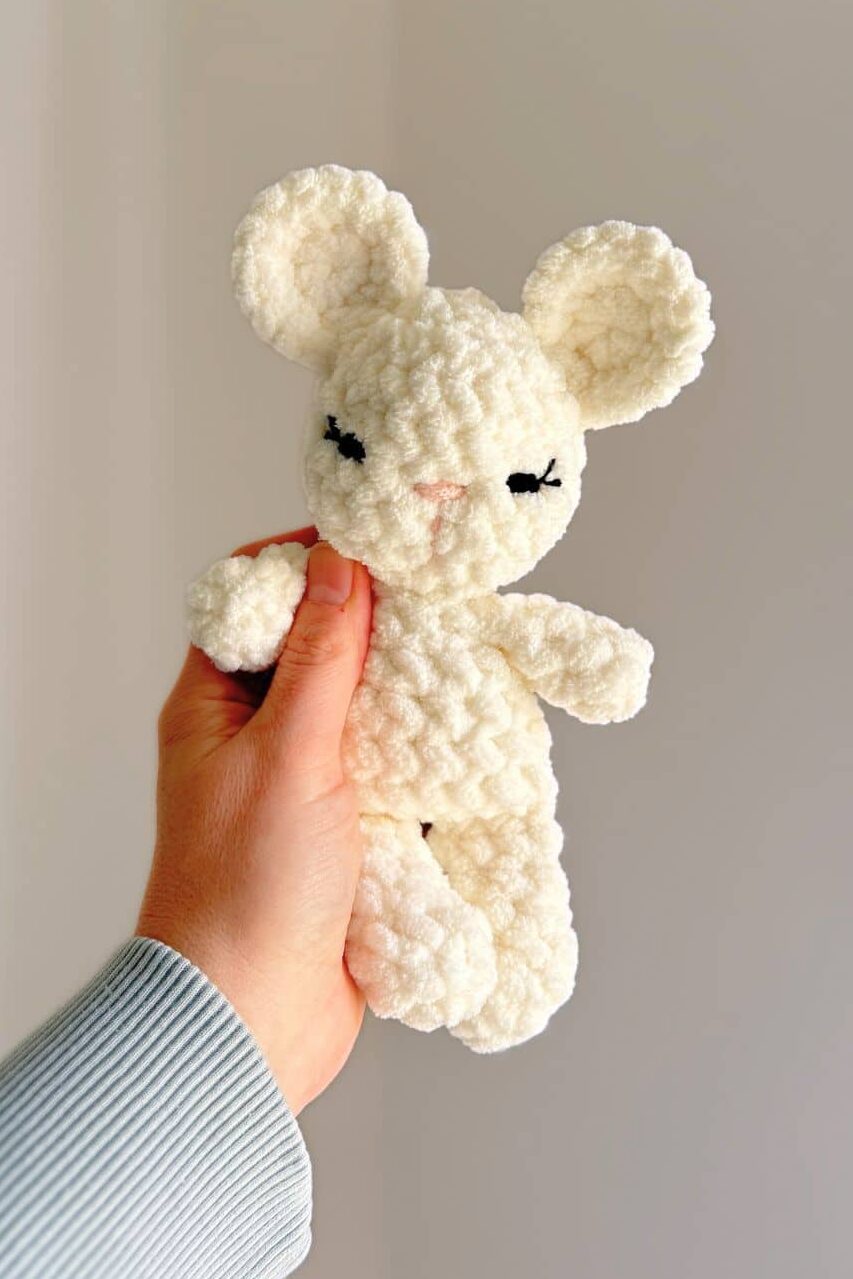
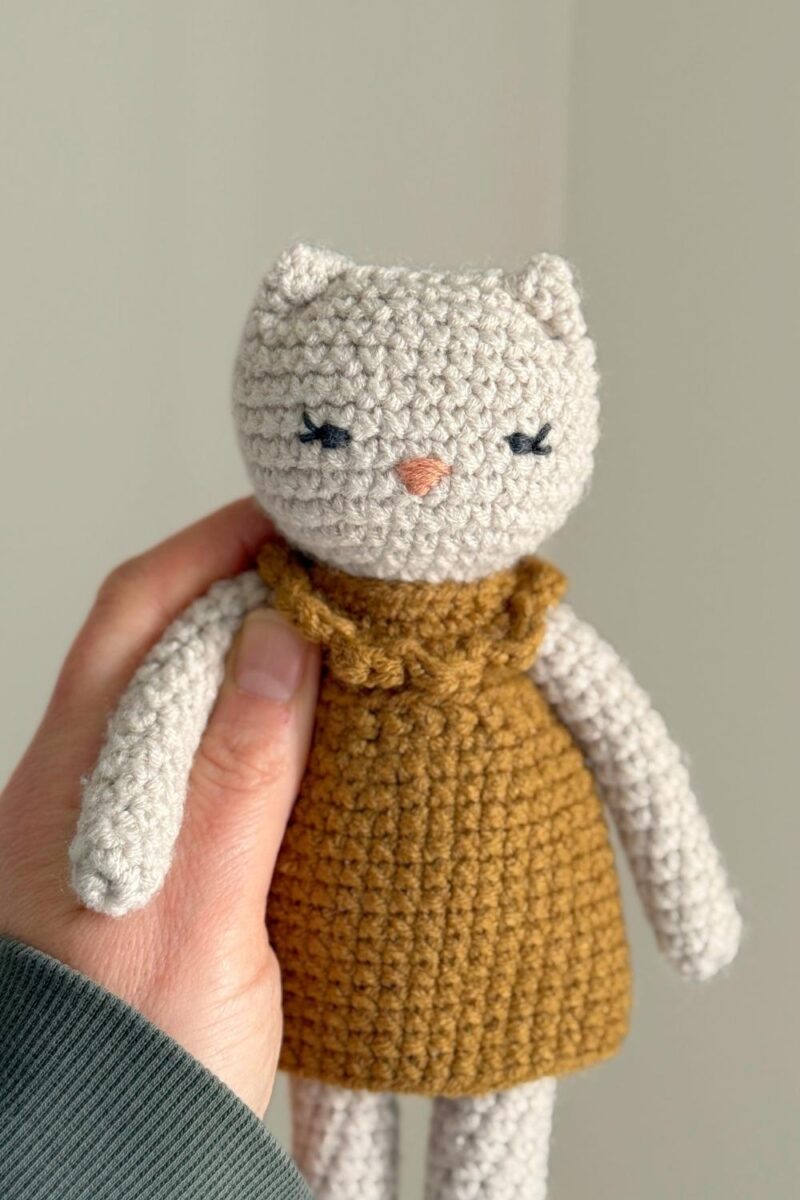
This embroidered eyes tutorial is shown on Baby Brie Mouse. The pattern includes a ballet outfit with removable tutu. But for this post, she’s been made without color changes, giving her a soft and classic look.
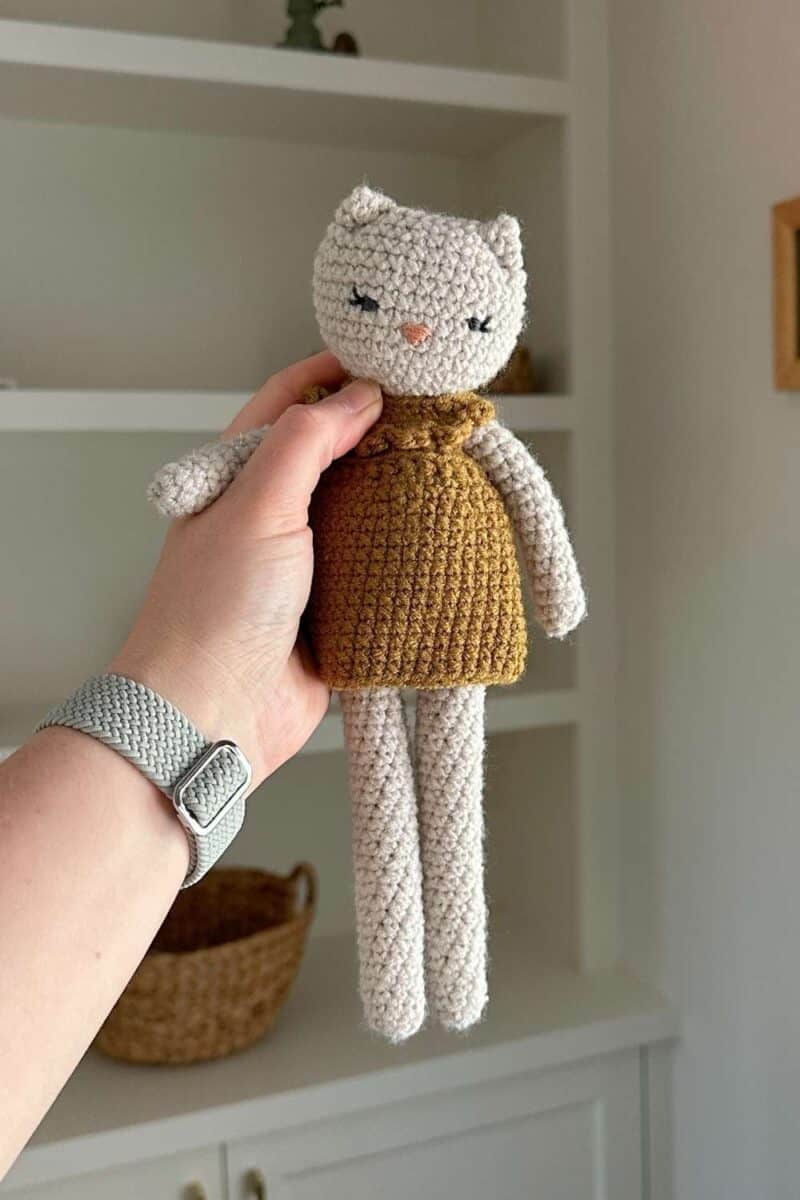
The eyes are actually a throwback to one of my first designs – the original Jolene Kitty pattern (the pattern that sparked the Fable Collection!) She is a worsted weight design and the eyes were embroidered with embroidery floss.
Let’s jump in!
This post contains affiliate links for Etsy and Amazon. If you make a purchase by clicking on them, I make a small commission at no extra cost to you. Read my full affiliate disclosure HERE. Thanks for your support!
SUPPLIES:
- Black worsted weight yarn
- Stitch markers
- Yarn needle
- Scissors
INSTRUCTIONS:
- You can watch a tutorial video HERE.
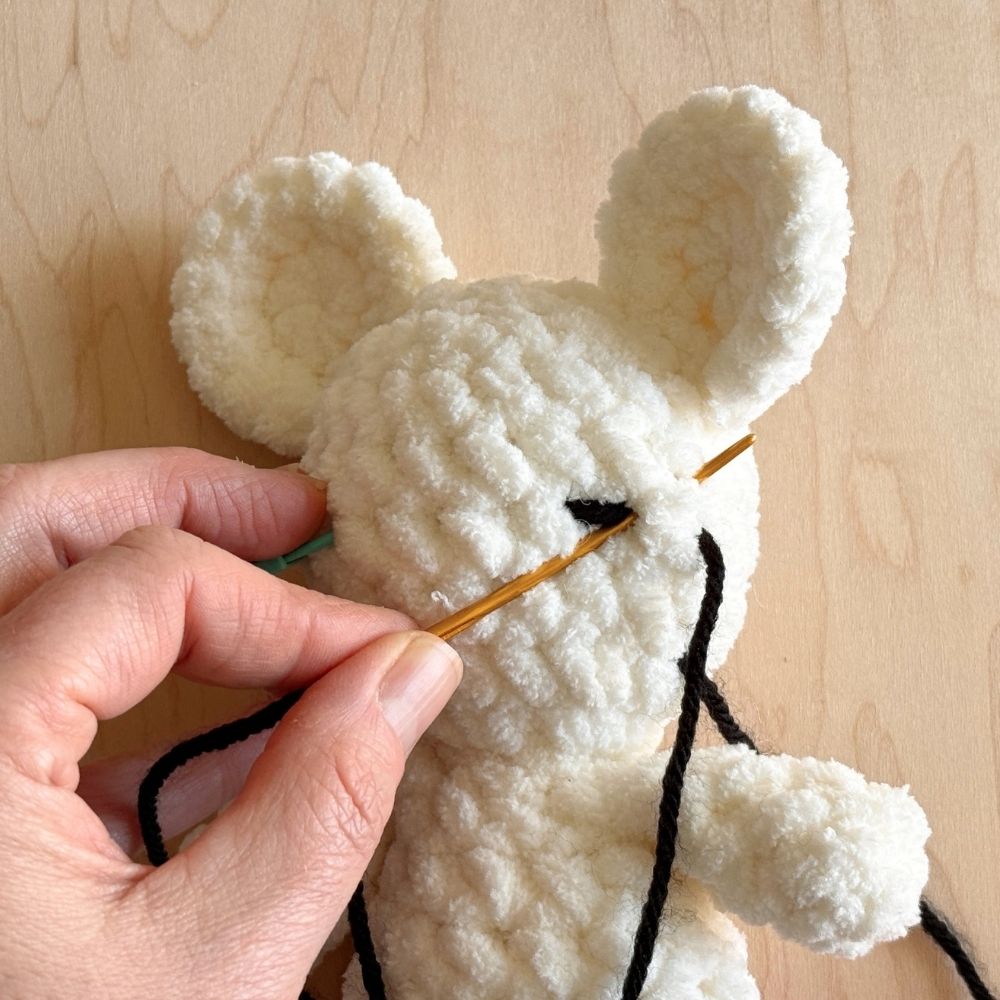
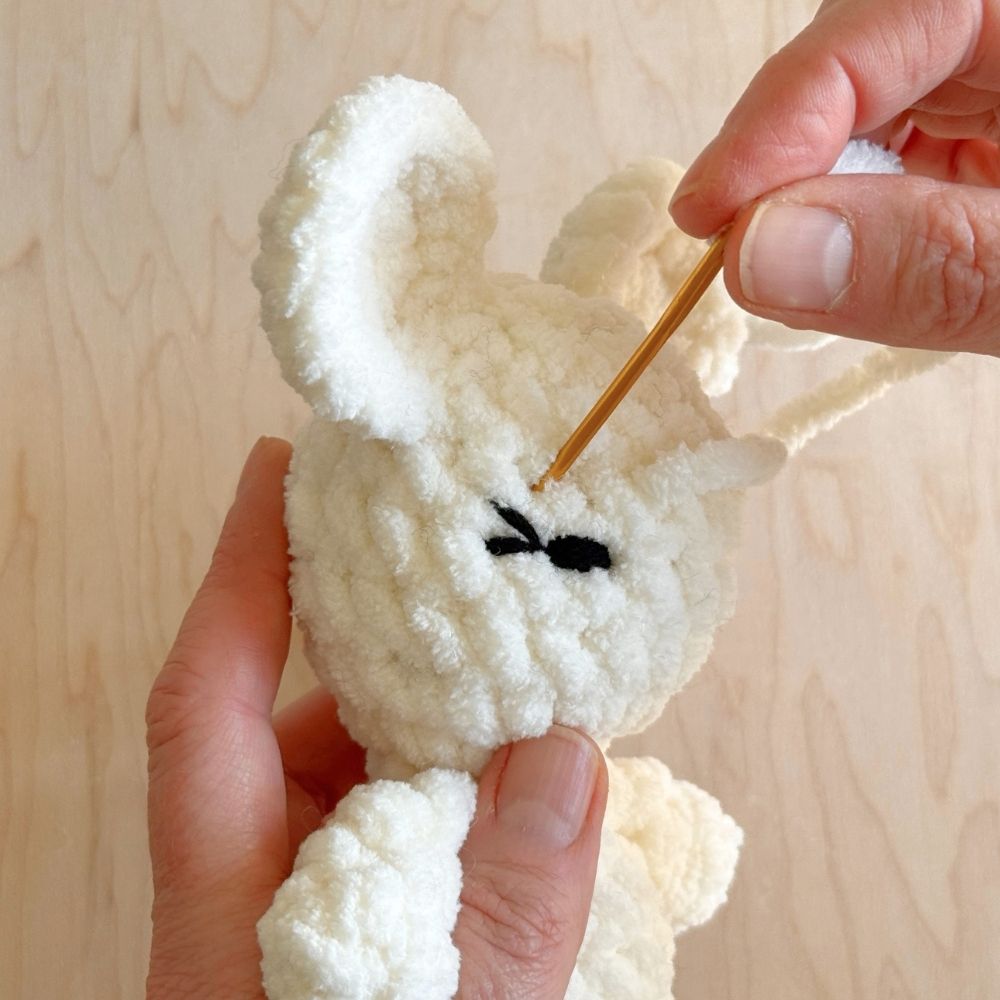
- Eyes are embroidered horizontally.
- Use stitch markers to mark out eyes first.
1: With a yarn needle and a 25″ strand of black worsted weight yarn, insert into the lower half of the head and bring needle up at the first eye.
2: Insert needle one stitch over and back up at the original point. Repeat 3-4 times to form the eye.
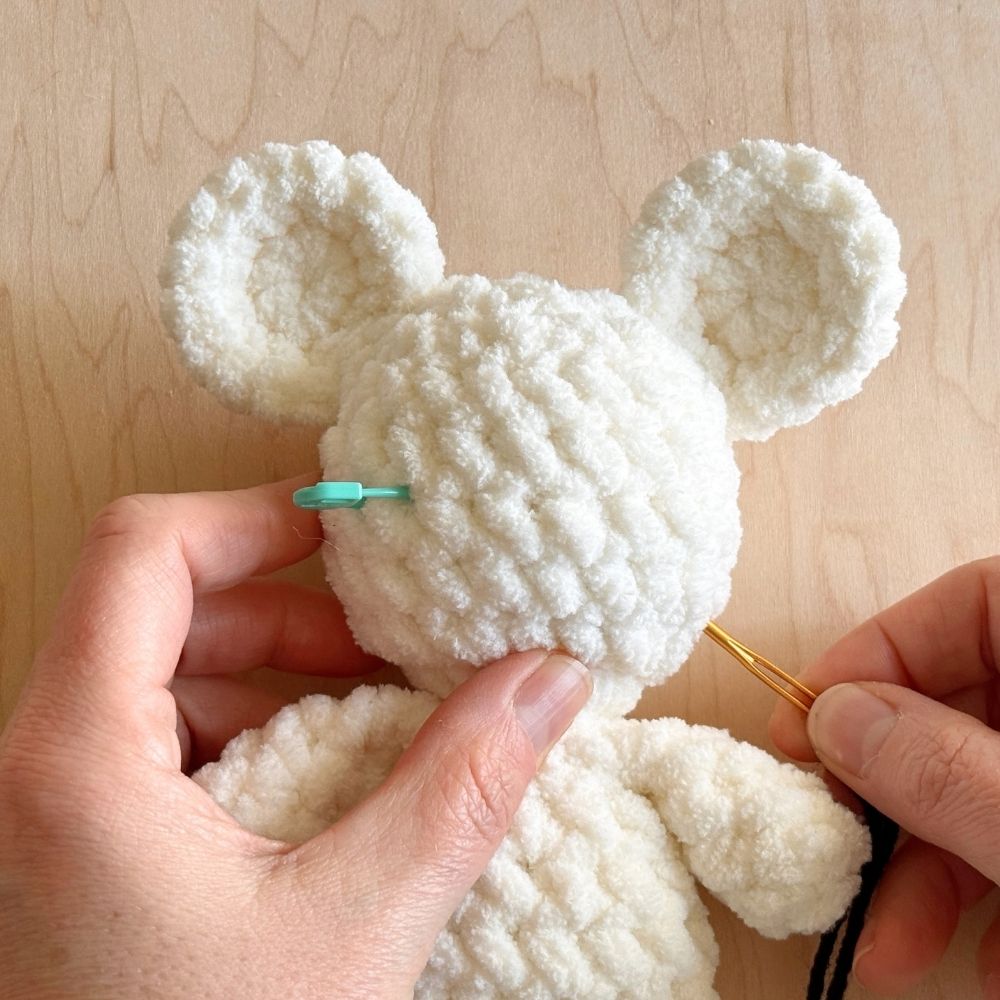
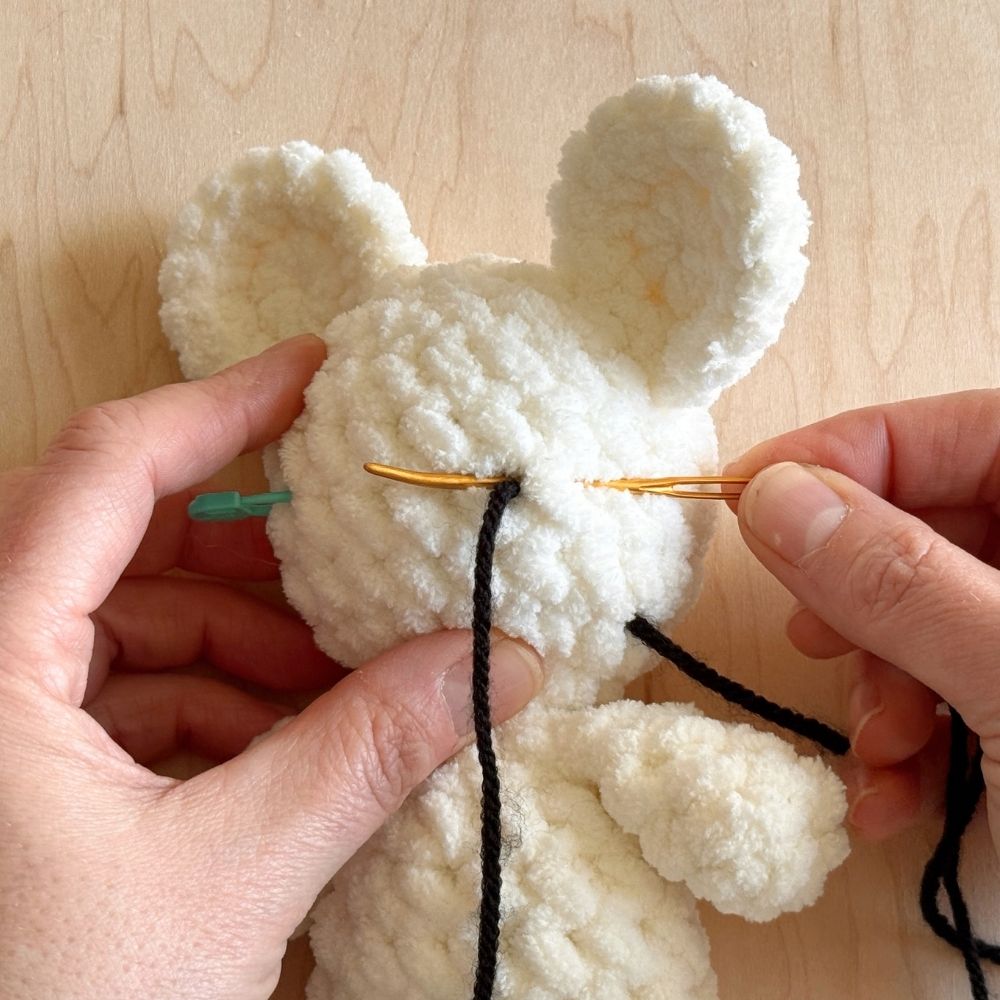
3: Insert needle back into original space, coming out 1–2 sts from the outer edge of the eye, level with the bottom of the eye.
4: Insert needle back in at the same point, forming a lash, then come out one stitch above the first lash to form a second, then returning to the same point. Bring yarn out through the lower half of the head, knot, and weave in ends.
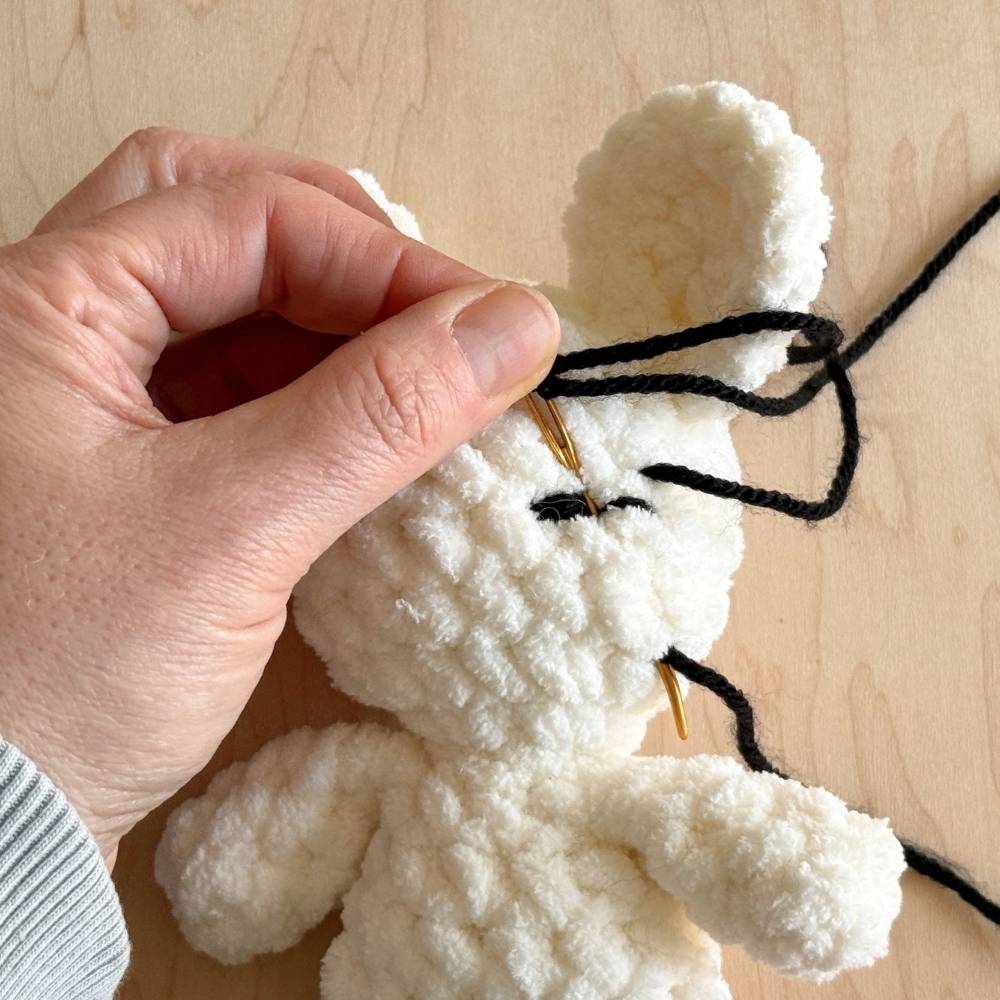
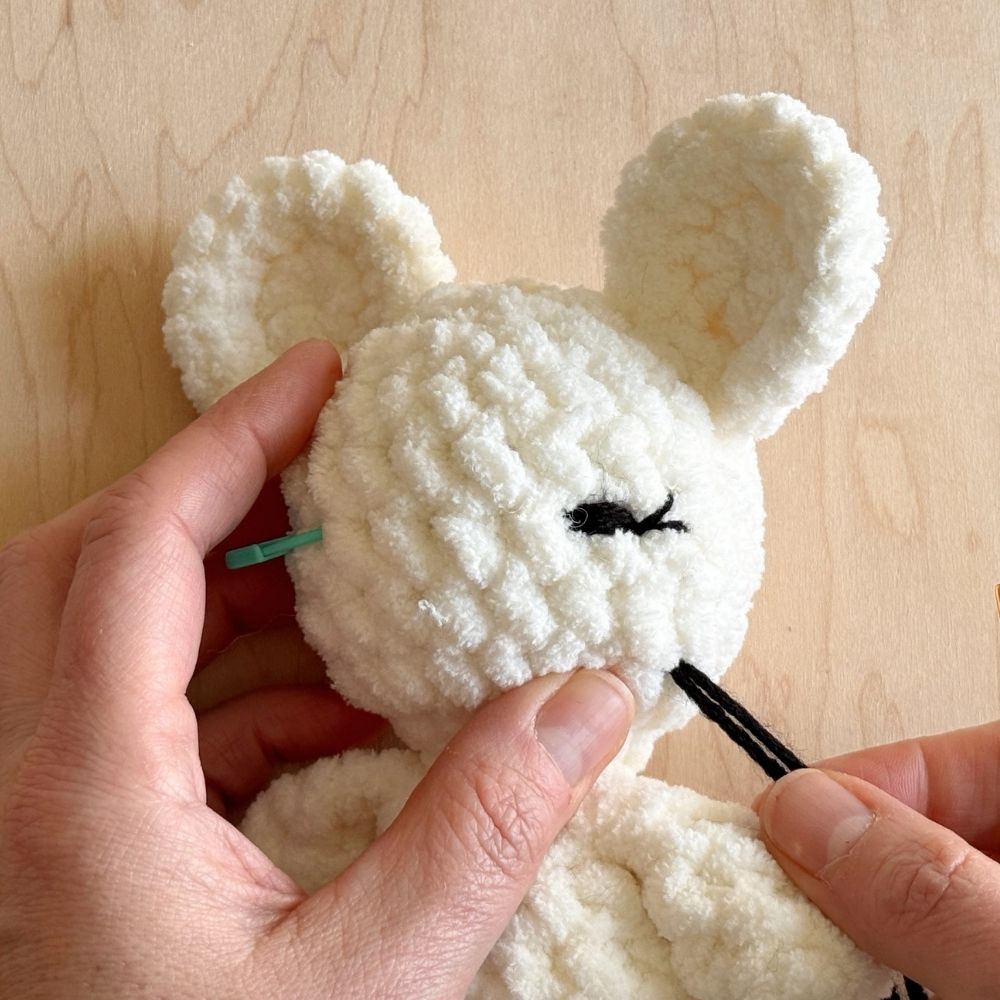
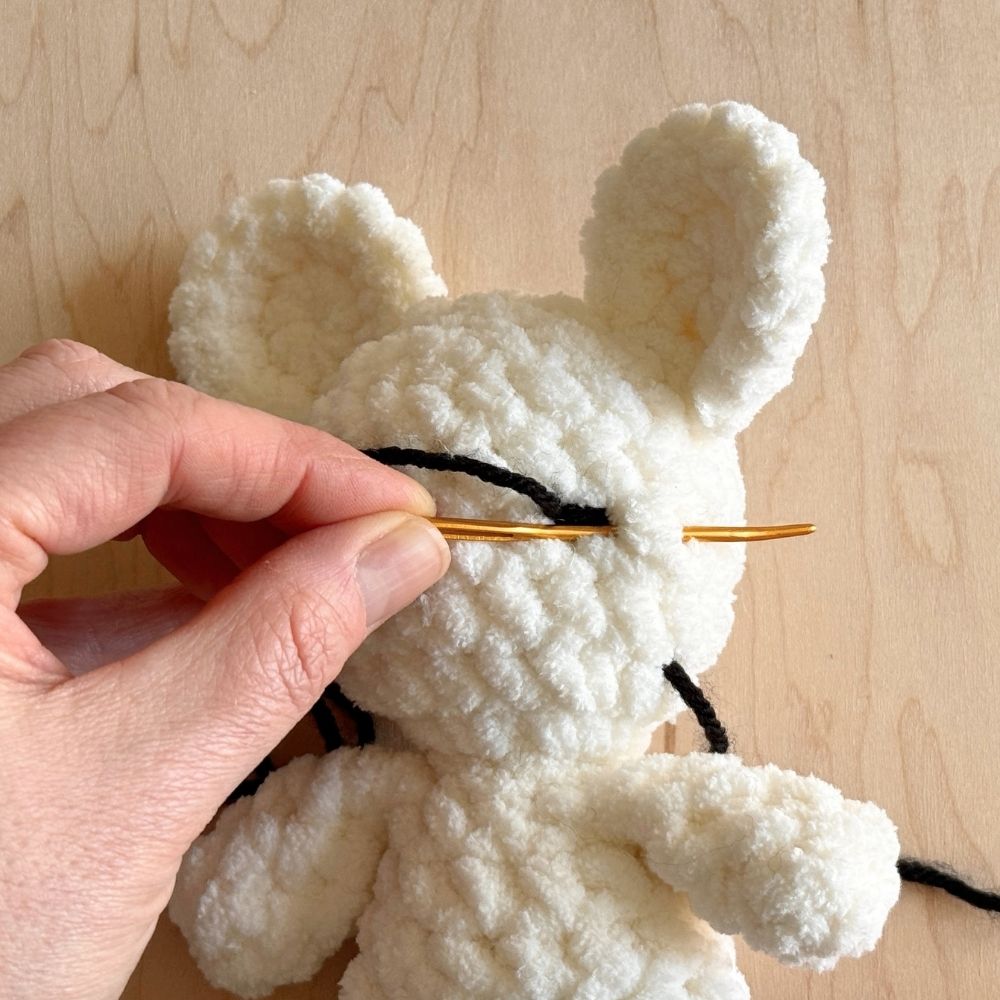
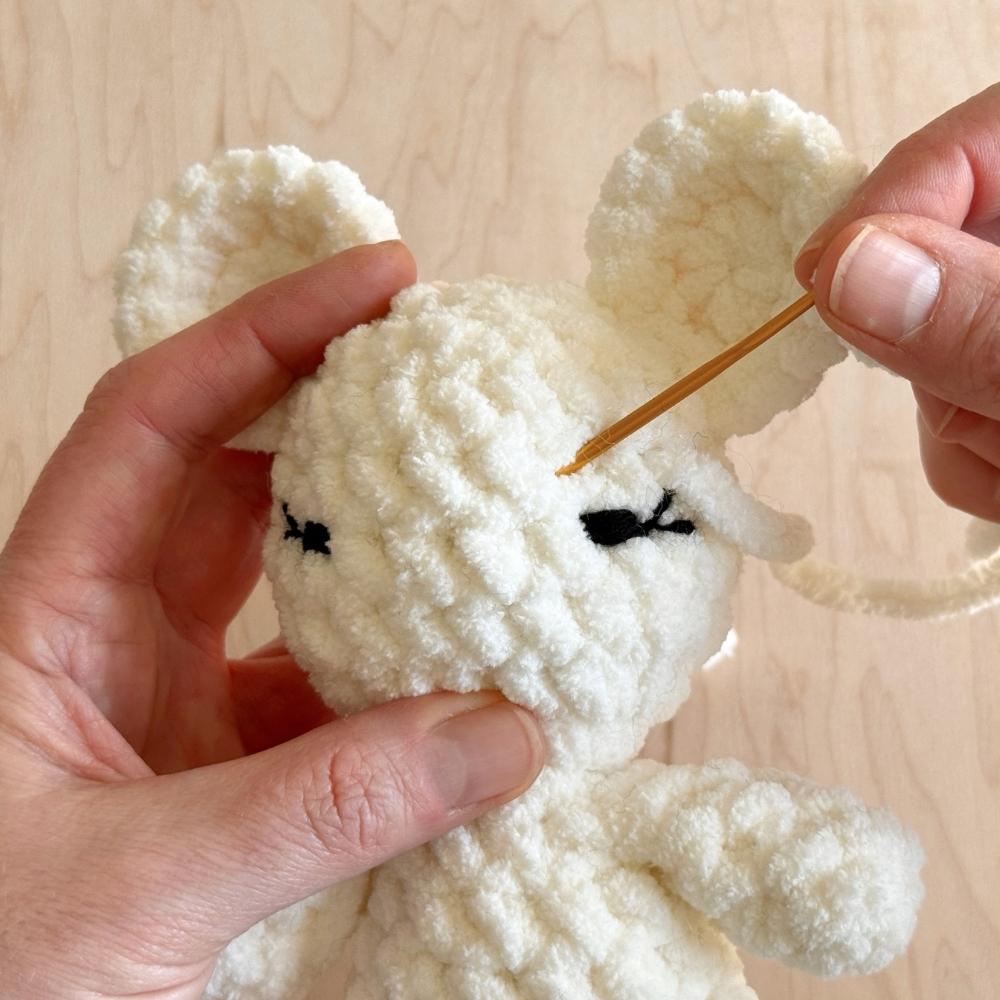
SHAPING THE EYES
1: Using a 16″ strand of main color yarn, insert needle into the back of the head and come out to the left of Finn’s left eye.
2: Insert needle back into head to the right of the left eye and come out on the top left of the right eye.
3: Insert needle to the right of the right eye and out the same spot at the back of the head.
4: Gently pull on the two strands of yarn until the loops created over each eye are hidden and there is a slight dent created at each eye. Knot and weave in ends.
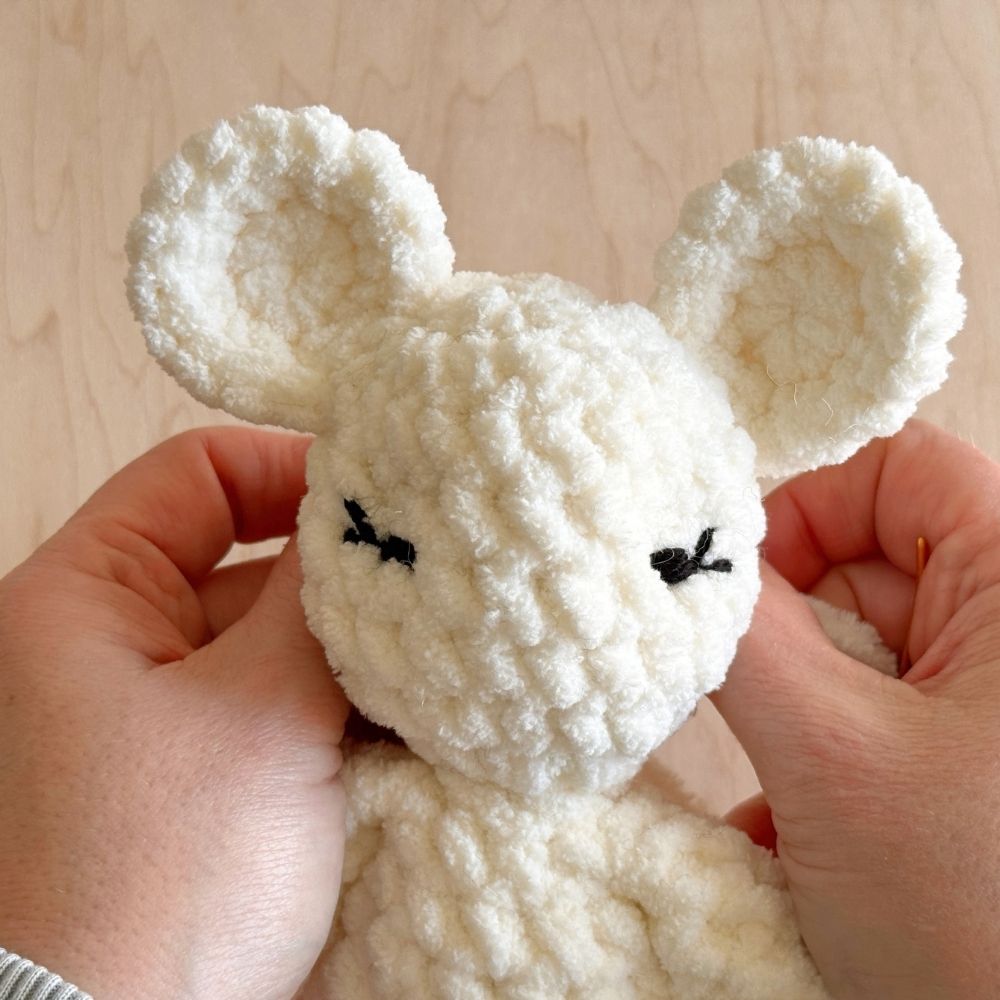
And she’s all finished! I love the soft look of these embroidered eyes – I hope you love them too!

Check out this video tutorial!
Check out my other popular blog posts here:
Carrot Sleeping Bag Crochet Pattern
If you’d like to stay up-to-date with my latest blog posts and free patterns, sign up HERE for my newsletter!