Maisy Duck Mod
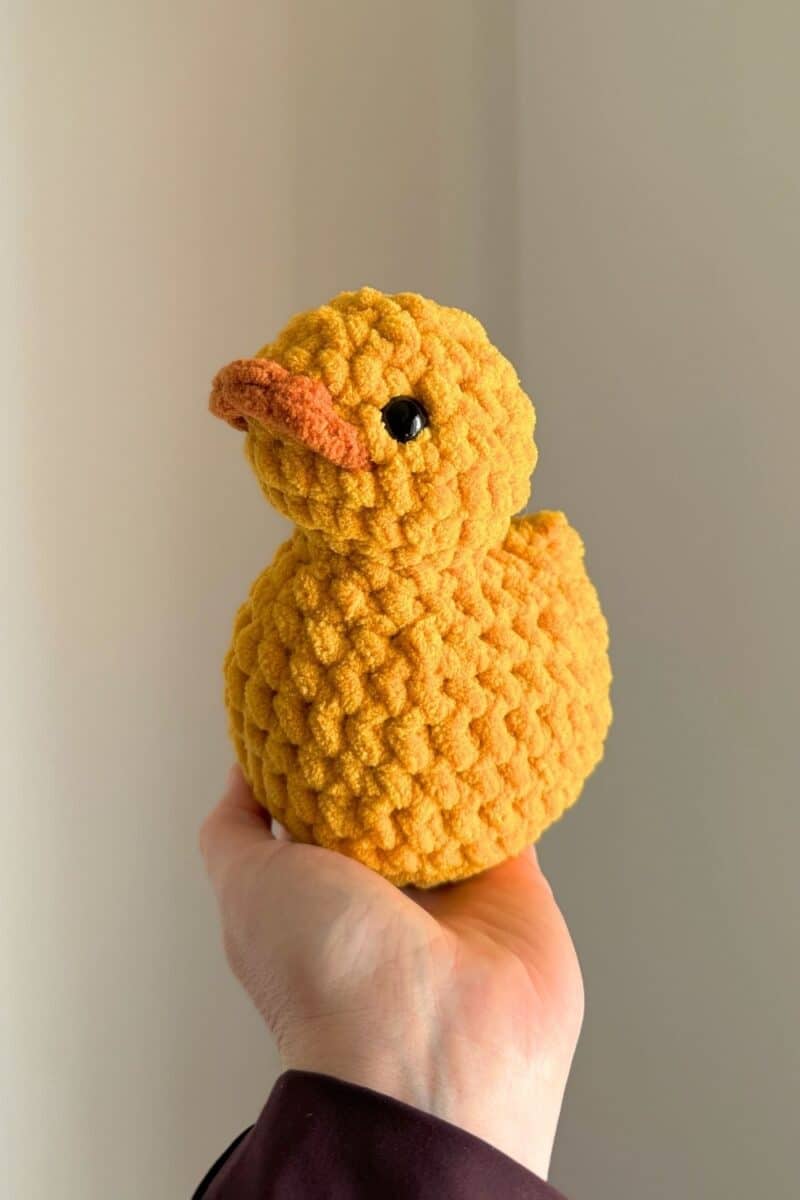
This Maisy Duck crochet pattern is a rubber-duck inspired twist on the original Mabel Chicken Crochet Pattern. This free modification uses the Mabel base pattern and turns your chunky little chicken into the sweetest pouty-faced duck!
You can pick up an ad-free copy of the Maisy Duck Crochet Pattern in my shop or on Etsy. The PDF includes head-to-tail instructions with helpful tips and videos and the Mallard Mod details too!
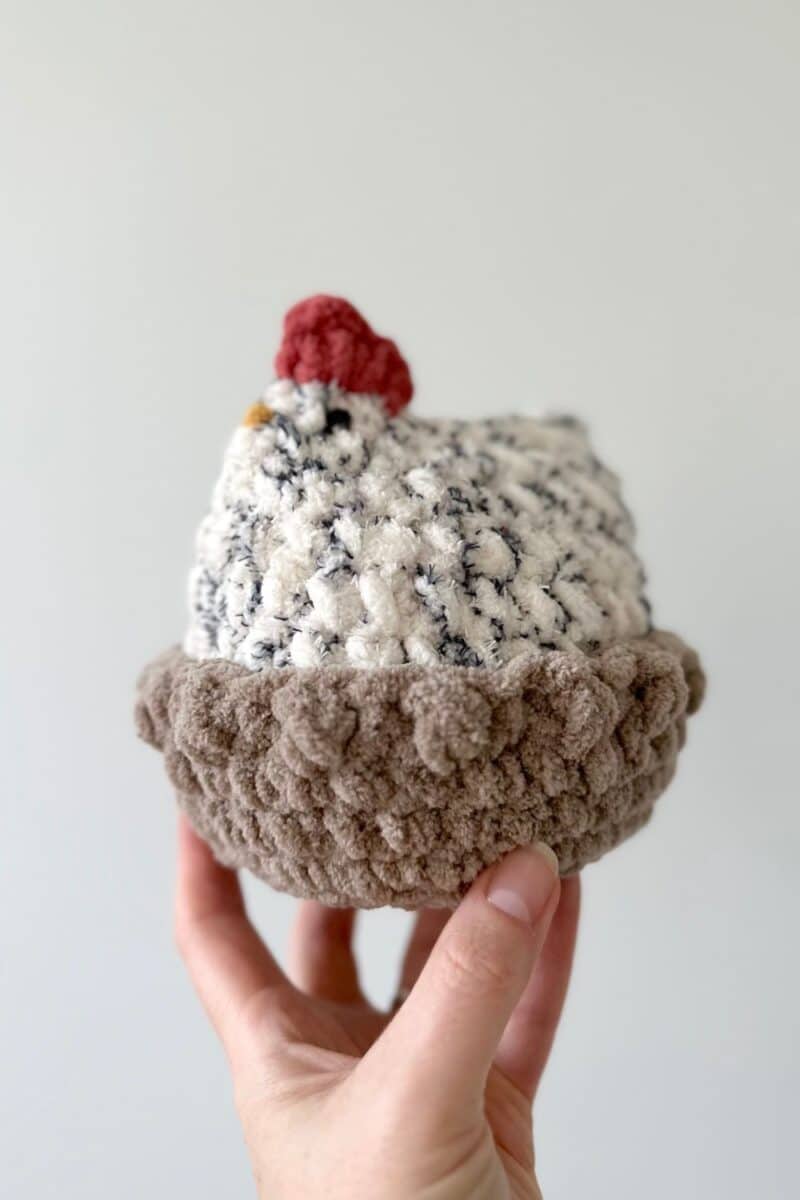
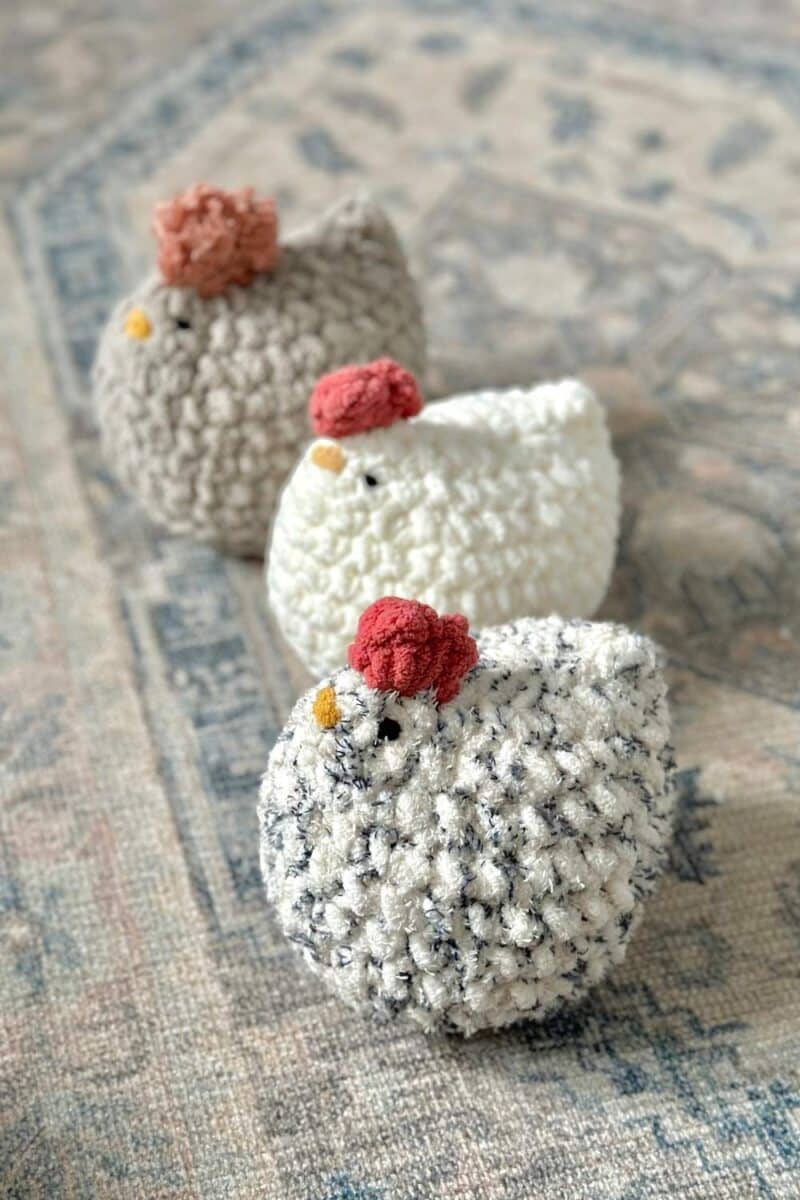
It’s no secret that Mabel Chicken has become a favorite around here. With her round little belly and sweet expression, she’s captured the hearts (and hooks!) of makers everywhere. Mabel is also loved for being quick to whip up – perfect for gifting and market makes.
You can pick up a copy of the Mabel Chicken crochet pattern in my shop. In the photo below, you’ll see she’s tucked into her cozy little nest! You can pick up this FREE Mabel Nest pattern on my blog!
Let’s dive in!
This post contains affiliate links for Etsy and Amazon. If you make a purchase by clicking on them, I make a small commission at no extra cost to you. Read my full affiliate disclosure HERE. Thanks for your support!
NOTES:
SUPPLIES:
- Size 6 super bulky weight yarn
- Mabel Chicken crochet pattern
- 8 mm crochet hook
- 12 mm safety eyes
- Stitch markers
- Scissors
ABBREVIATIONS:
dec – invisible decrease
FO – fasten off
hdc – half double crochet
inc – 2 sc in same st
mc – magic circle
sc – single crochet
sl st – slip stitch
st(s) – stitch(es)
YO – yarn over
SPECIAL STITCHES:
dec (invisible decrease)
Insert hook into front loops of the next two sts, YO and draw through first two loops, YO and draw through remaining two loops.
standing sc
With a slip knot already on your hook, insert hook into st, YO, draw up a loop, YO, and draw through both loops.
INSTRUCTIONS:
Start with the Mabel Chicken crochet pattern, and stop before whipstitching the body.
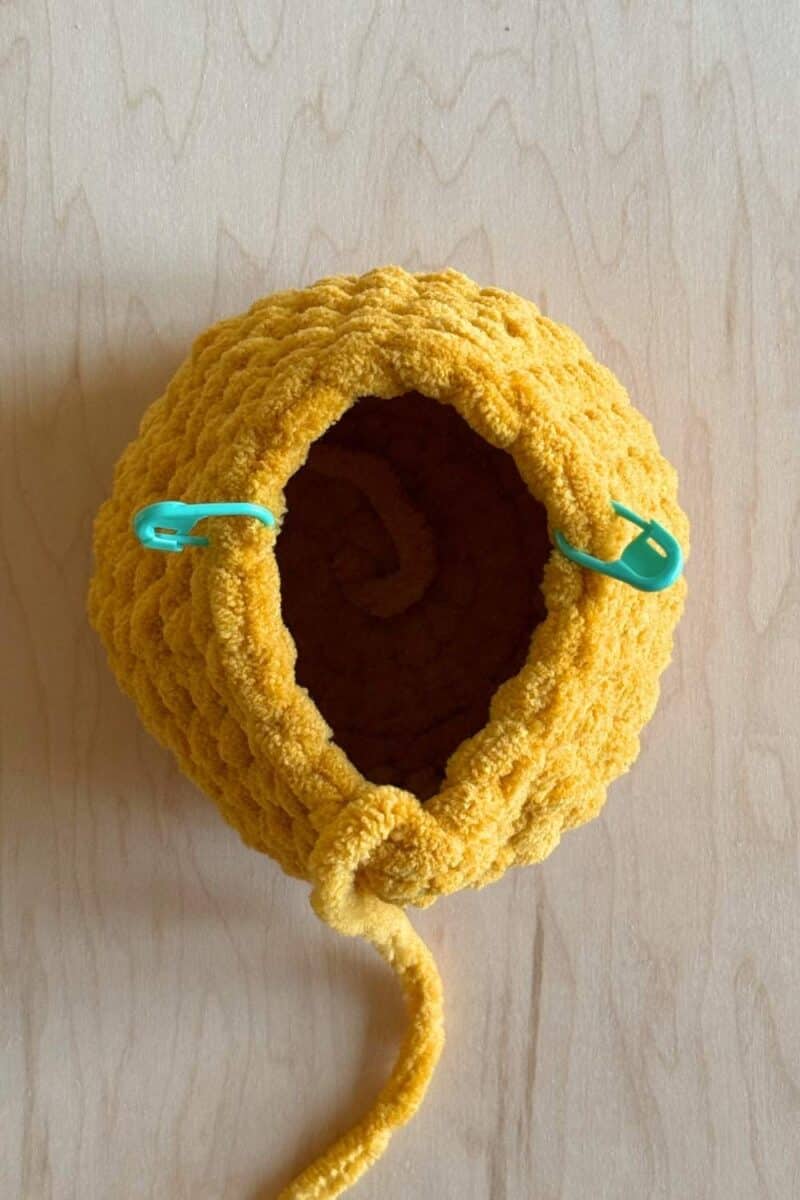
CLOSING THE BACK
1: Pinch the top of the body with the 14″ yarn tail at one corner (this will become the tail).
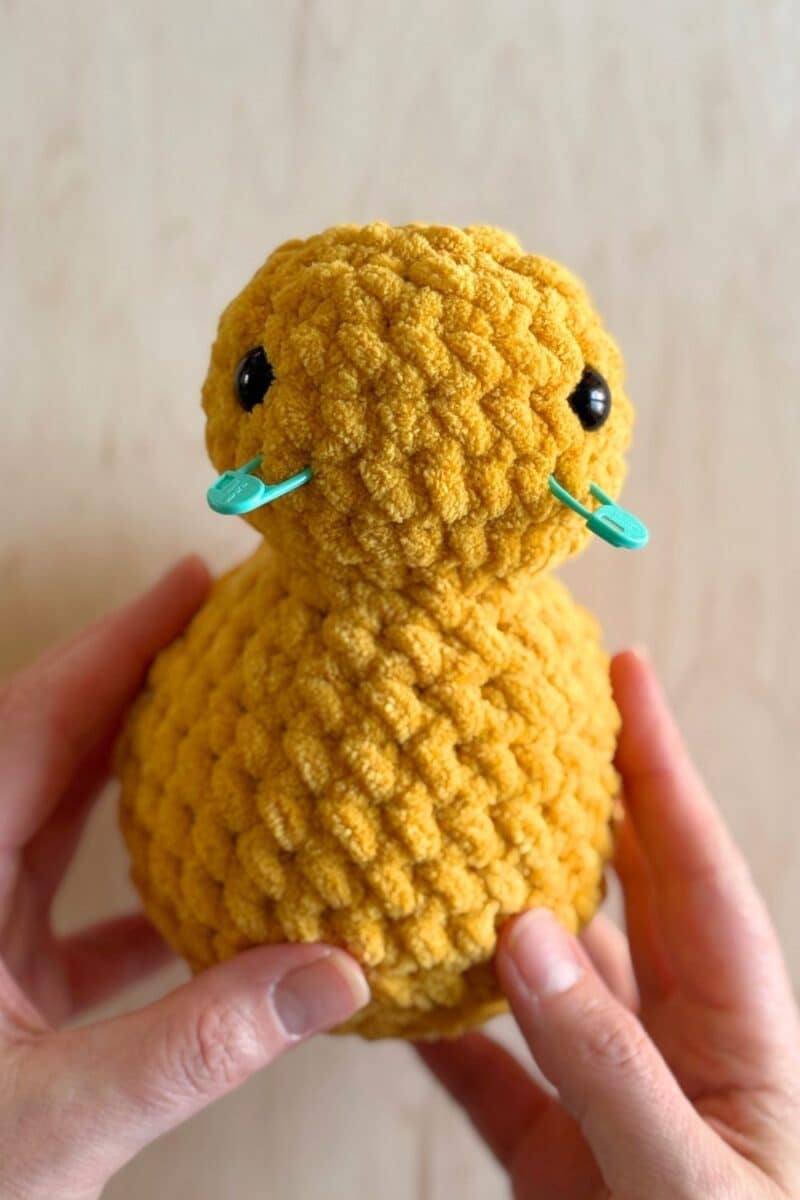
2: Mark the 8 stitches at the opposite end from the yarn tail.
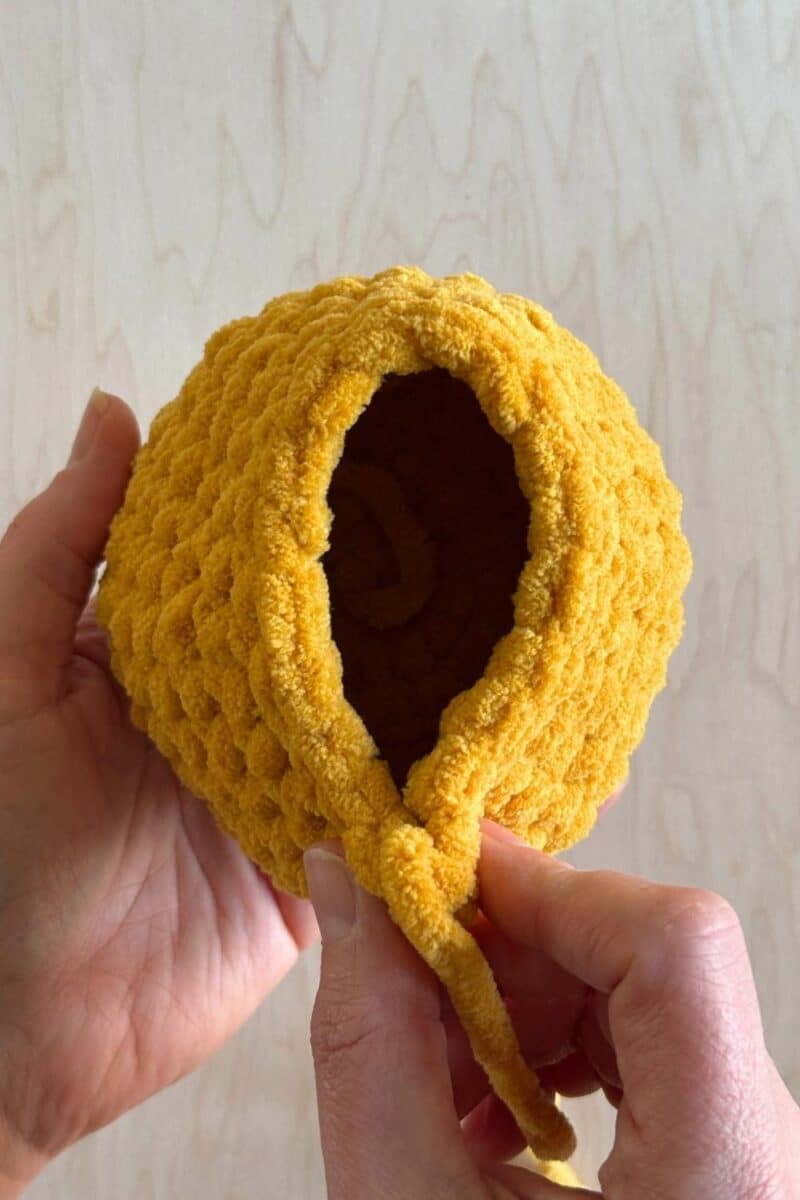
3: Use the yarn tail to whipstitch from the corner to the stitch markers. Begin to stuff the body before reaching the markers.
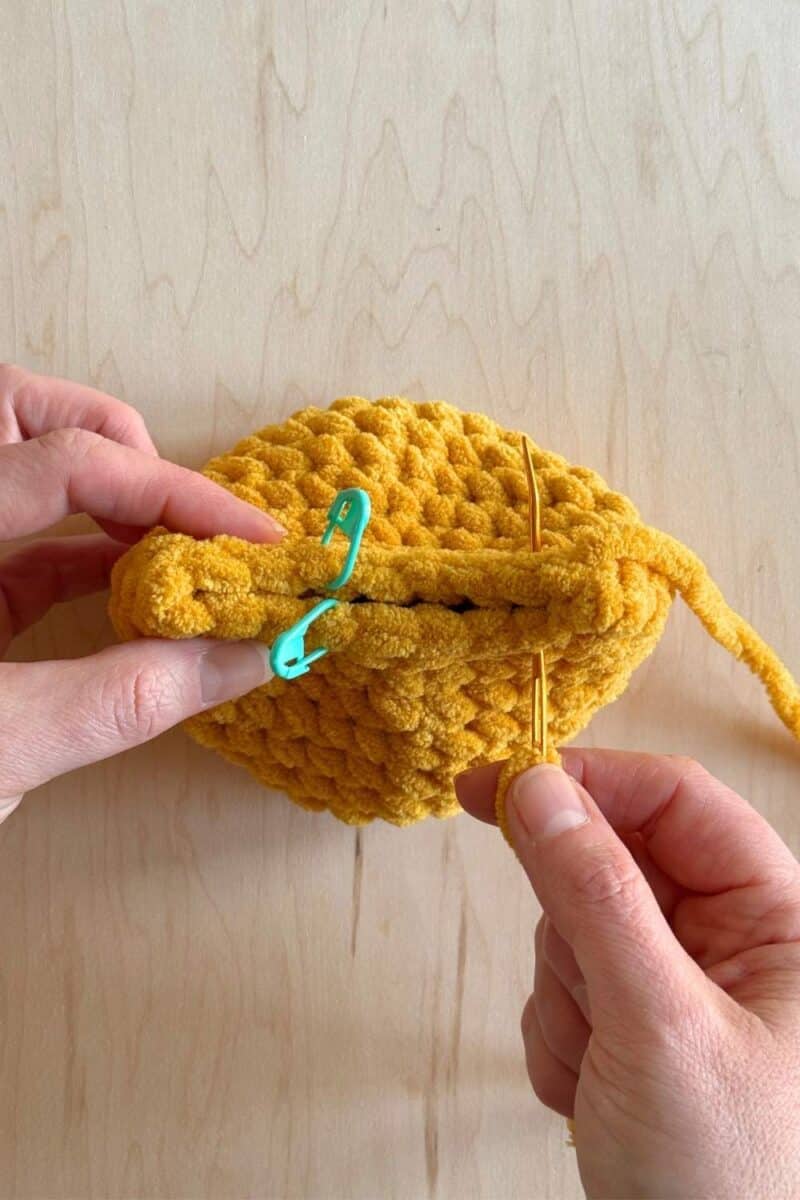
4: Yarn over and work a sl st into the last whipstitch space, just before the markers. FO, leaving the tail out of the body.

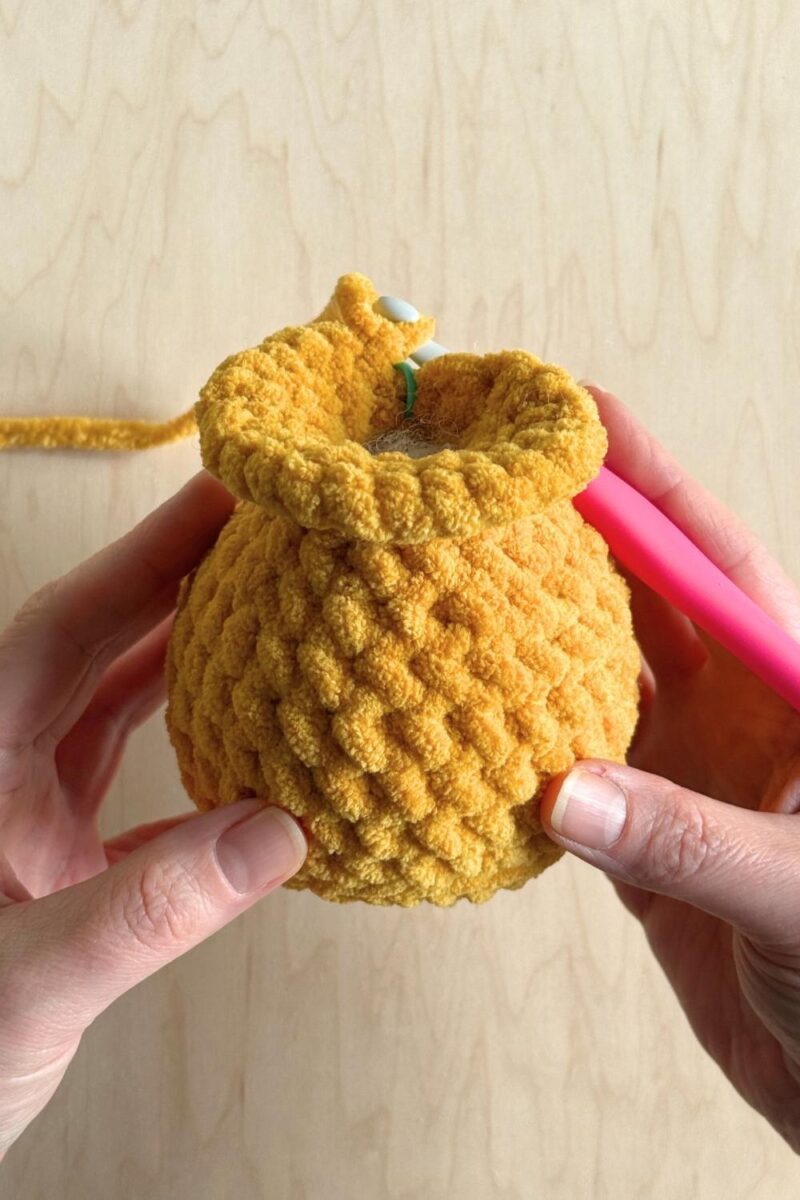
HEAD
Join new strand of yarn on 1st st of round 1 using a standing sc. See SPECIAL STITCHES. The standing sc counts as the first st in the inc.
Round 1: inc around (16)
*Stuff the body
Round 2: 2 sc, (inc, sc) x 7 (23)
Rounds 3-4: sc around (23) (2 rounds/46 sts)
Round 5: 7 sc, dec, 6 sc, dec, 6 sc (21)
Round 6: (1 sc, dec) x 7 (14)
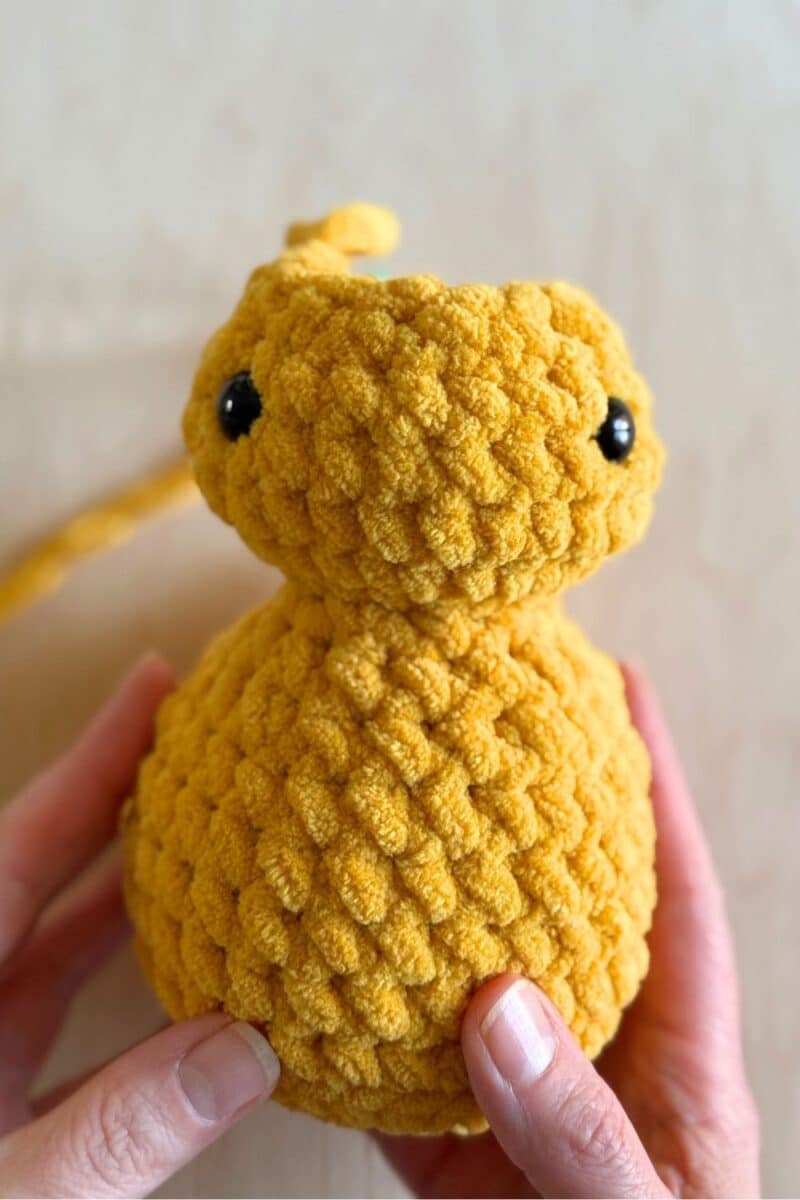
*Place safety eyes (or embroider) between rounds 4-5, 6 sts apart.
*Stuff the head.
Round 7: dec around (7)
Cut yarn leaving a tail for sewing. Pull yarn through last st and sew yarn tail through front loops of each of the 7 sc. Pull tight to close. Sew small gap at the back of the neck with a st if needed. FO and weave in ends.
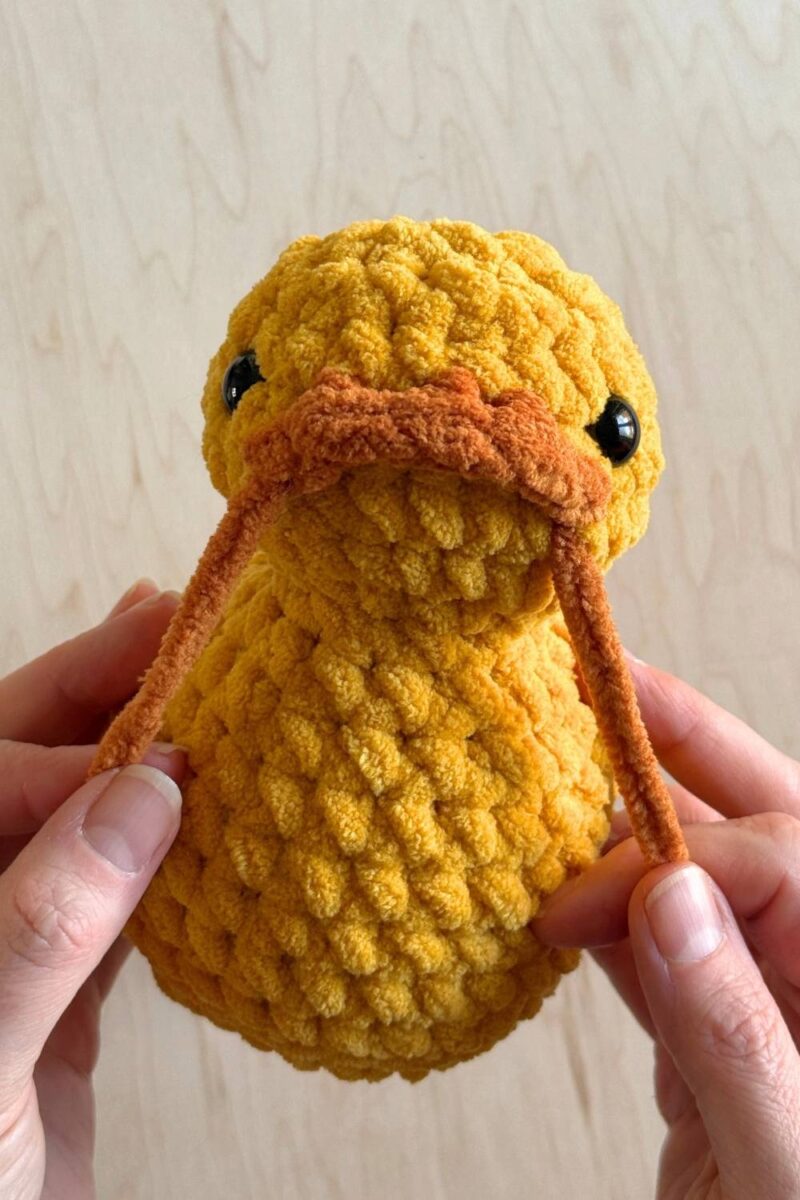
BEAK
The beak will be crocheted onto the surface of the head.
1: Mark stitches on round 3 under the eyes, with 5 visible stitches between them.
2: Insert hook into the marked st under the right eye. Complete a sl st.
3: Work 3 hdc into the round above, centered between the eyes.

4: Work one final sl st into the st marker under the left eye.
FO and weave in ends.
Just look at that little ducky face!
SHAPING THE EYES
1: Using a 16″ strand of main color yarn, insert needle into the back of the head and come out to the left of Maisy’s left eye.
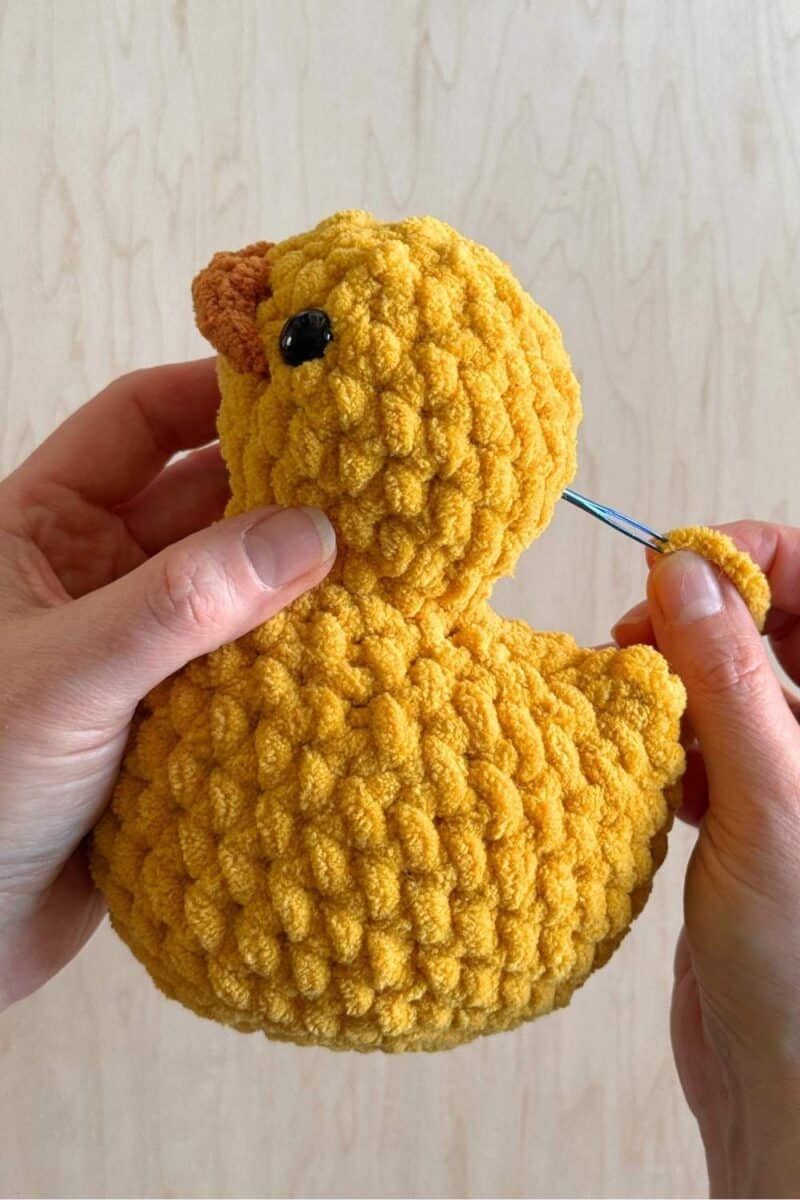
2: Insert needle back into the head to the right of the left eye and come out on the top left of the right eye.

3: Insert needle to the right of the right eye and out the same spot at the back of the head.

4: Gently pull on the two strands of yarn until the loops created over each eye are hidden and there is a slight dent created at each eye. Knot and weave in ends.
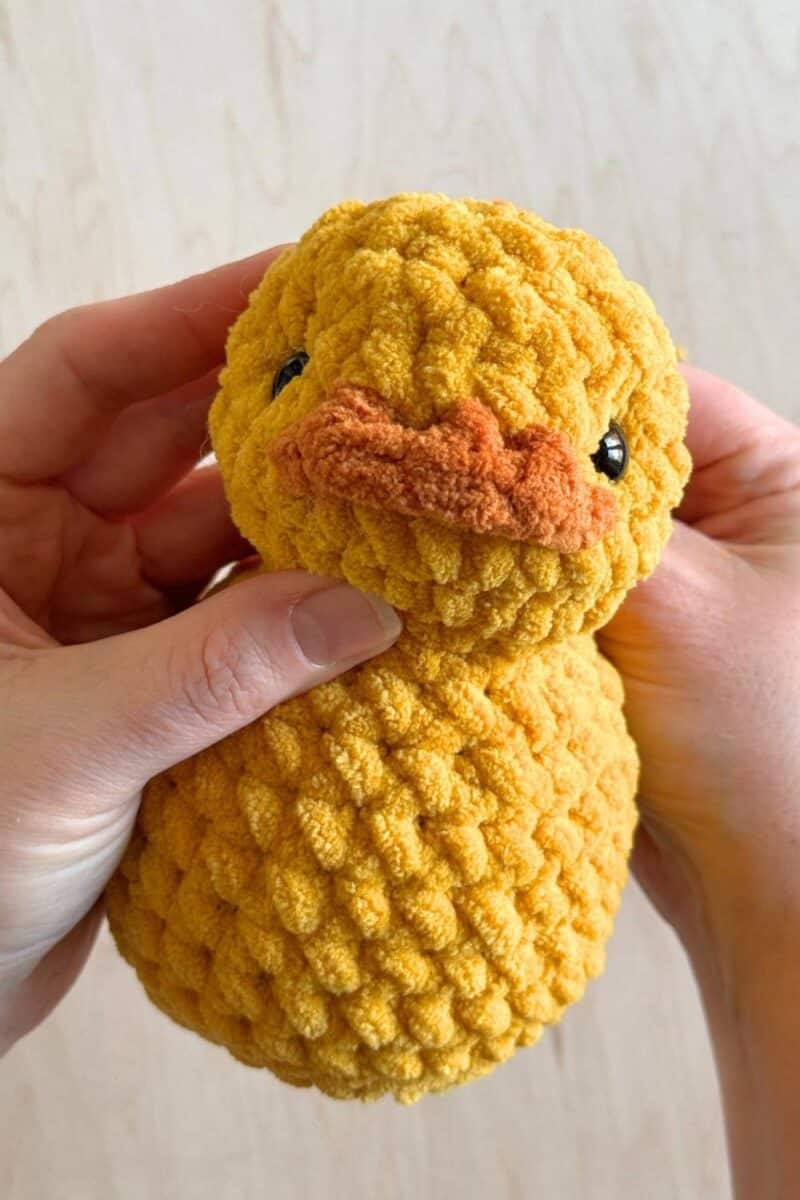
Your little Maisy Duck is complete!
If you prefer a head-to-tail downloadable PDF that includes helpful videos and extra tips, you can pick up the full Maisy Duck Crochet Pattern in my shop or on Etsy. It also includes all the details for making this cute Mallard mod!

Looking for the perfect little friend to keep you company while you work? Check out this Crochet Desk Duck blog post! Here you’ll find everything you need (including free printables!) to turn your Maisy Duck crochet pattern into the sweetest little motivational side-kick!

This squishy little Maisy Duck crochet pattern is the perfect summer market and craft show make. I hope you’ll love her as much as I do!
Happy making!
Check out my other latest blog posts here:
Crochet Chicken Pattern Roundup
If you’d like to stay up-to-date with my latest blog posts and free patterns, sign up HERE for my newsletter!
I know what I’m making today!!!! LOVE this!!!
Thanks so much! Enjoy and happy making! 🙂