Sunburst Pixie Hat Crochet Pattern
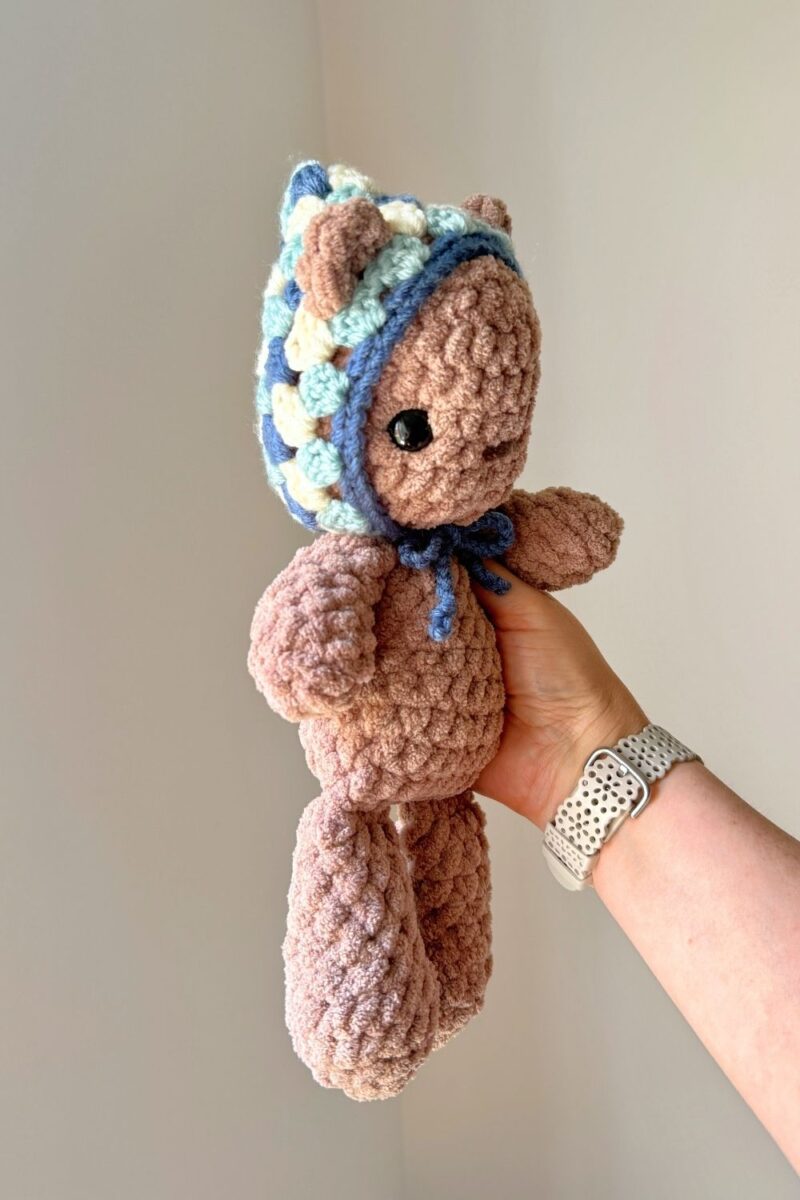
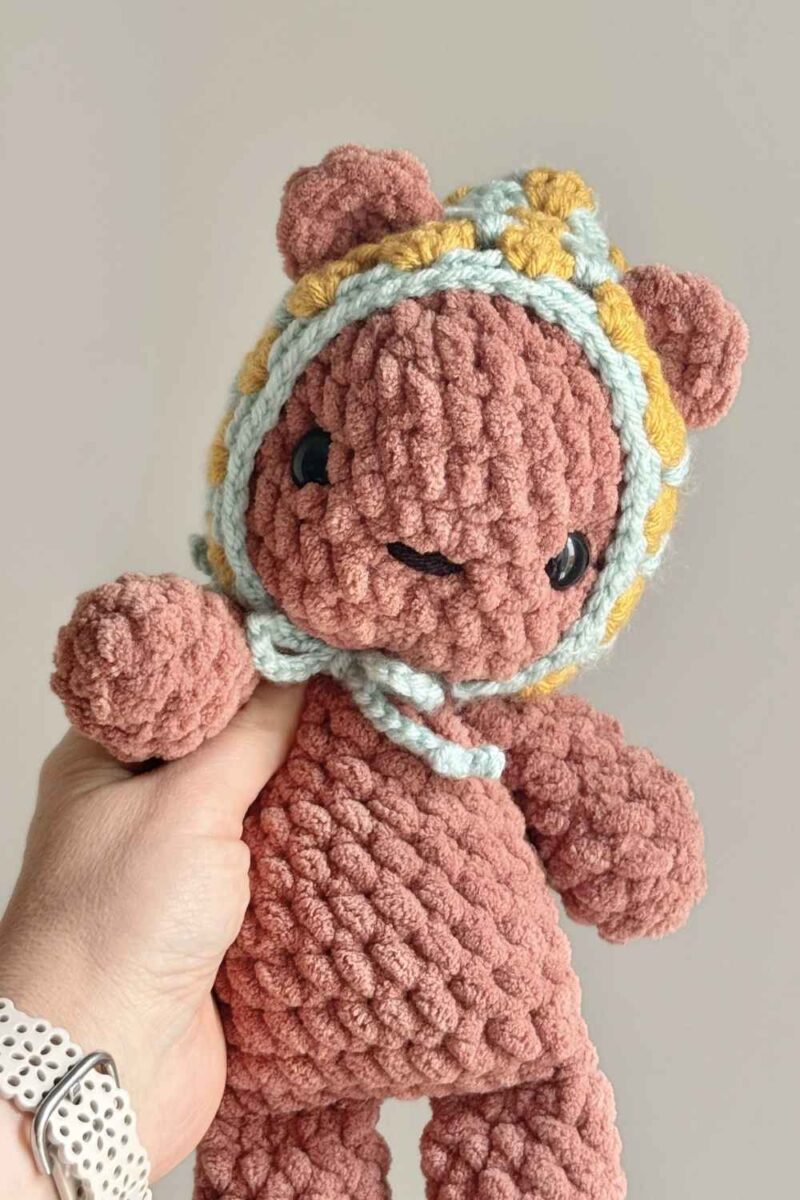
Nothing says vintage crochet quite like a classic granny square! This FREE Sunburst Pixie Hat crochet pattern blends nostalgic vintage vibes with a little whimsical magic. This quick and fun-to-make pattern is a super cute accessory for your Fable Lofty friends, and the perfect way to add a pop of colour and personality to their wardrobes.
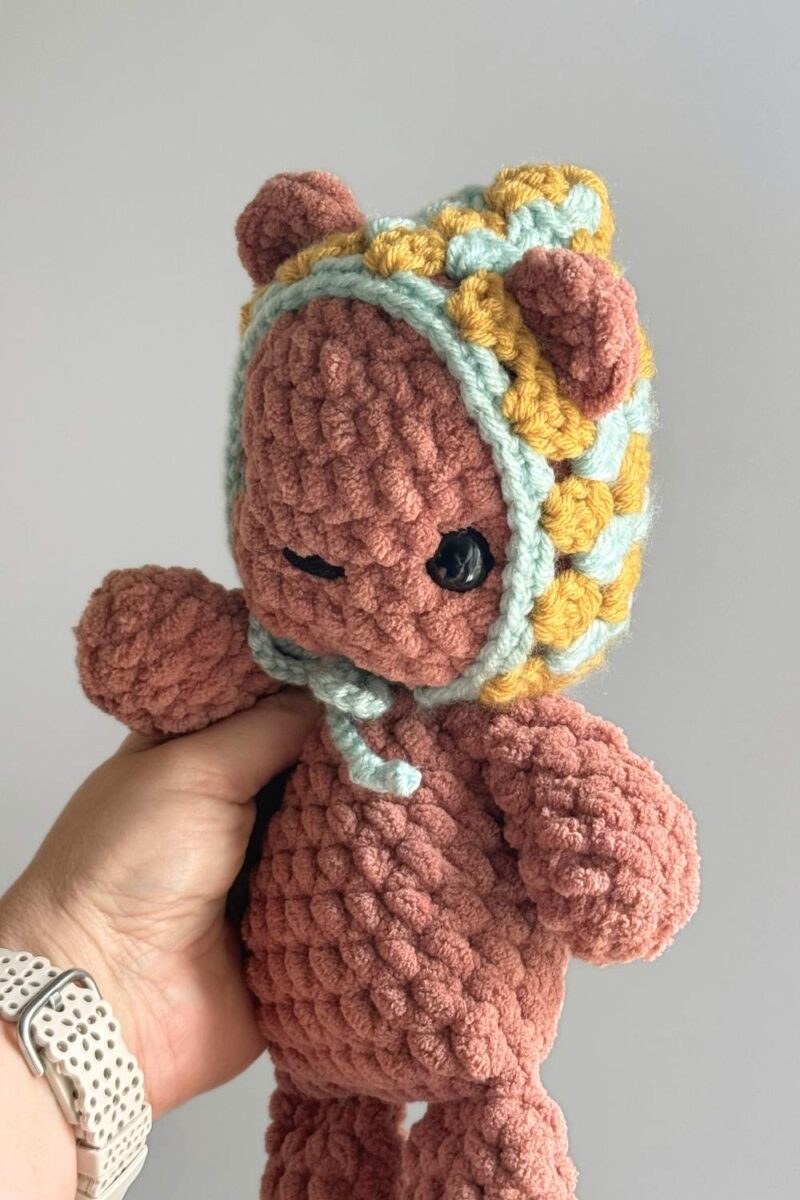
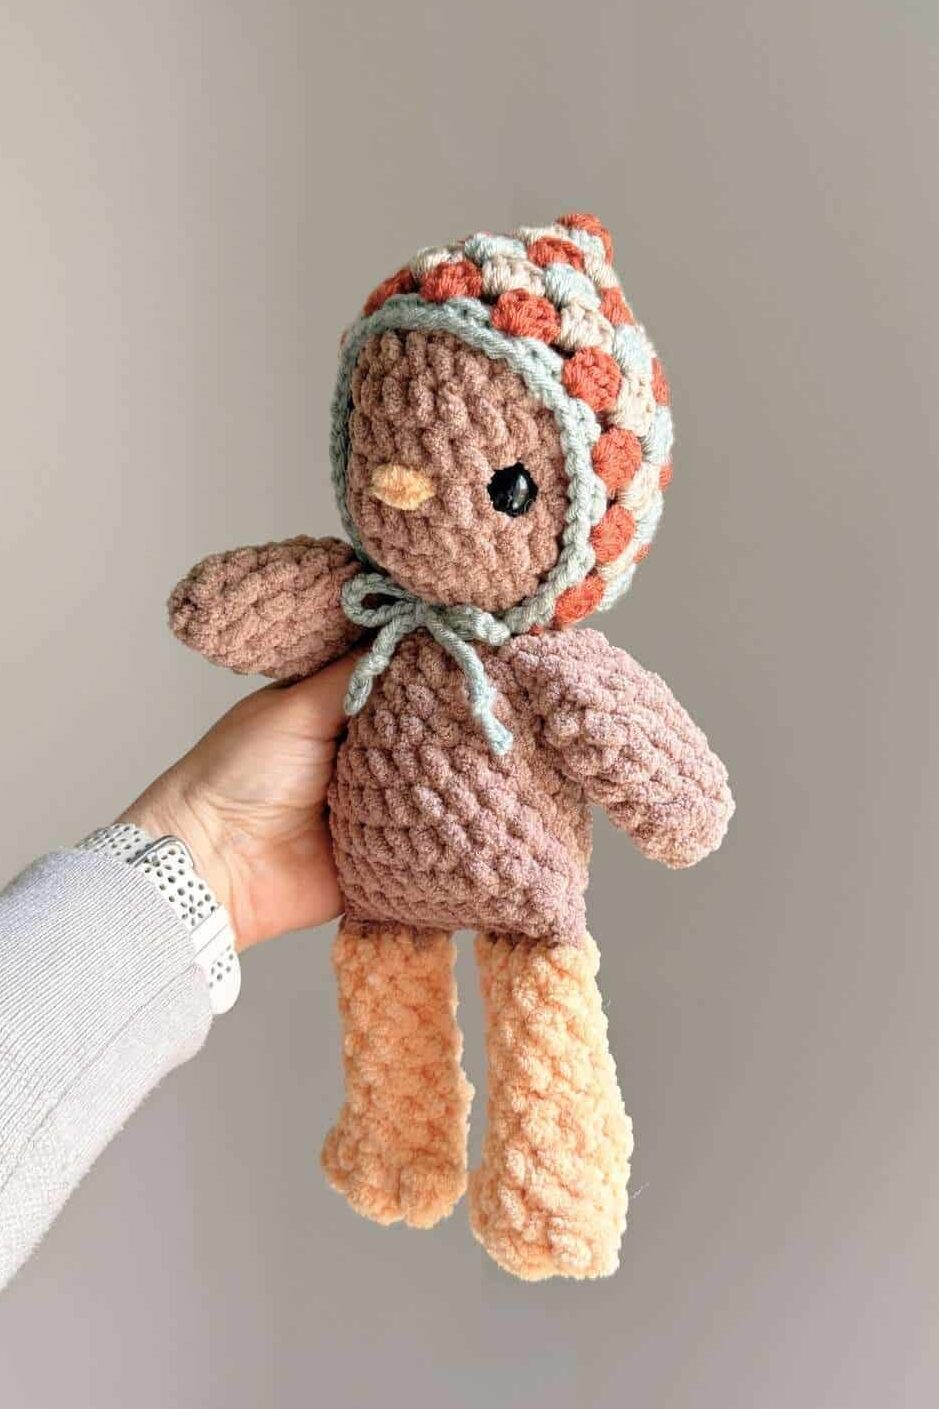
This Sunburst Pixie Hat crochet pattern is designed for the LOFTY sized Fable Collection. This pattern also includes an option without the ear holes – which is perfect for Millie Chicken and her Friends!
If you prefer an ad-free downloadable PDF version, you can find it in my shop HERE or on Etsy.
You can jump to the no-ears version for Millie and her friends HERE.
Let’s jump in!
This post contains affiliate links for Etsy and Amazon. If you make a purchase by clicking on them, I make a small commission at no extra cost to you. Read my full affiliate disclosure HERE. Thanks for your support!
SUPPLIES:
- Size 4 worsted weight yarn in single or multiple colors
- Your favorite LOFTY Fable pattern
- 5mm crochet hook
- Yarn needle
- Scissors
NOTES:
- Hat is shown on the Lofty Finn Bear and Lofty Millie Chicken patterns. This hat will fit any of the Lofty Fable Collection animals with ears.
- Non-ear hat option for the Millie Chicken and Friends pattern is also included.
- This hat pattern is worked in rows.
- The starting chain counts as a stitch.
- It’s recommended to use yarn over/yarn over (YO/YO) crochet method.
- TIP: Check sizing on your Lofty’s head after completing a round or two, as tension will vary between makers. Adjust as necessary.
ABBREVIATIONS:
(US Crochet Terms)
ch – chain
dc – double crochet
sc – single crochet
sk skip a stitch
sl st – slip stitch
sp(s) space(s)
st(s) stitch(es)
YO – yarn over
SPECIAL STITCHES:
sc color change
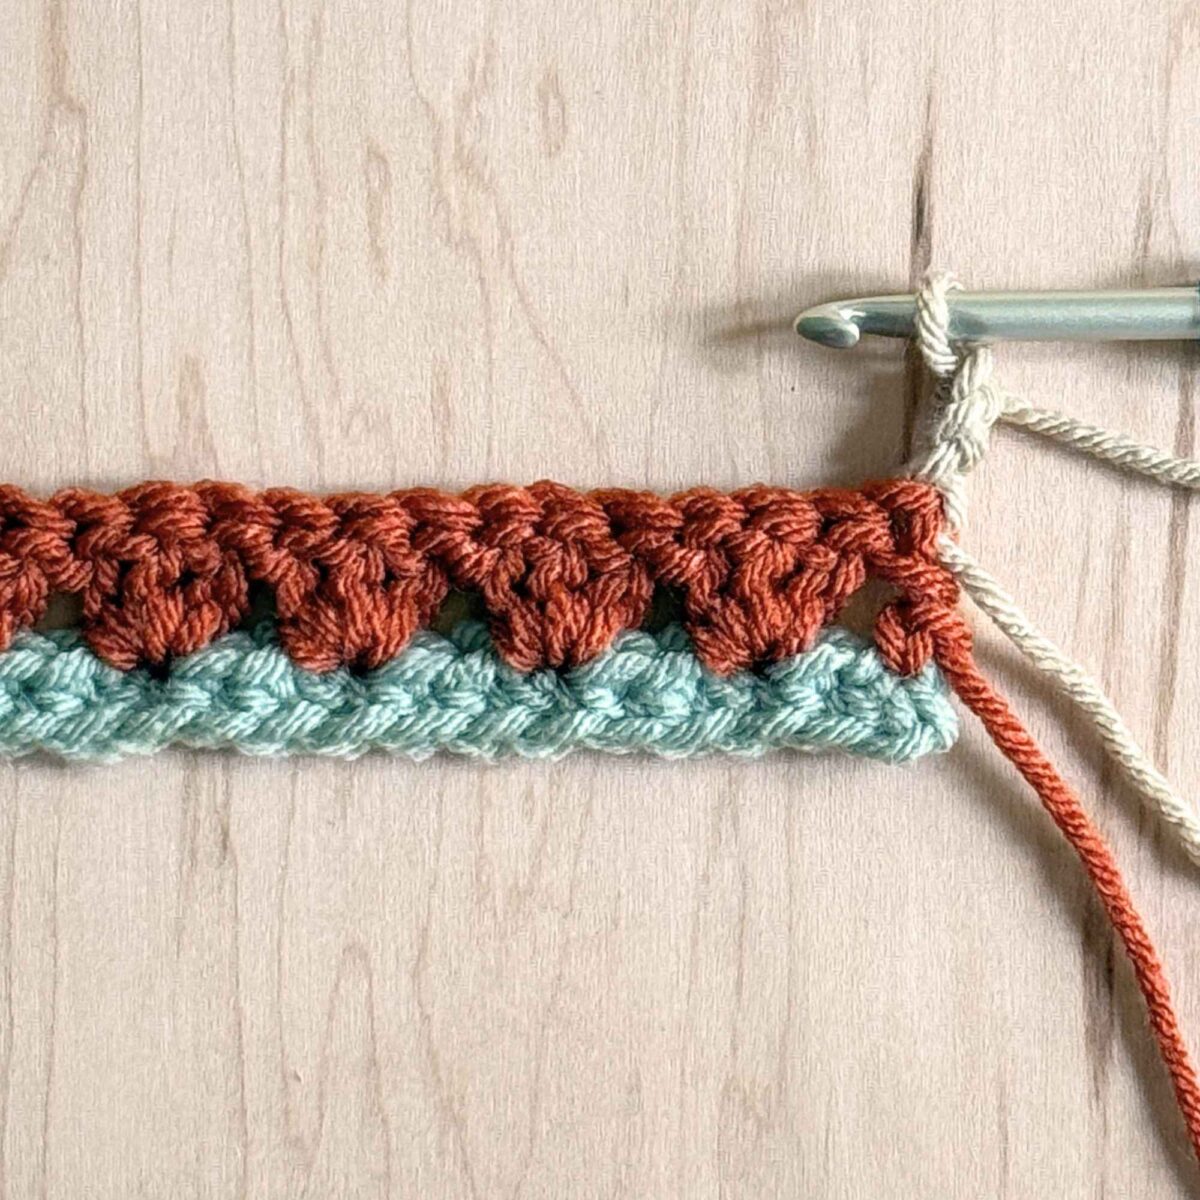
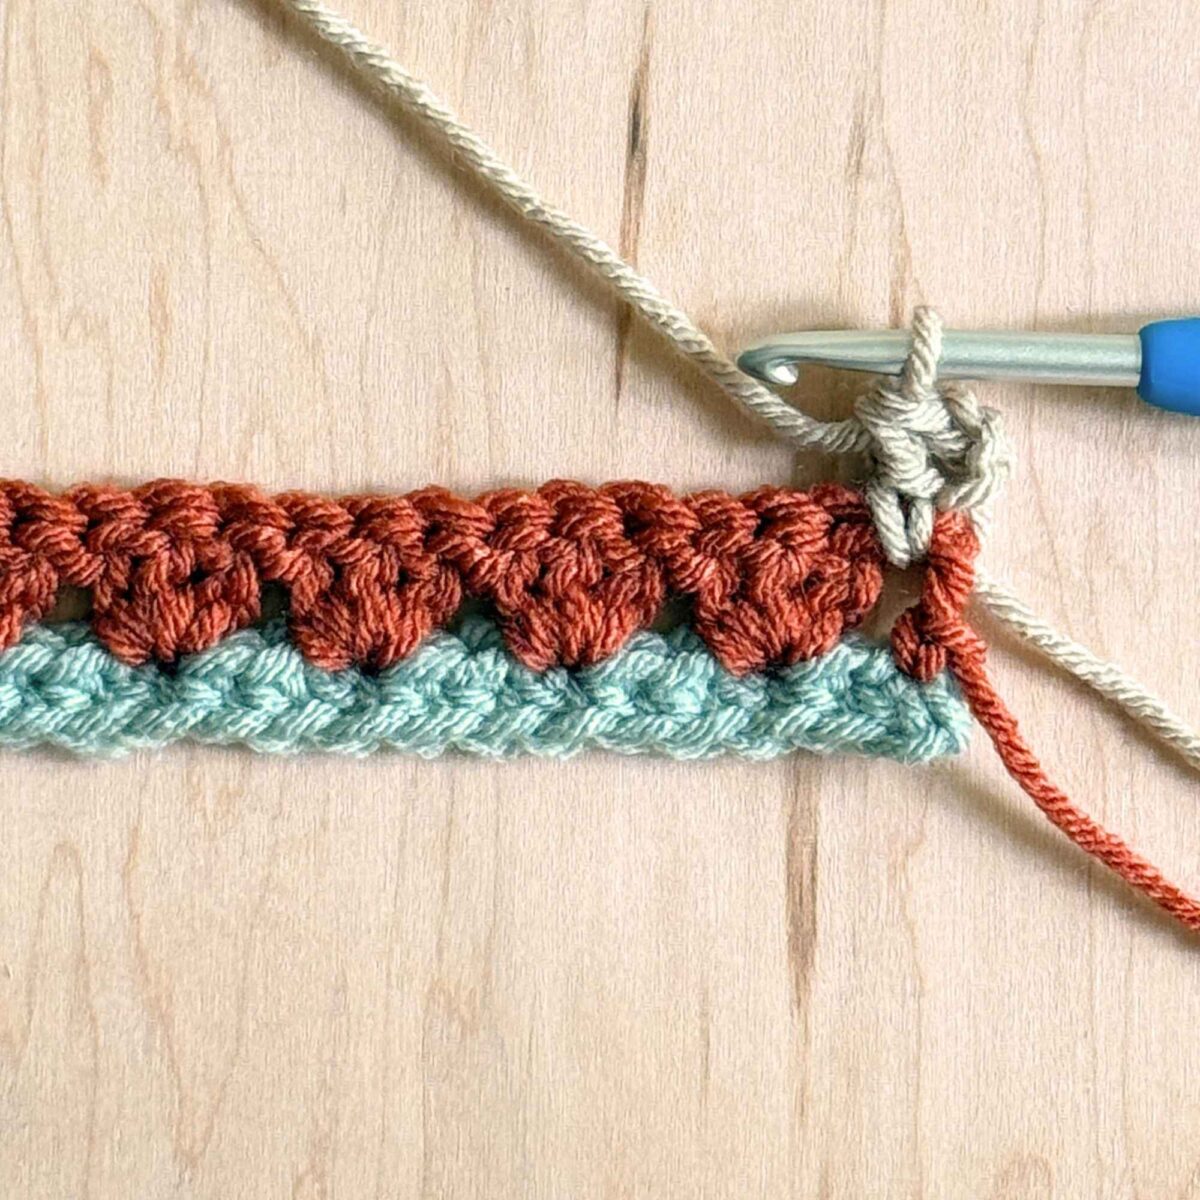
On the last sc before color change – insert hook into st, draw up a loop, YO with new color, draw through both loops on hook to complete.
dc color change
On the last dc before color change – YO, insert hook into st, draw up a loop, YO and pull through 2 loops, YO with new color, draw through both loops on hook to complete.
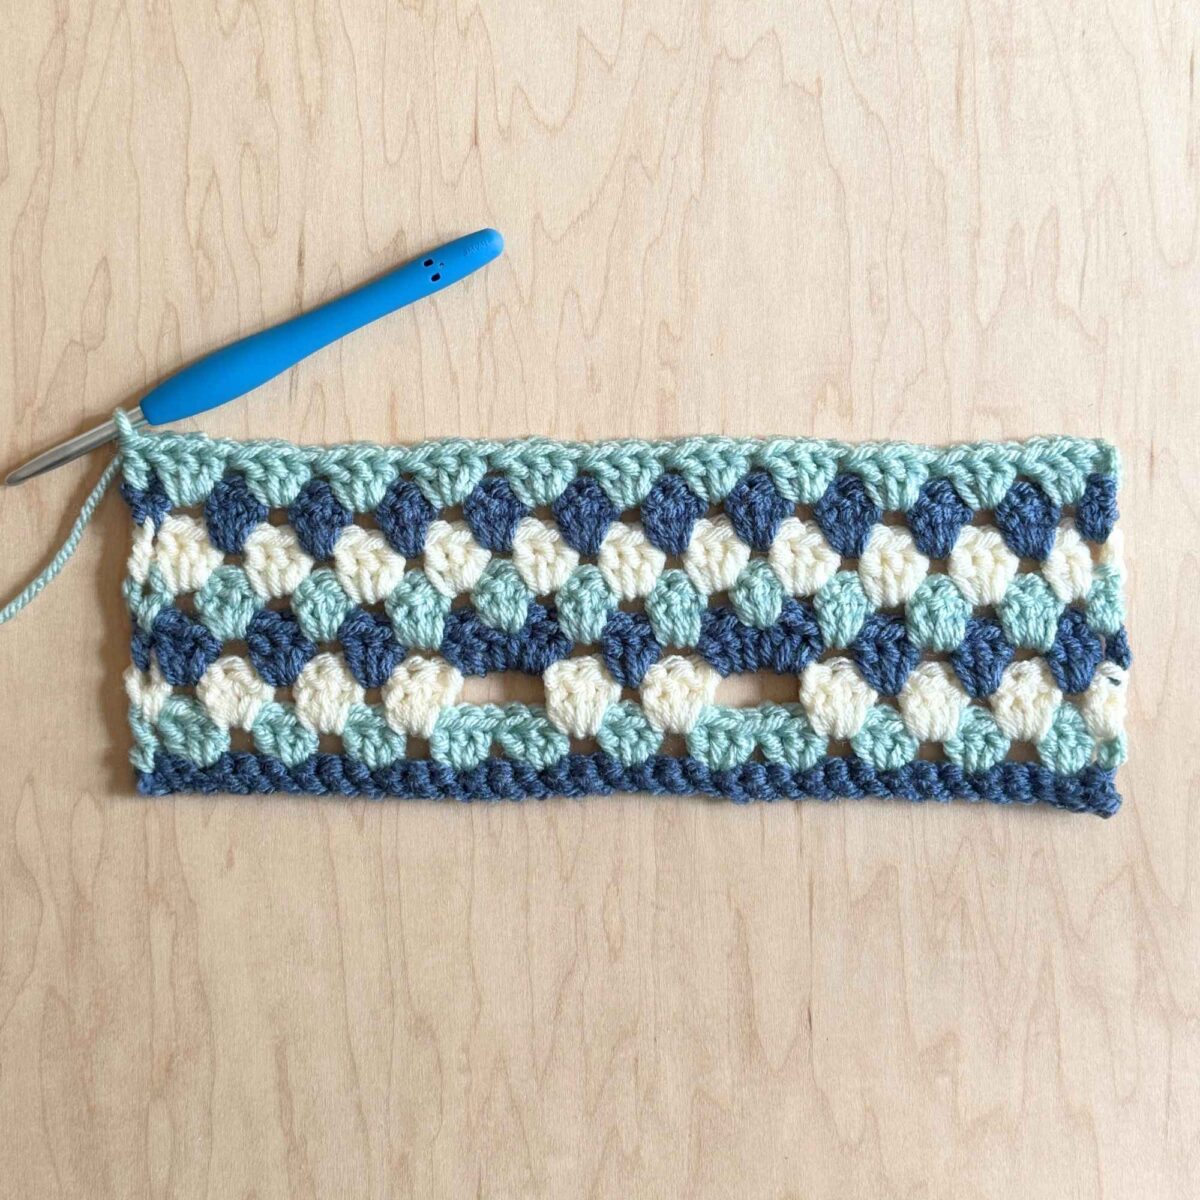
SUNBURST PIXIE HAT (WITH EAR HOLES)
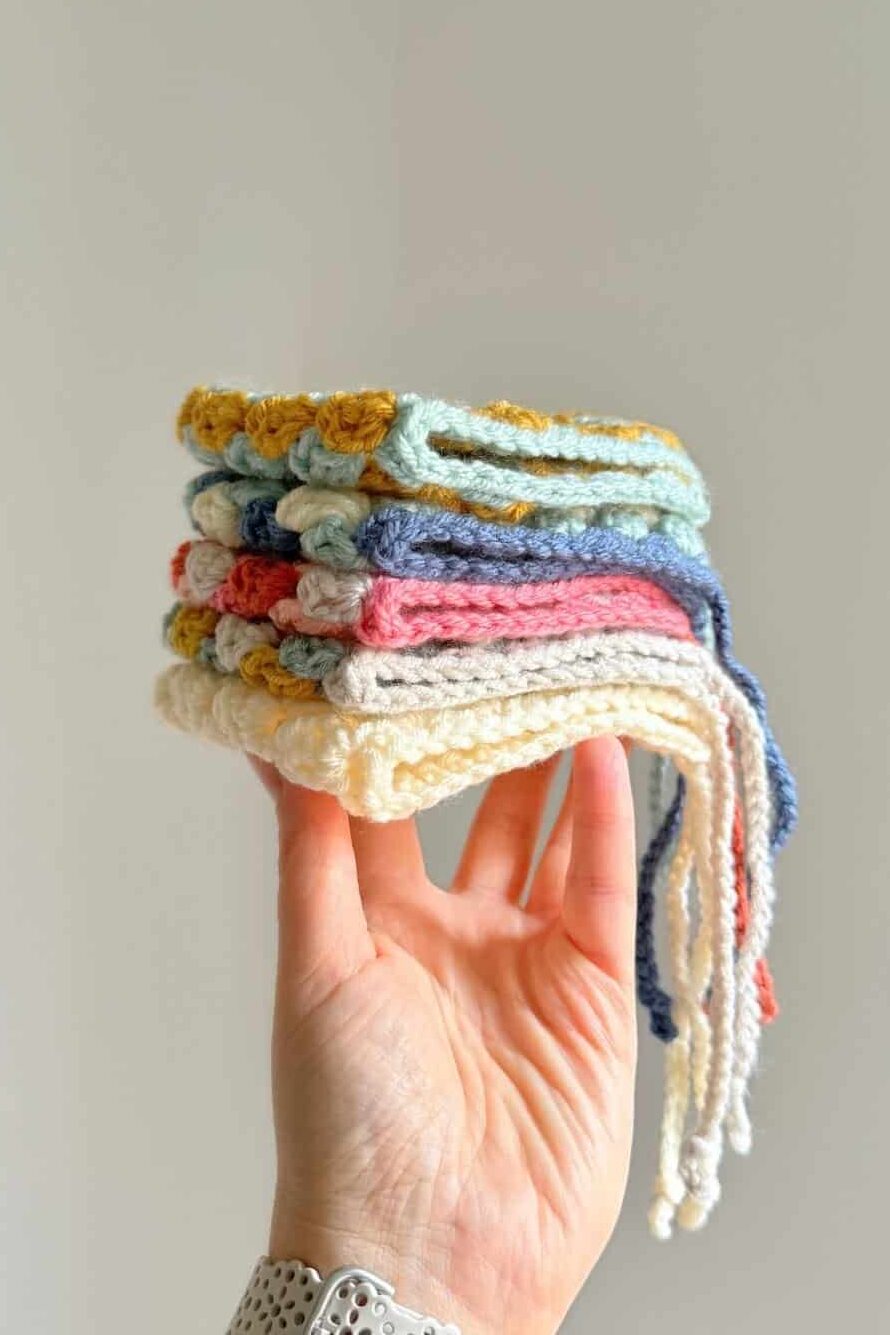
- Hat can be worked in solid colors or a different color for each row.
- Use worsted weight yarn with a 5mm hook.
- Use YO/YO method.
MAIN PIECE
- Hat is worked in rows.
- Keep starting ch relaxed.
- The starting chain counts as a stitch.
Ch 36
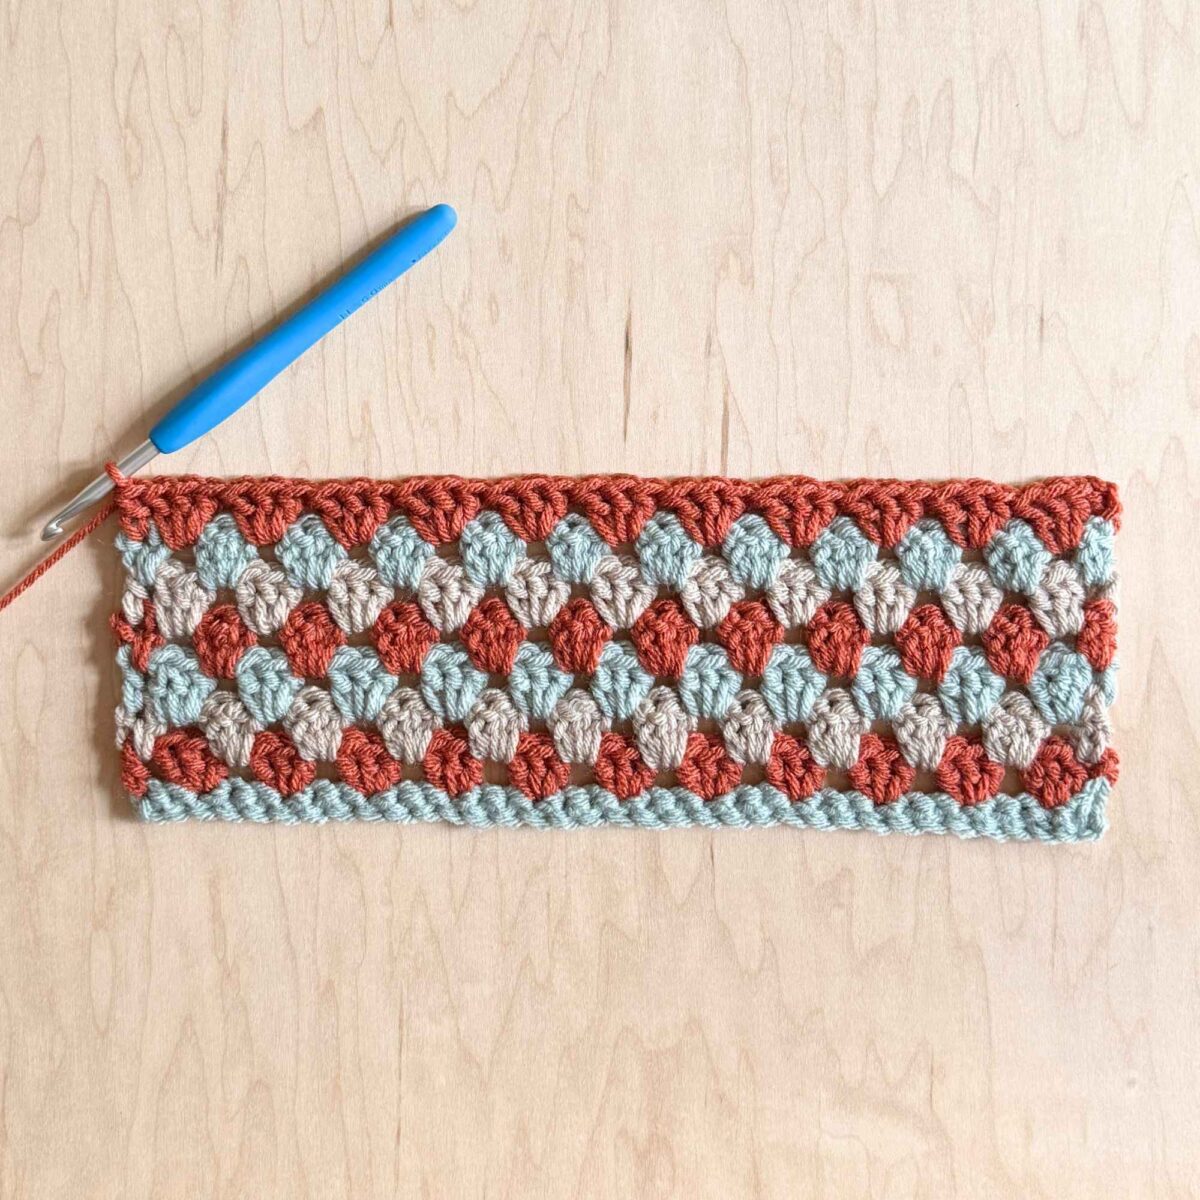
Row 1: Starting in 2nd ch from the hook and working into back bumps, 35 sc. Change color.
Row 2: Ch 3, turn. Sk 1 st, work 3 dc into the next st, *sk 2, work 3 dc into next st. Repeat from * 9 more times. Sk 1, 1 dc into last st. Change color.
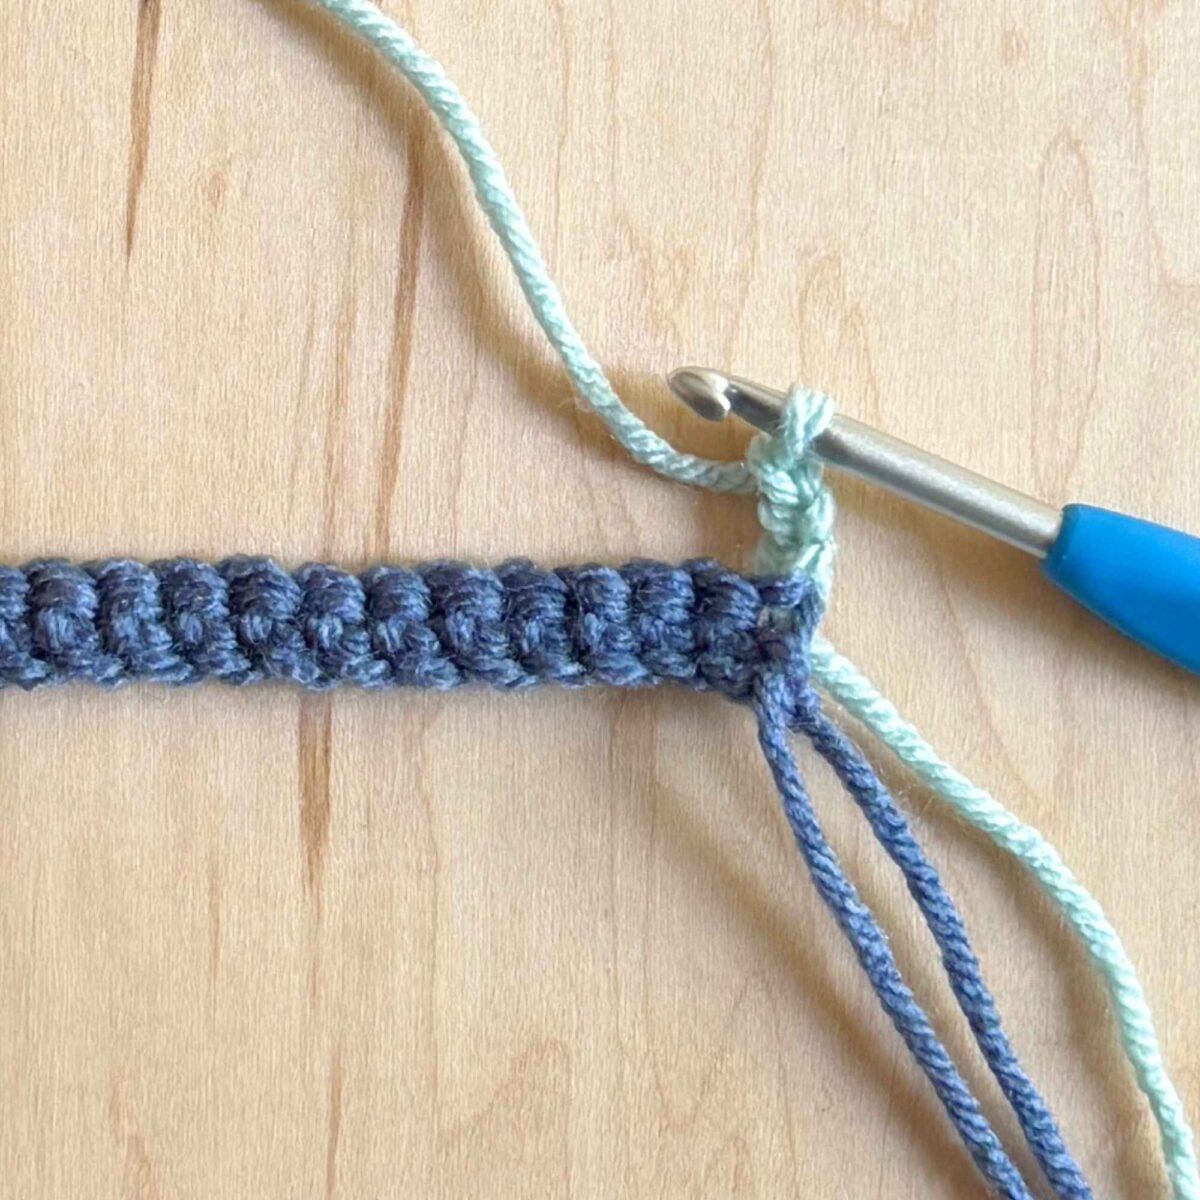
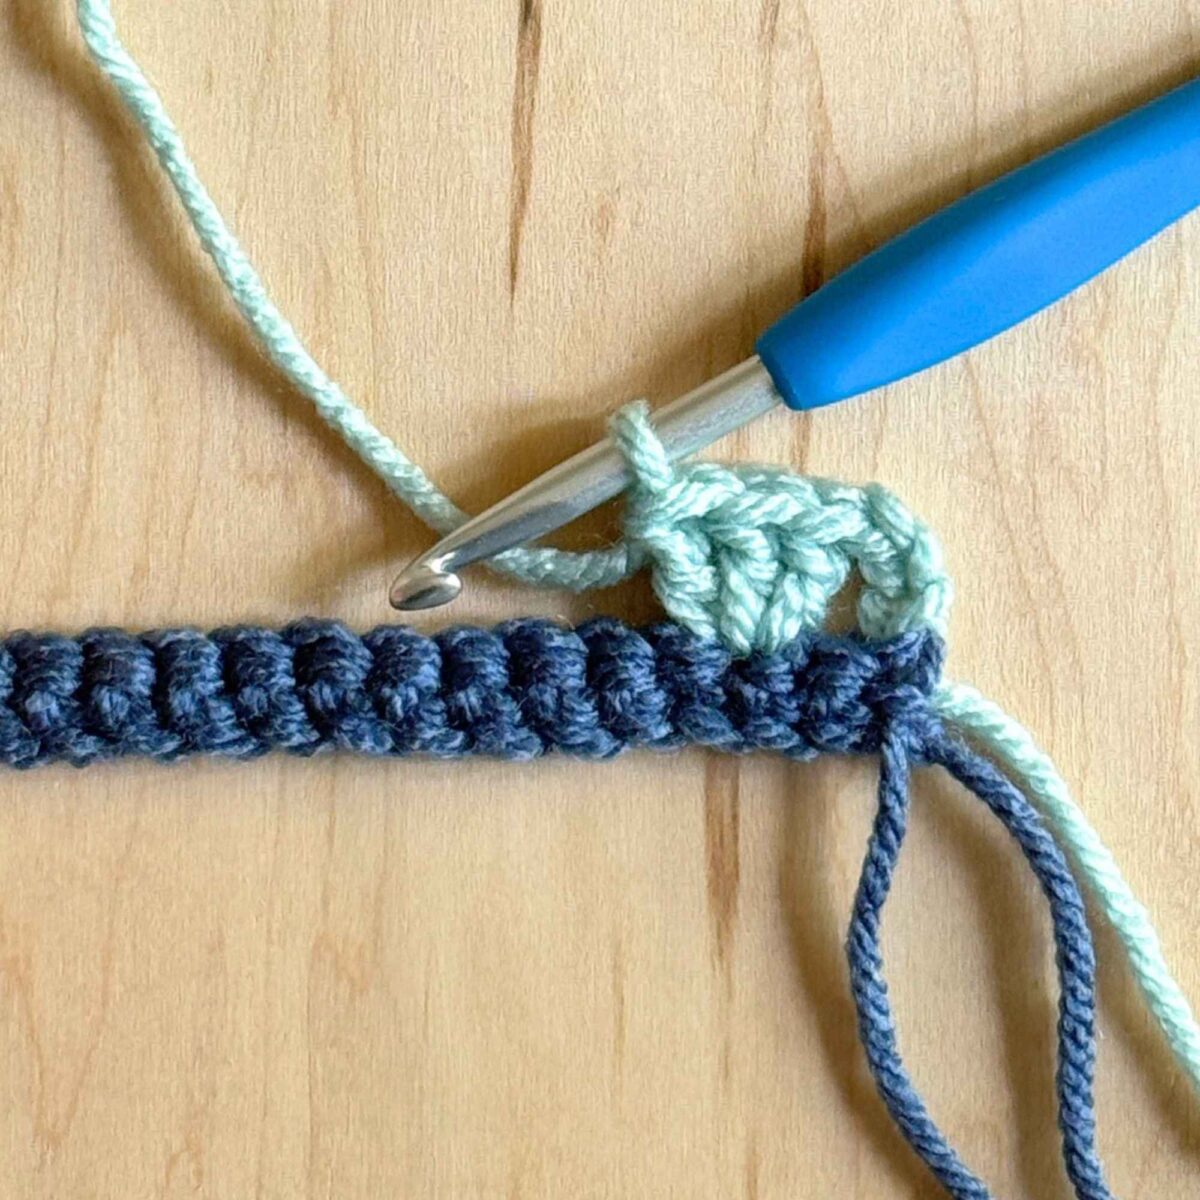
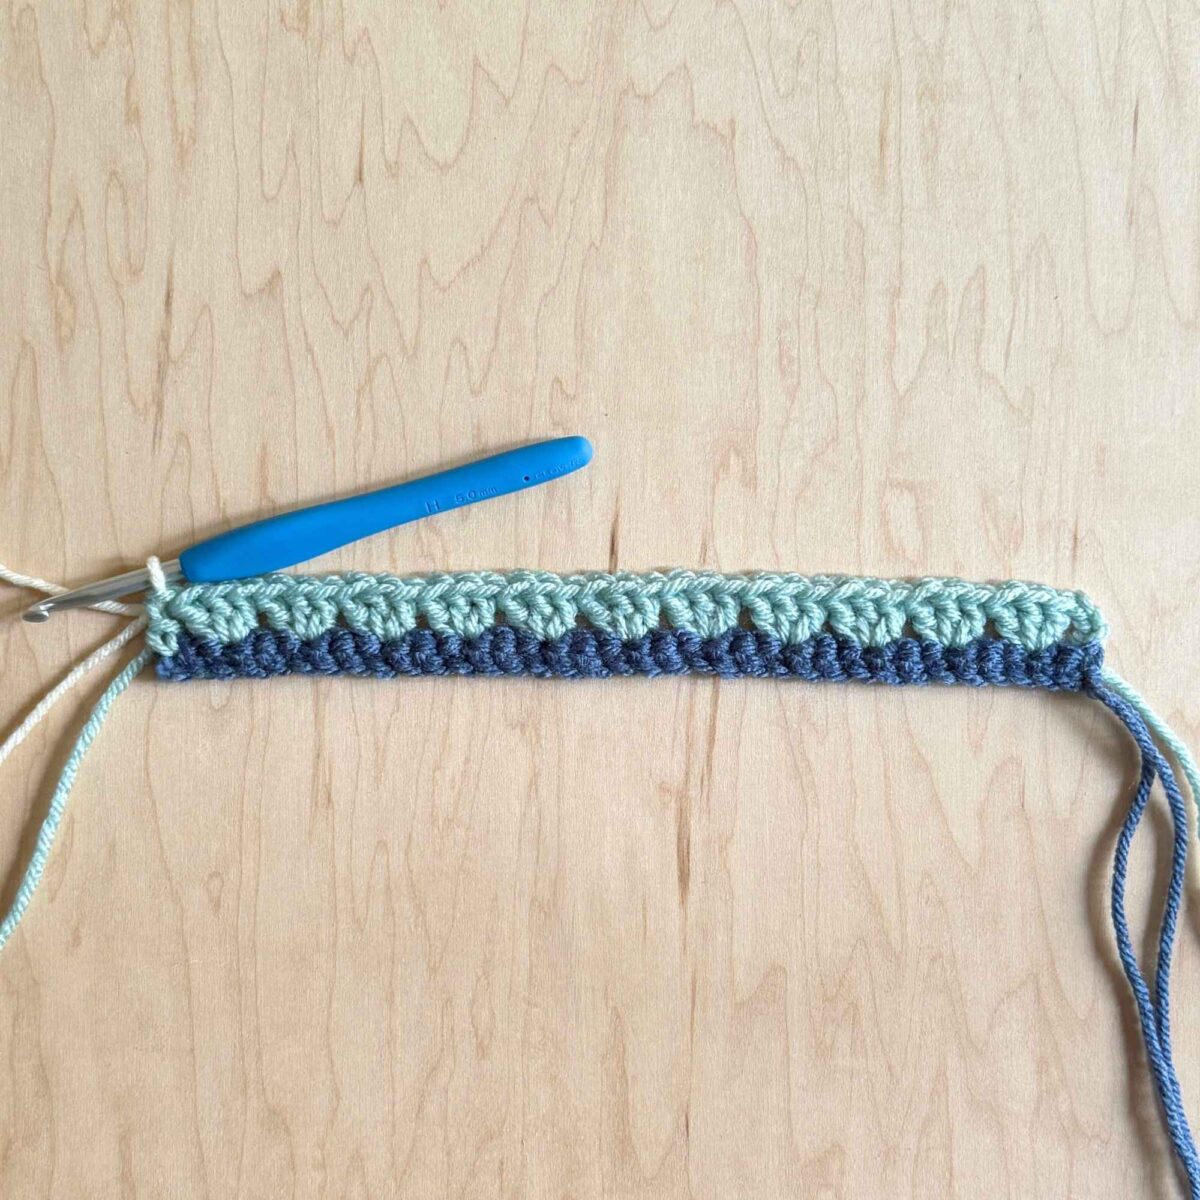
Row 3: Ch 3, 1 dc into 1st sp, work 3 dc into next 3 sps, ch 4, sk 1 sp, work 3 dc into next 2 sps, ch 4, sk 1 sp, 3 dc into next 3 sps. Work 2 dc into ch 3 sp from previous row. Change color.
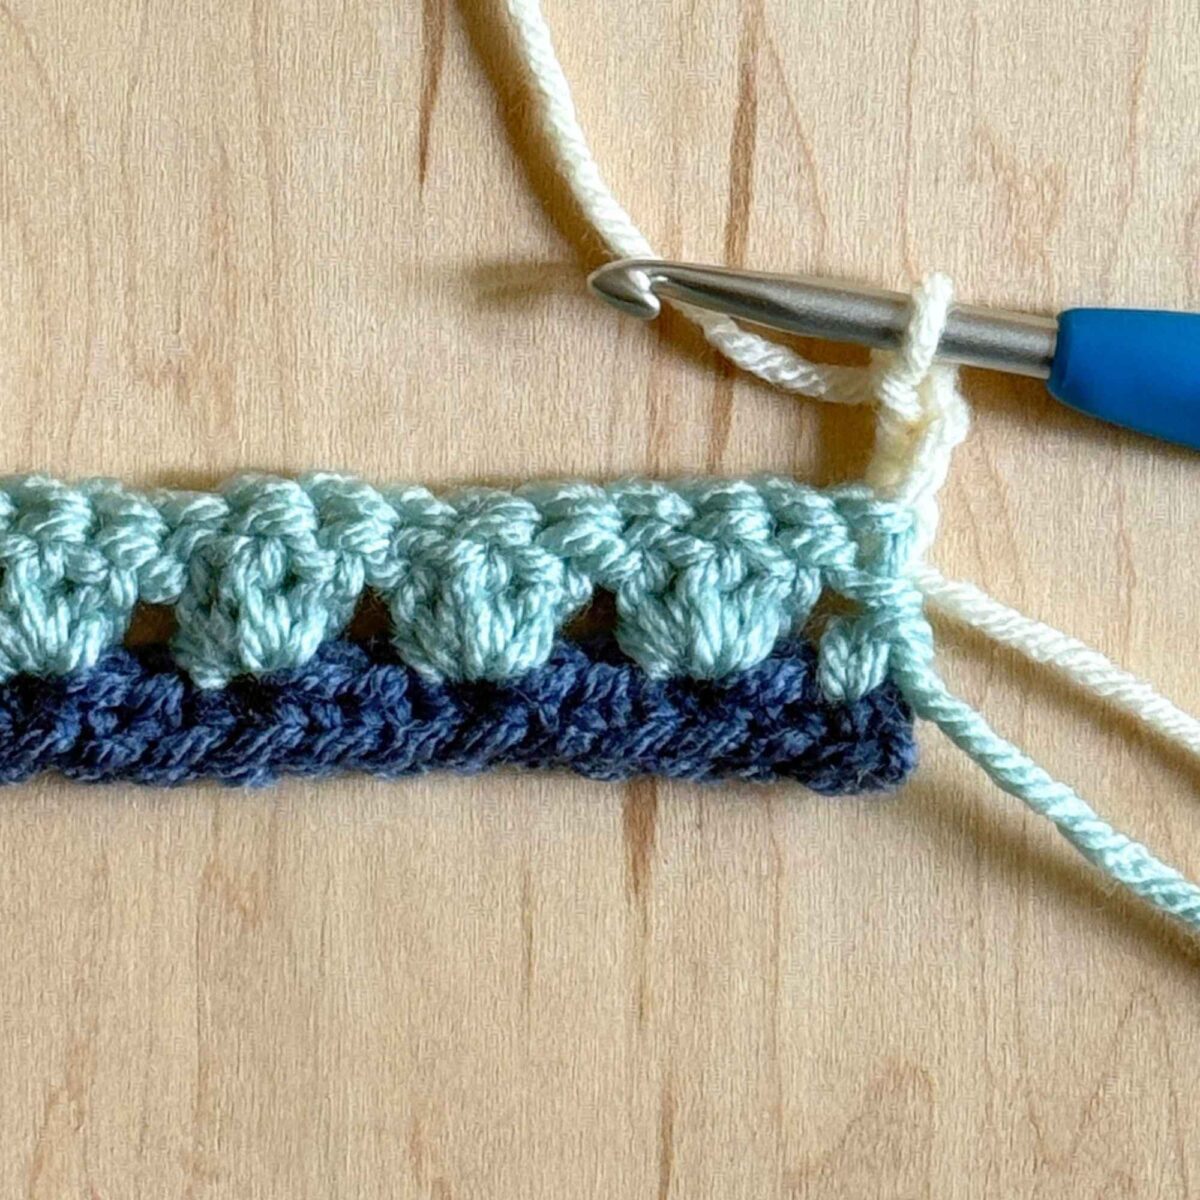
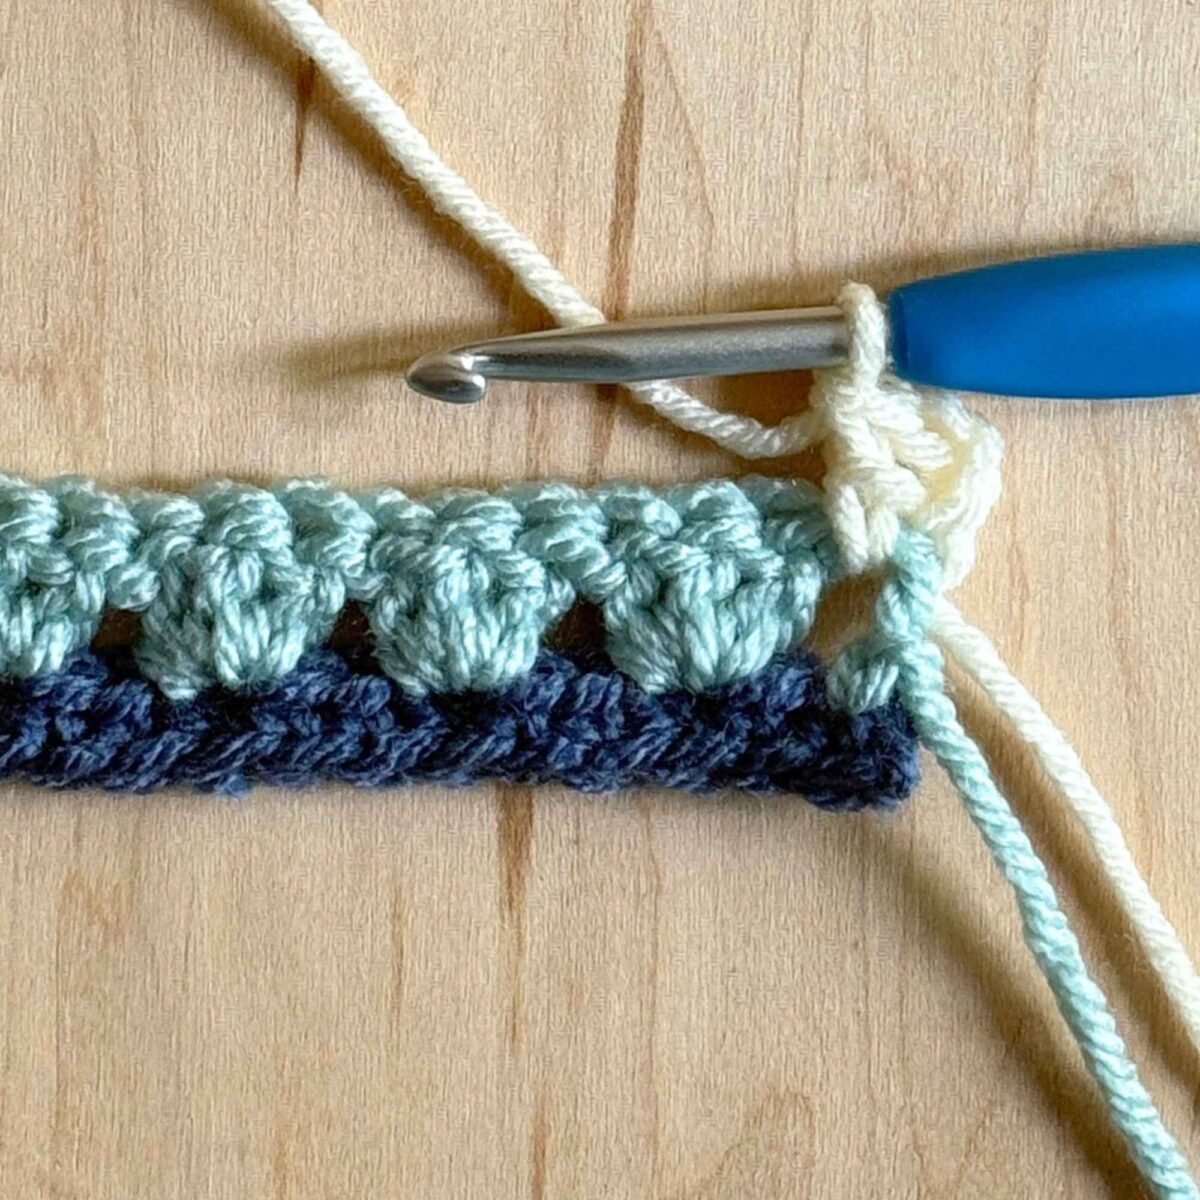
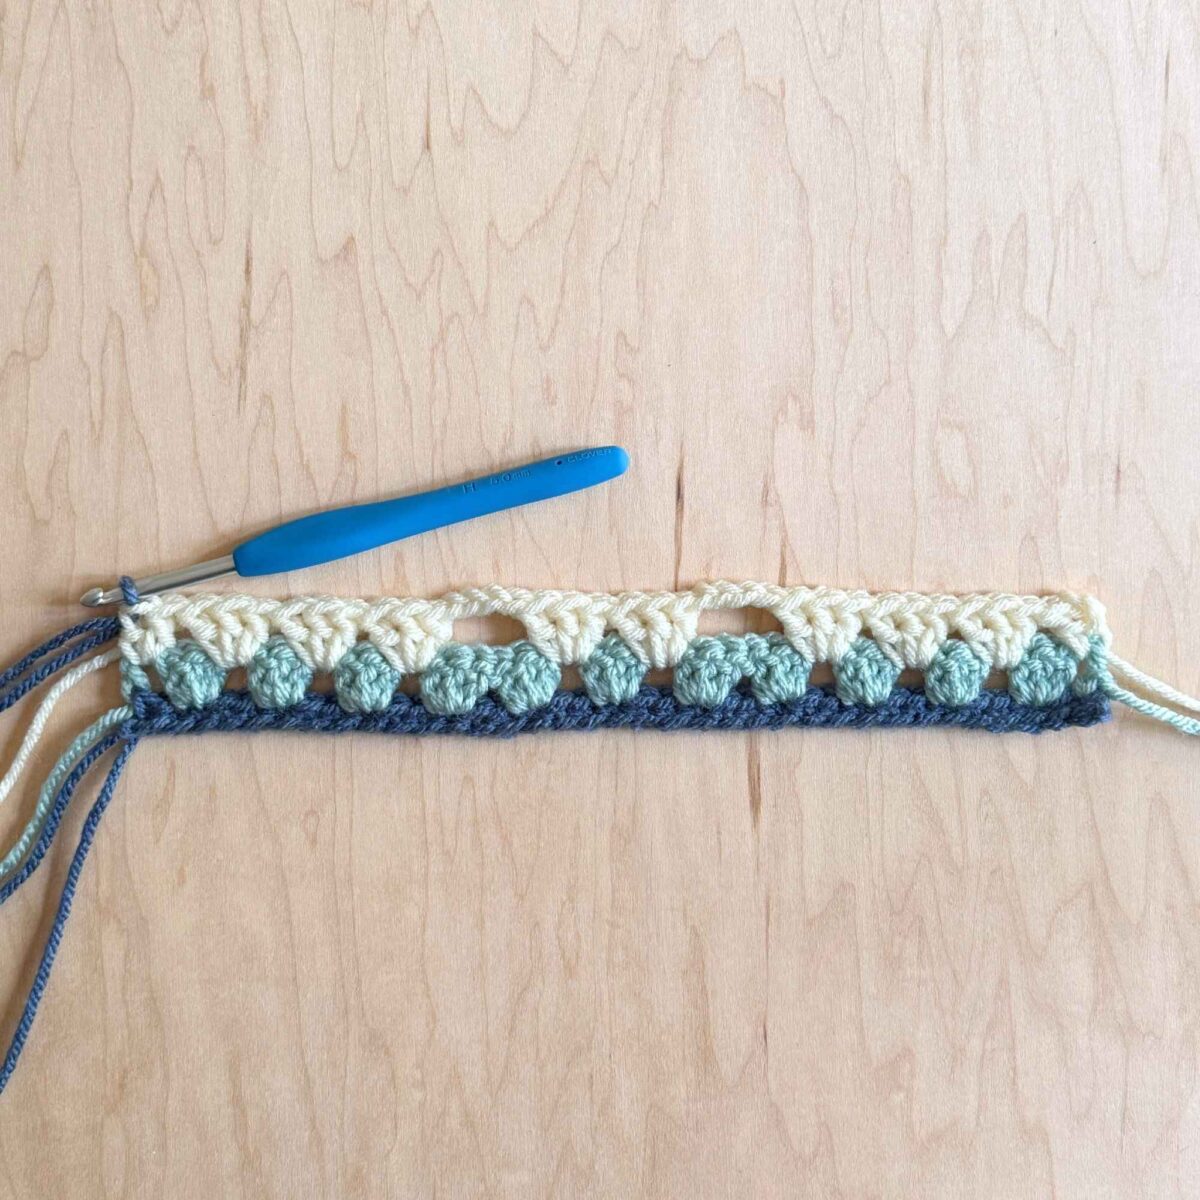
Row 4: Ch 3, turn. Work 3 dc into next 3 sps, 6 dc over ch. Work 3 dc into next sp, 6 dc over ch, 3 dc into next 3 sps, 1 dc into ch 3 sp from previous row. Change color.
Row 5: Ch 3, turn. Work 1 dc into 1st sp, 3 dc into next 3 sps, 3 dc into the center space of the next 6 dc (3 dc on each side). Work 3 dc into next 2 sps, 3 dc into the center space of the next 6 dc (3 dc on each side). Work 3 dc into next 3 sps, 2 dc into ch 3 sp from previous row. Change color.
Row 6: Ch 3, turn. work 3 dc into next 11 sps, 1 dc into ch 3 sp from previous row. Change color.
Row 7: Ch 3, turn. Work 1 dc into 1st sp, 3 dc into next 10 sps, 2 dc into ch 3 sp from previous row. Change color.
Row 8: Ch 3, turn. work 3 dc into next 11 sps, 1 dc into ch 3 sp from previous row. Do not cut yarn.
Jump to finishing the hat steps HERE.
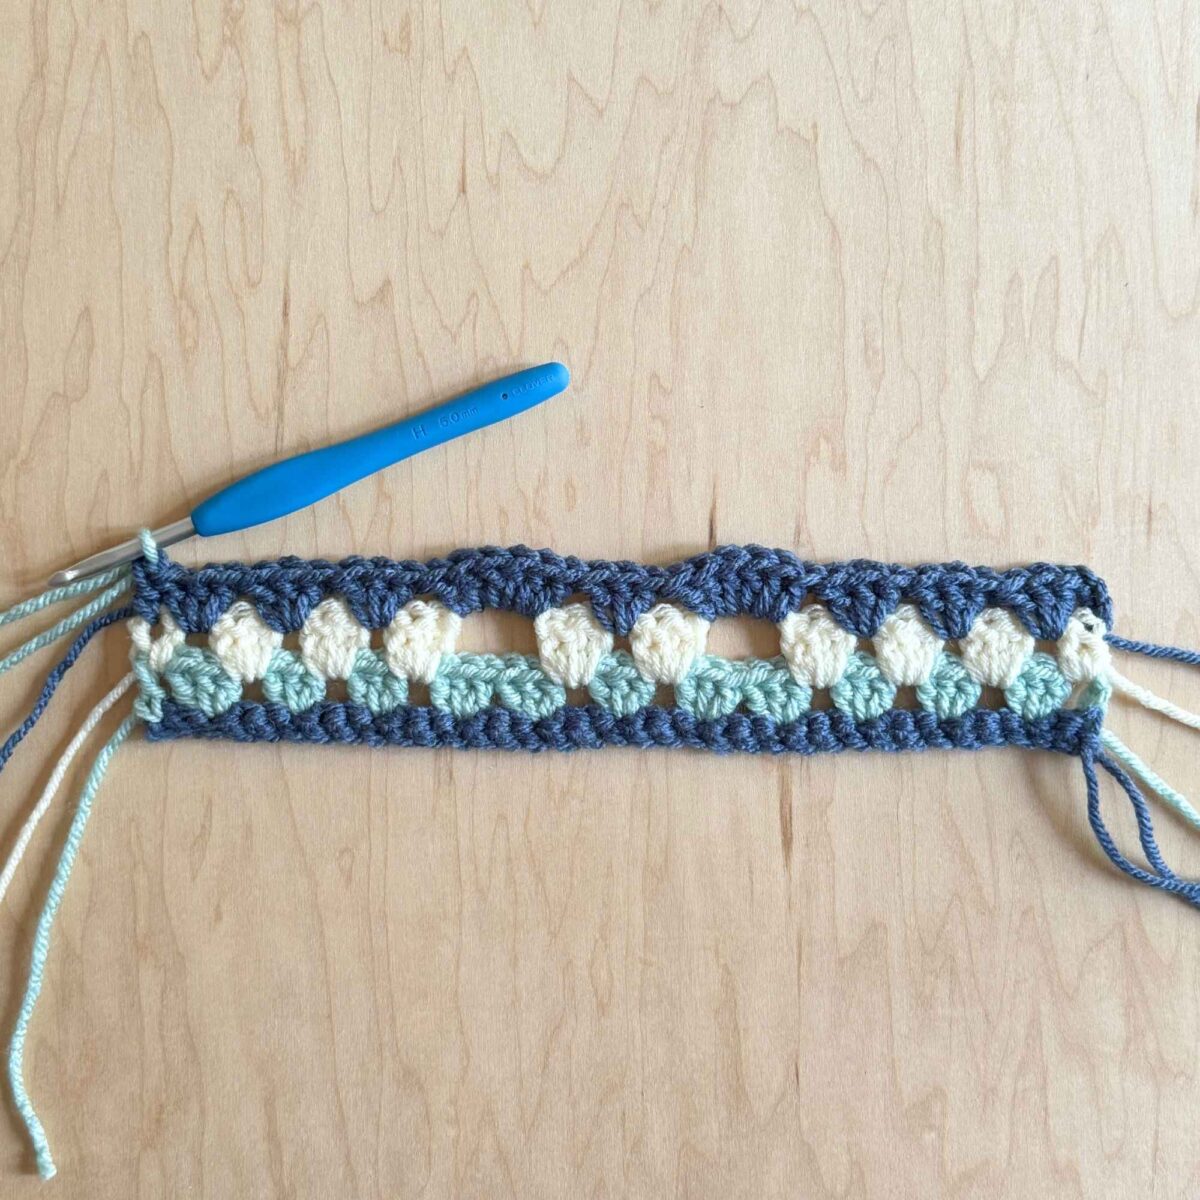
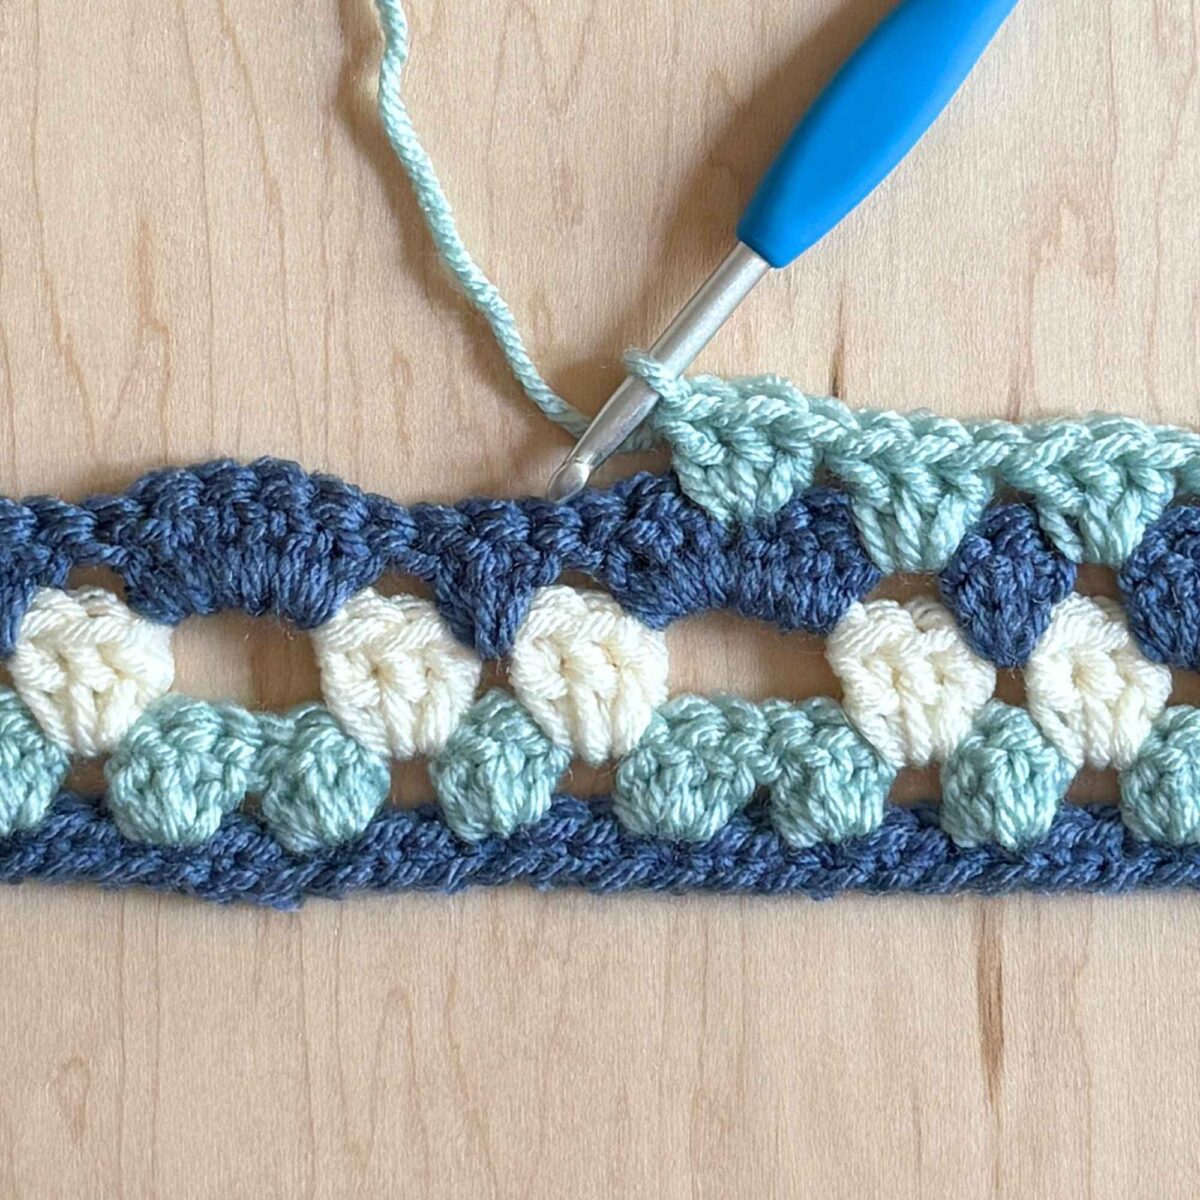
SUNBURST PIXIE HAT (WITHOUT EAR HOLES)
- This version fits the Millie Chicken and Friends pattern.
- Hat can be worked in solid colors or a different color for each row.
- Use worsted weight yarn with a 5mm hook.
- Use YO/YO method.
MAIN PIECE
- Hat is worked in rows.
- Keep starting ch relaxed.
- The starting chain counts as a stitch.
Ch 36
Row 1: Starting in 2nd ch from the hook and working into back bumps, 35 sc. Change color.
Row 2: Ch 3, turn. Sk 1 st, work 3 dc into the next st, *sk 2, work 3 dc into next st. Repeat from * 9 more times. Sk 1, 1 dc into last st. Change color.
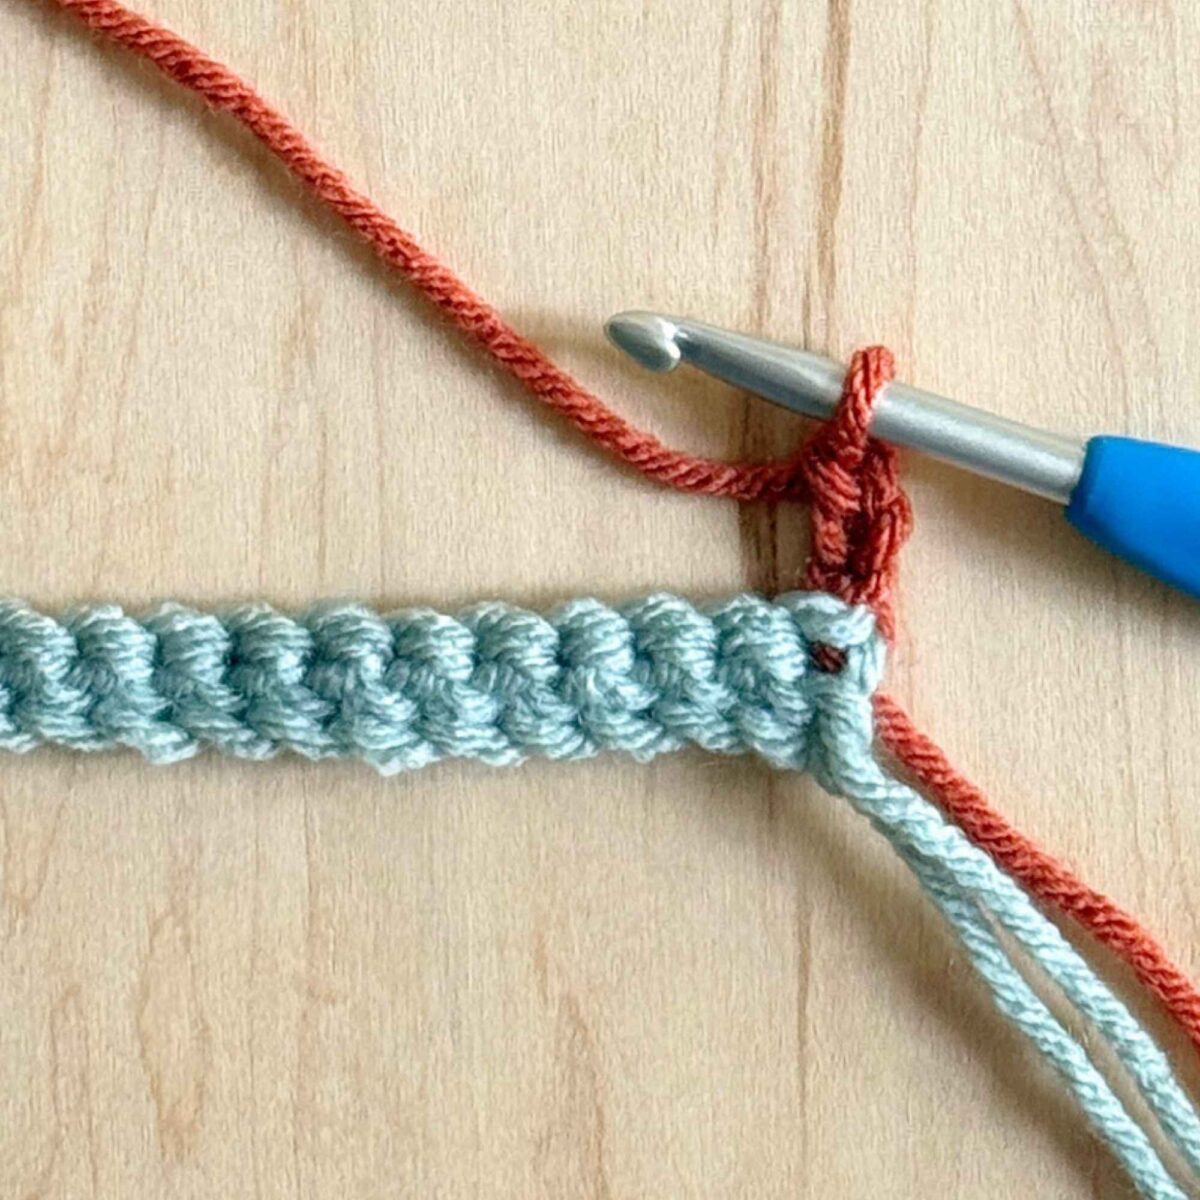
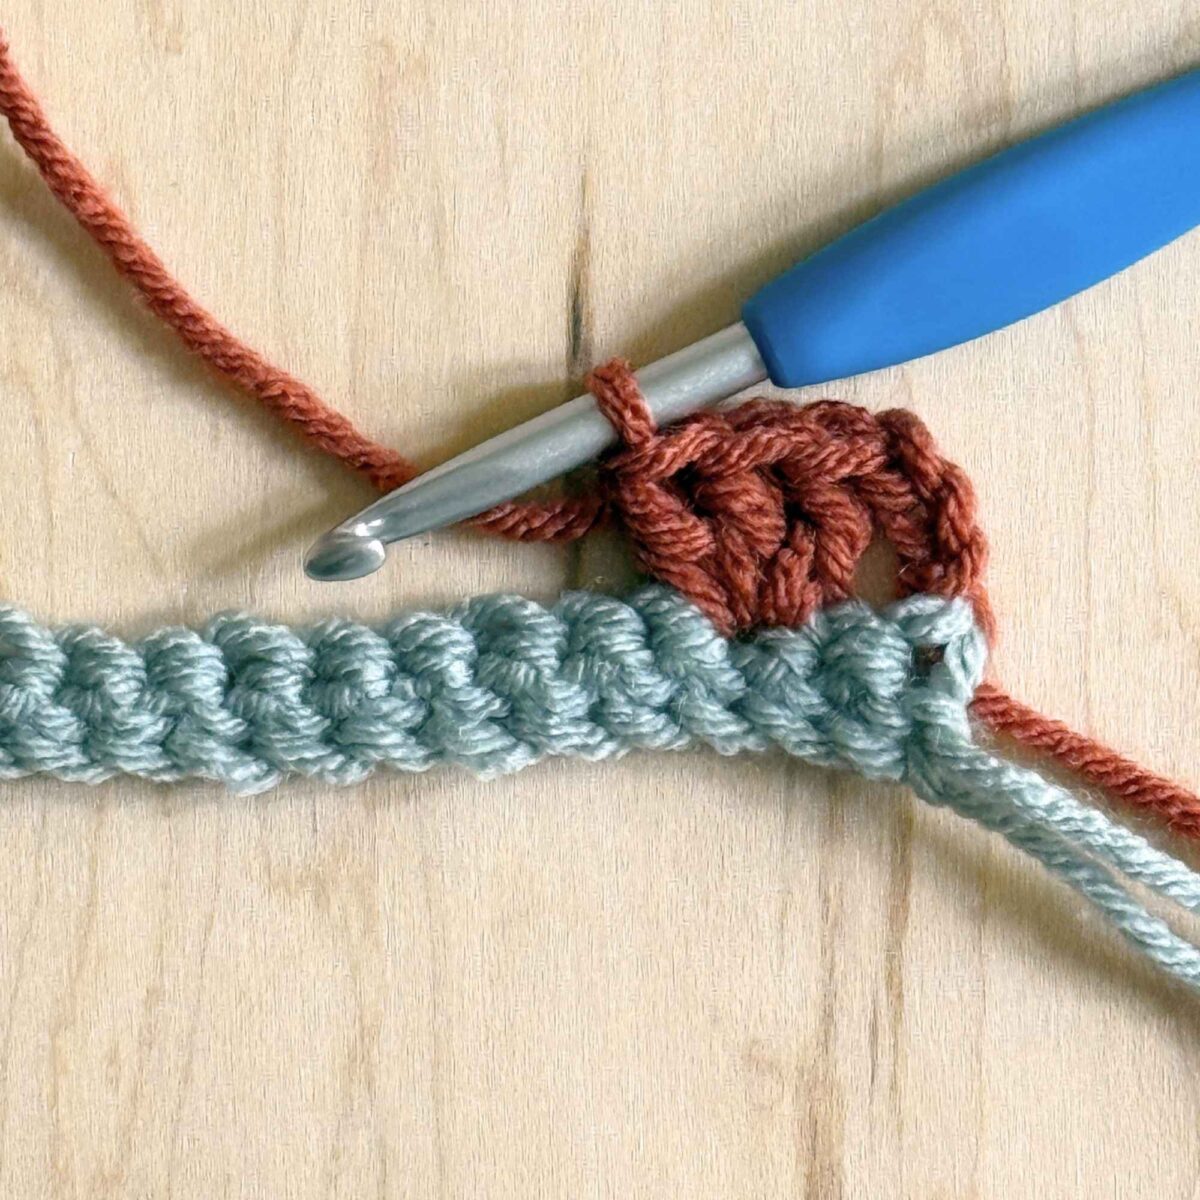
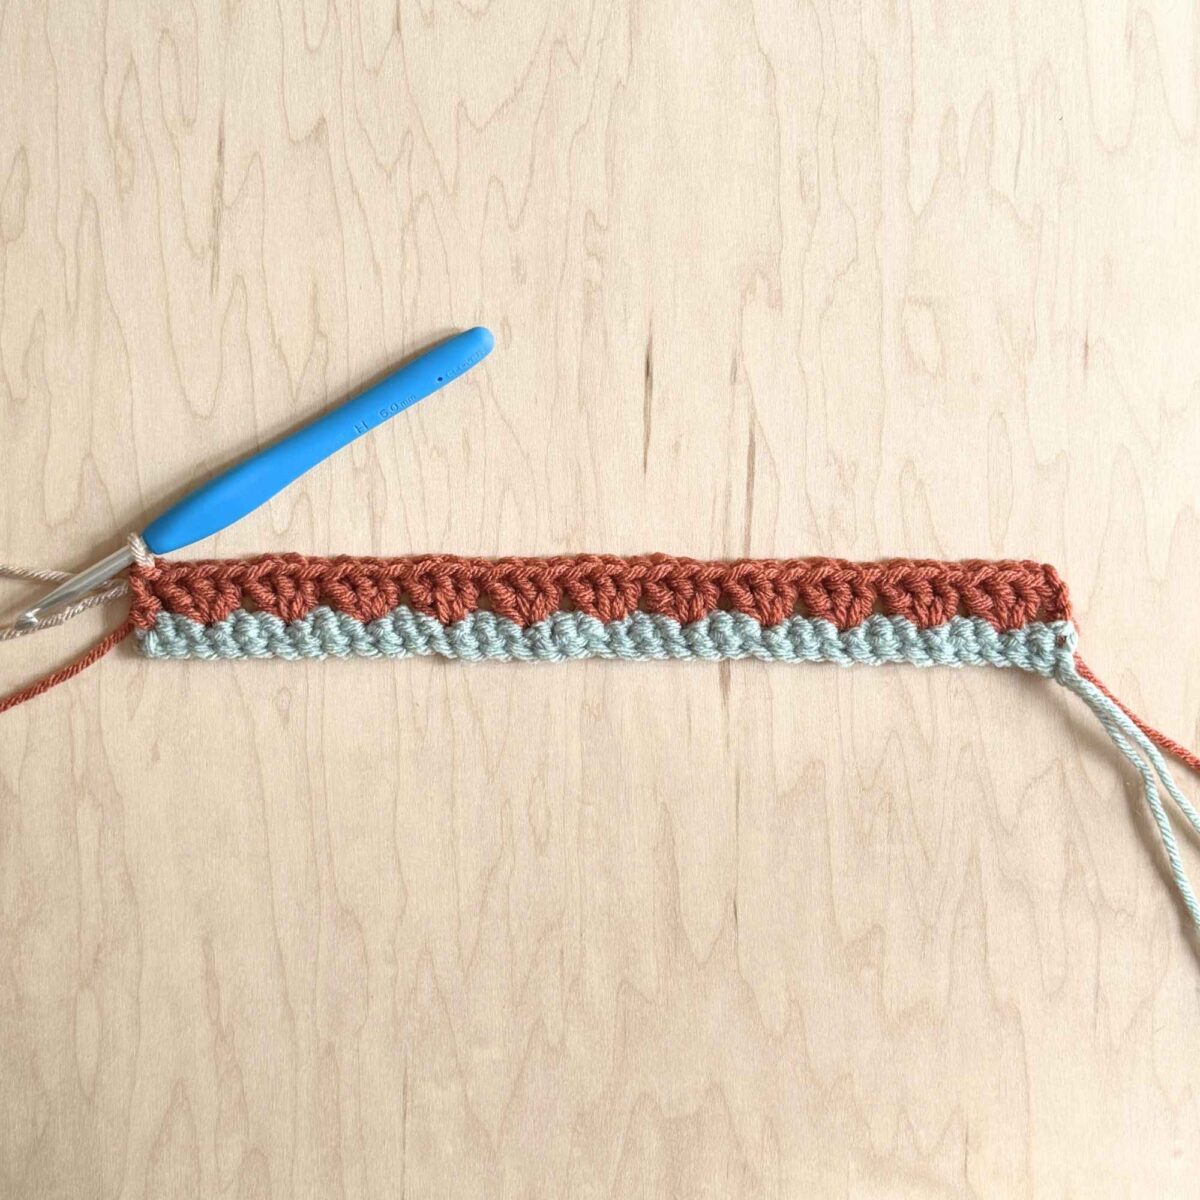
Row 3: Ch 3, turn. Work 1 dc into 1st sp, 3 dc into next 10 sps, 2 dc into ch 3 sp from previous row. Change color.
Row 4: Ch 3, turn. Work 3 dc into next 11 sps, 1 dc into ch 3 from previous row. Change color.
Row 5: Ch 3, turn. Work 1 dc into 1st sp, 3 dc into next 10 sps, 2 dc into ch 3 sp from previous row. Change color.
Row 6: Ch 3, turn. Work 3 dc into next 11 sps, 1 dc into ch 3 from previous row. Change color.
Row 7: Ch 3, turn. Work 1 dc into 1st sp, 3 dc into next 10 sps, 2 dc into ch 3 sp from previous row. Change color.
Row 8: Ch 3, turn. Work 3 dc into next 11 sps, 1 dc into ch 3 sp from previous row. Do not cut yarn.
CLOSING THE HAT
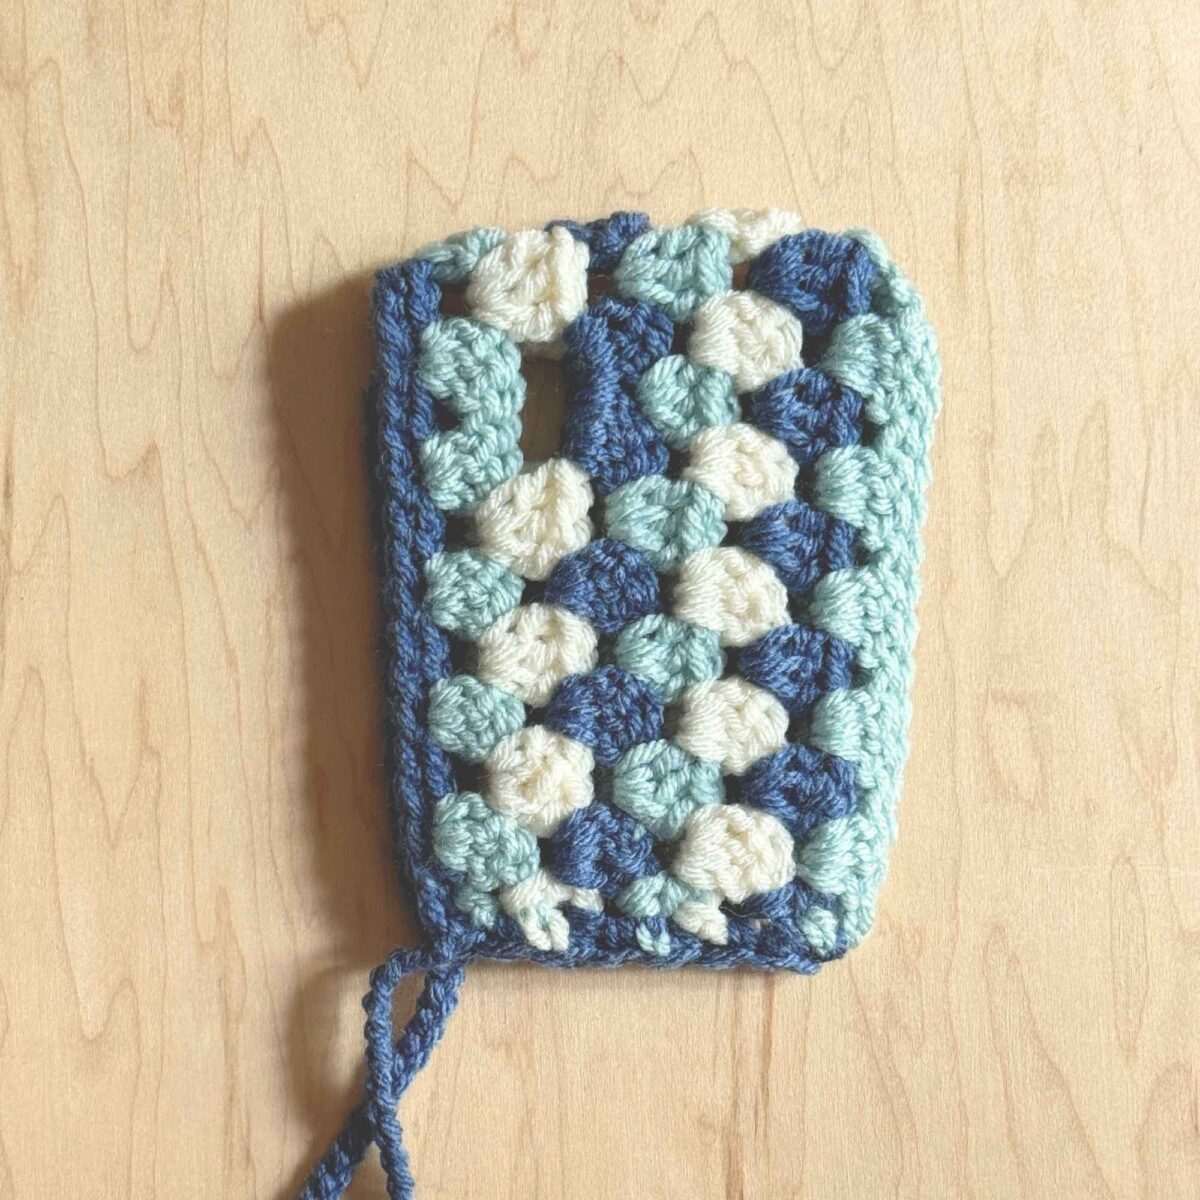
Fold ends together, and sl st in outside loops only to close back of the hat. (18)
Cut yarn and weave in any remaining ends.
HAT TIES
Use new working yarn.
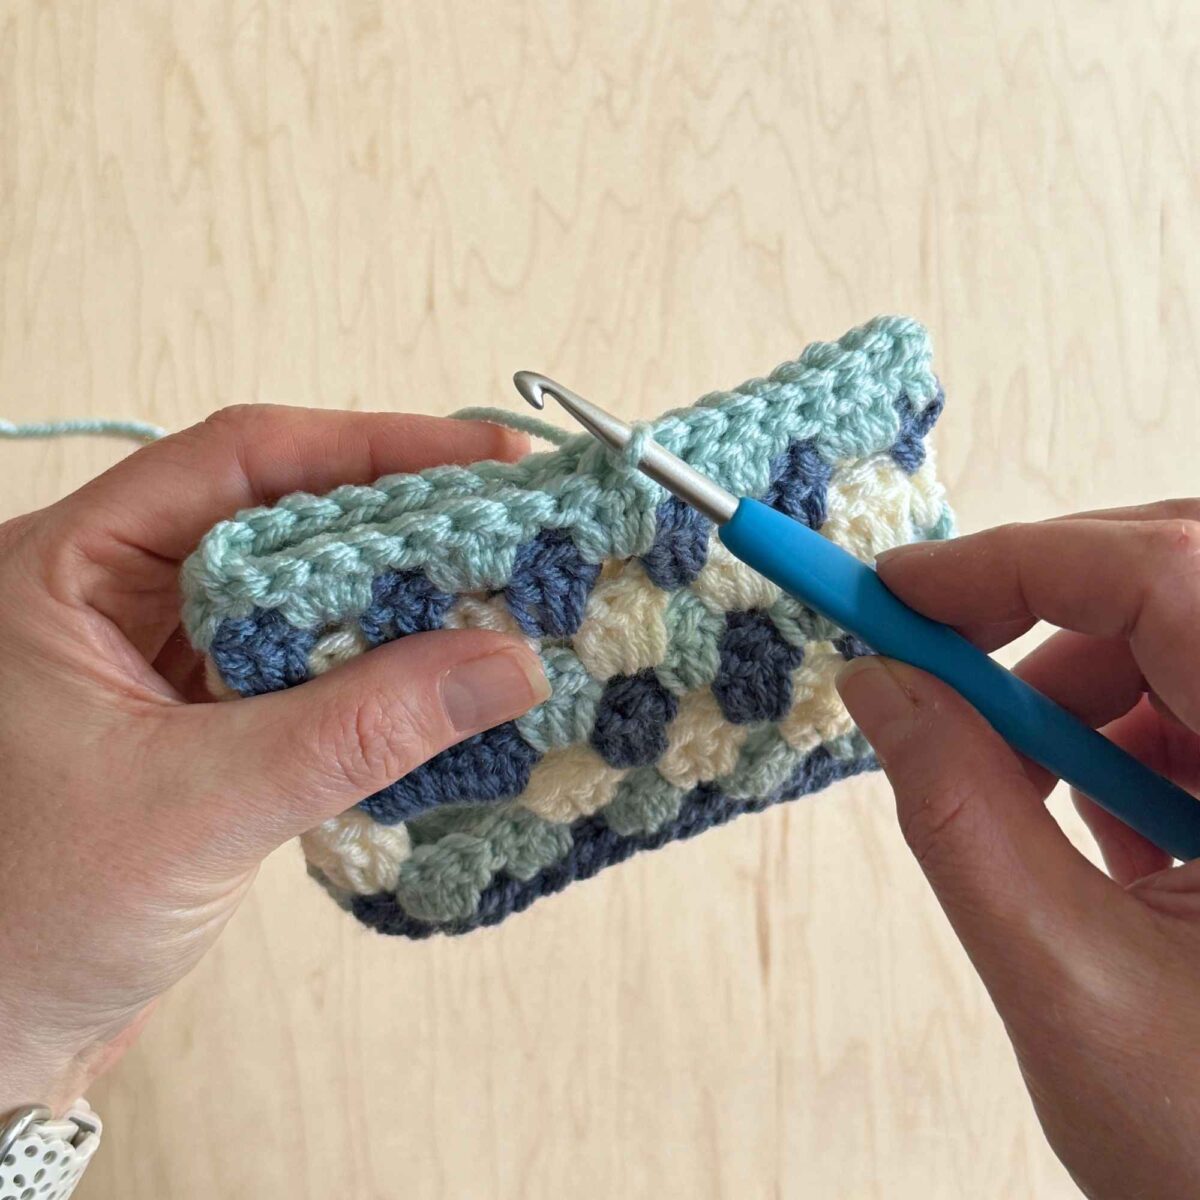
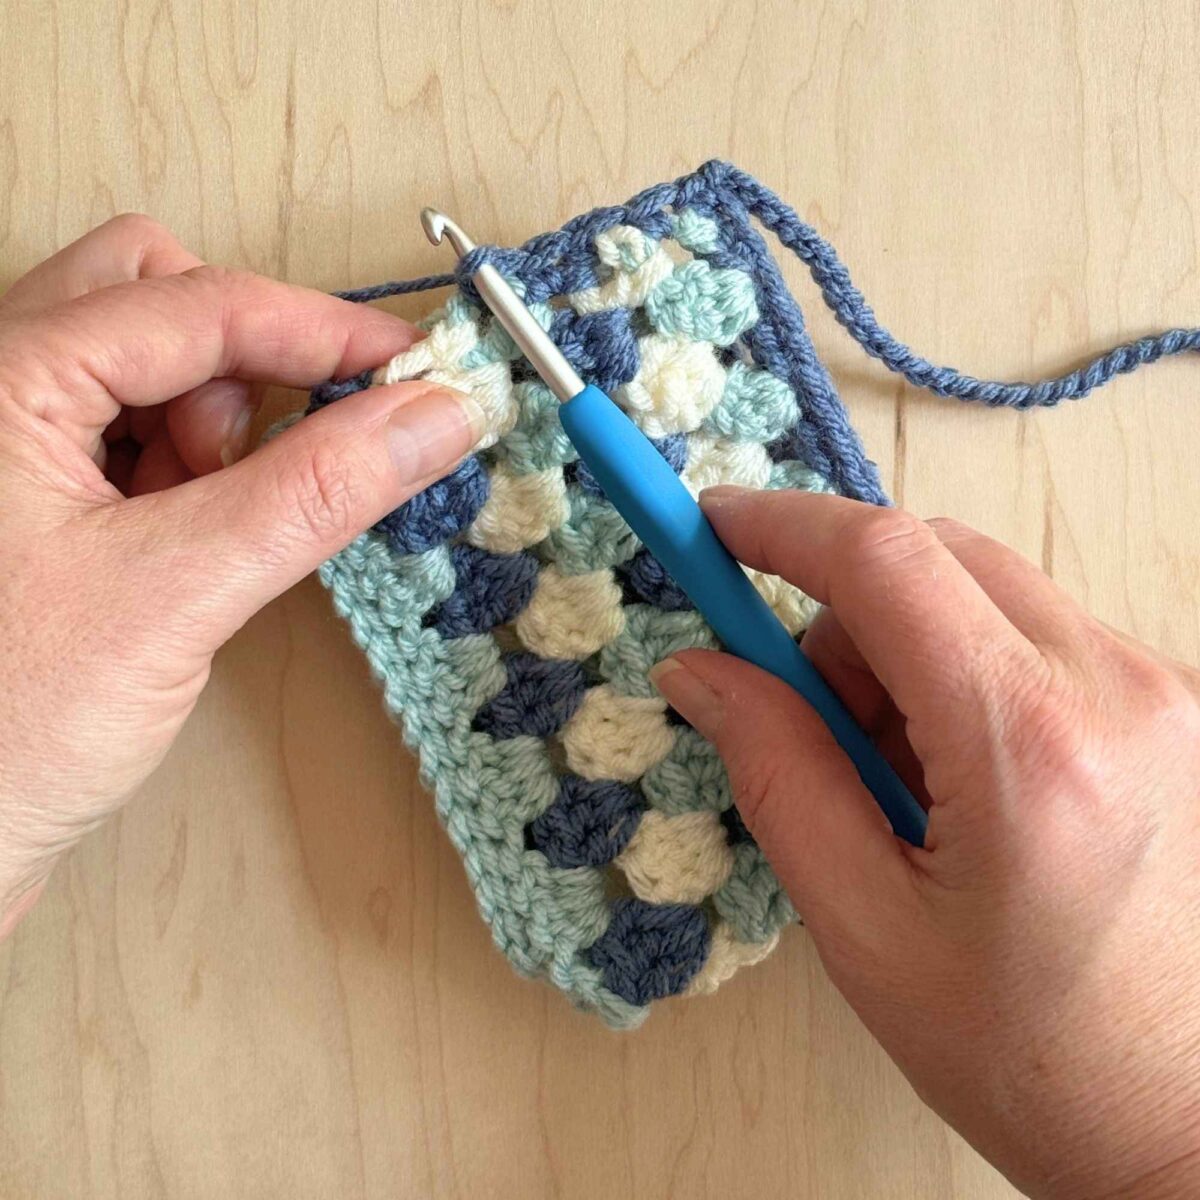
Leaving a 4″ tail, Ch 30.
With ch still on your hook, work sc sts along the bottom of the hat into the sides of the dc rows (working 1 sc into each ch 3 will cinch the bottom of the hat). Once you’ve reached the other side, ch 30 for second tie.
Cut yarn, leaving a 4″ tail.
FINISHING TIES
1: Pull yarn tightly to secure at the end of the chain and weave the yarn back through the last four chains.
2: Tie a knot in the chain and trim the tail.
3: Repeat for second tie.
Your Sunburst Pixie Hat is complete! I hope you enjoy this little hat pattern as much as I do!
Don’t forget, if you prefer an ad-free downloadable PDF version, you can find it in my shop HERE or on Etsy.
Check out my other popular blog posts here:
If you’d like to stay up-to-date with my latest blog posts and free patterns, sign up HERE for my newsletter!
All patterns, designs and photographs included in this blog post are property of Oak and Marlow. This pattern is for personal use only and may not be sold, distributed or transferred to any other person or website. Handmade items produced with this pattern may be sold as long as credit is given to the designer – Oak and Marlow. Copyright 2026.