Blanket Baby Lovey Crochet Pattern Mod
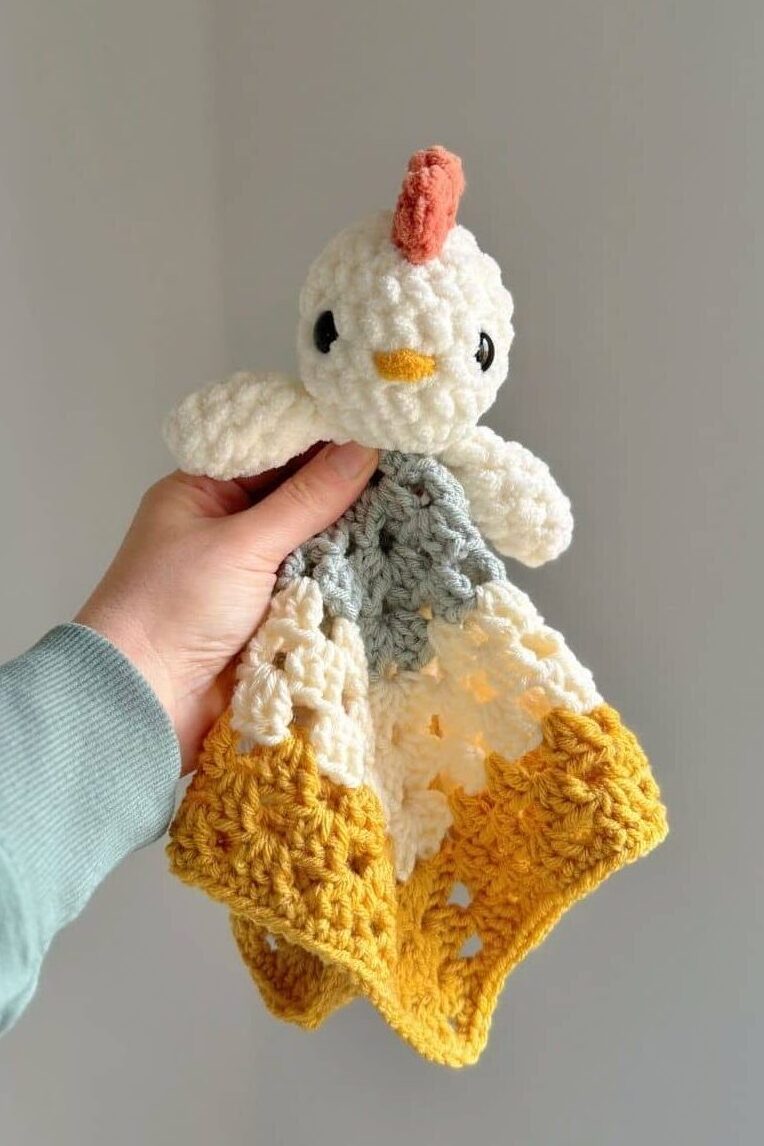
Looking for your next comfort make? This lovey crochet pattern is designed to work with all your Fable Babies! Perfect for nurseries and baby gifts, it’s also enjoyable to work through. This pattern features a classic granny square, inviting a little crochet nostalgia that so many of us crave!
A Little About Crochet Loveys
Crocheted loveys are perfect for babies and children. They’re based on a traditional design dating back to the 1950’s. They are meant to be comforting for little ones – by combining a small, huggable blanket with a plush animal head/arms.
This design was created to not only bring comfort to little ones, but for the maker as well. The blanket portion of this pattern is based on a granny square design which is often considered a “comfort make”. Once you’ve completed a round or two, its easy to memorize so you can rhythmically work through the rounds. I find it meditative!
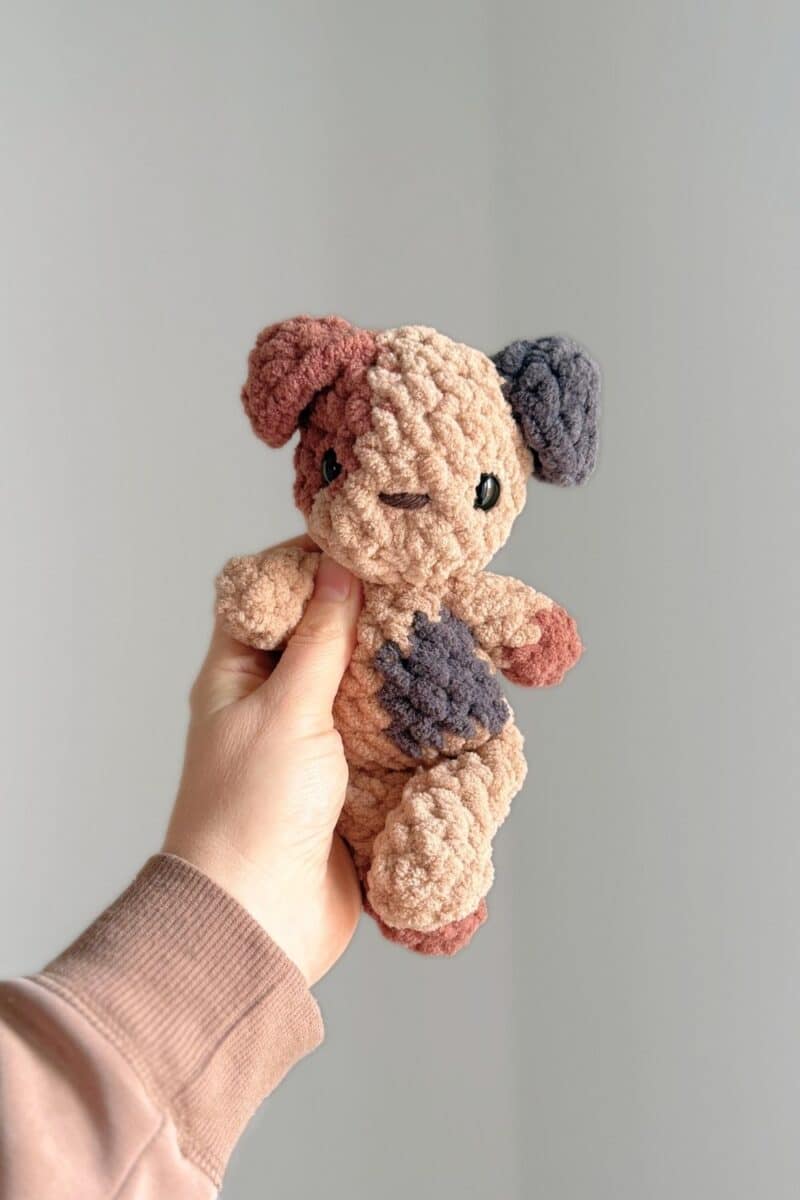
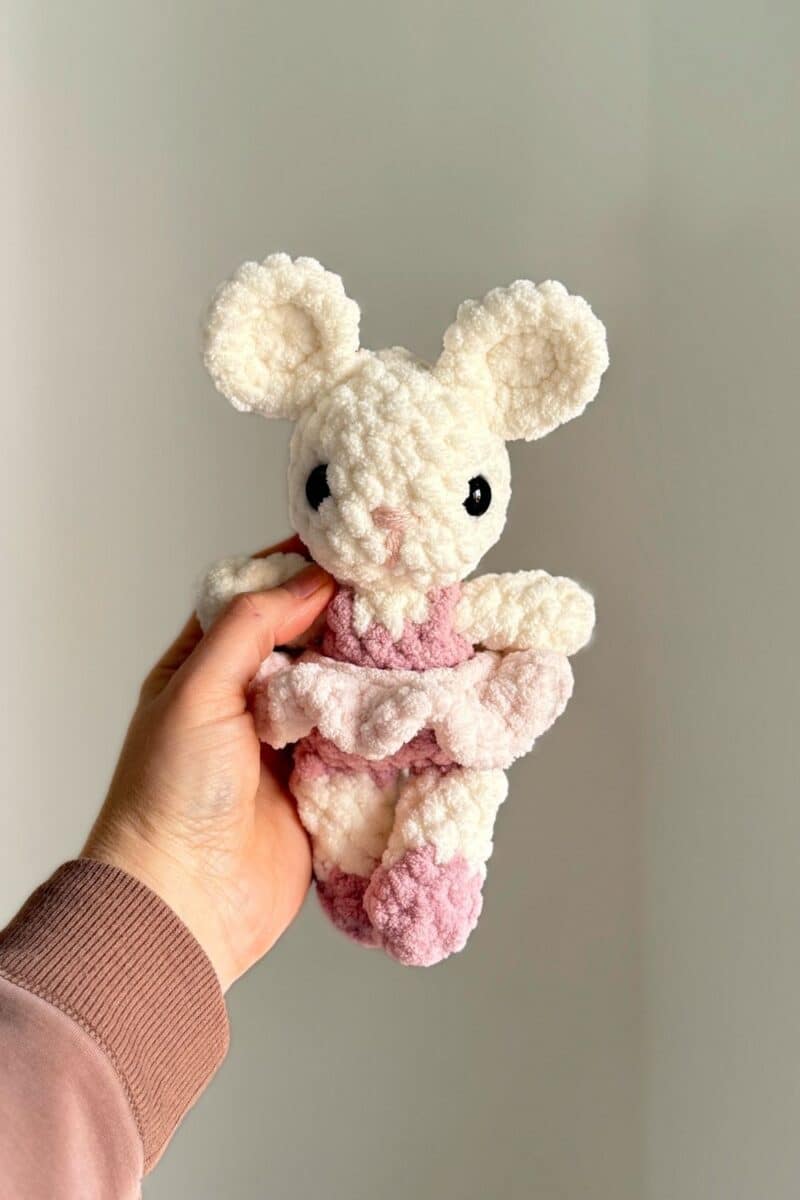
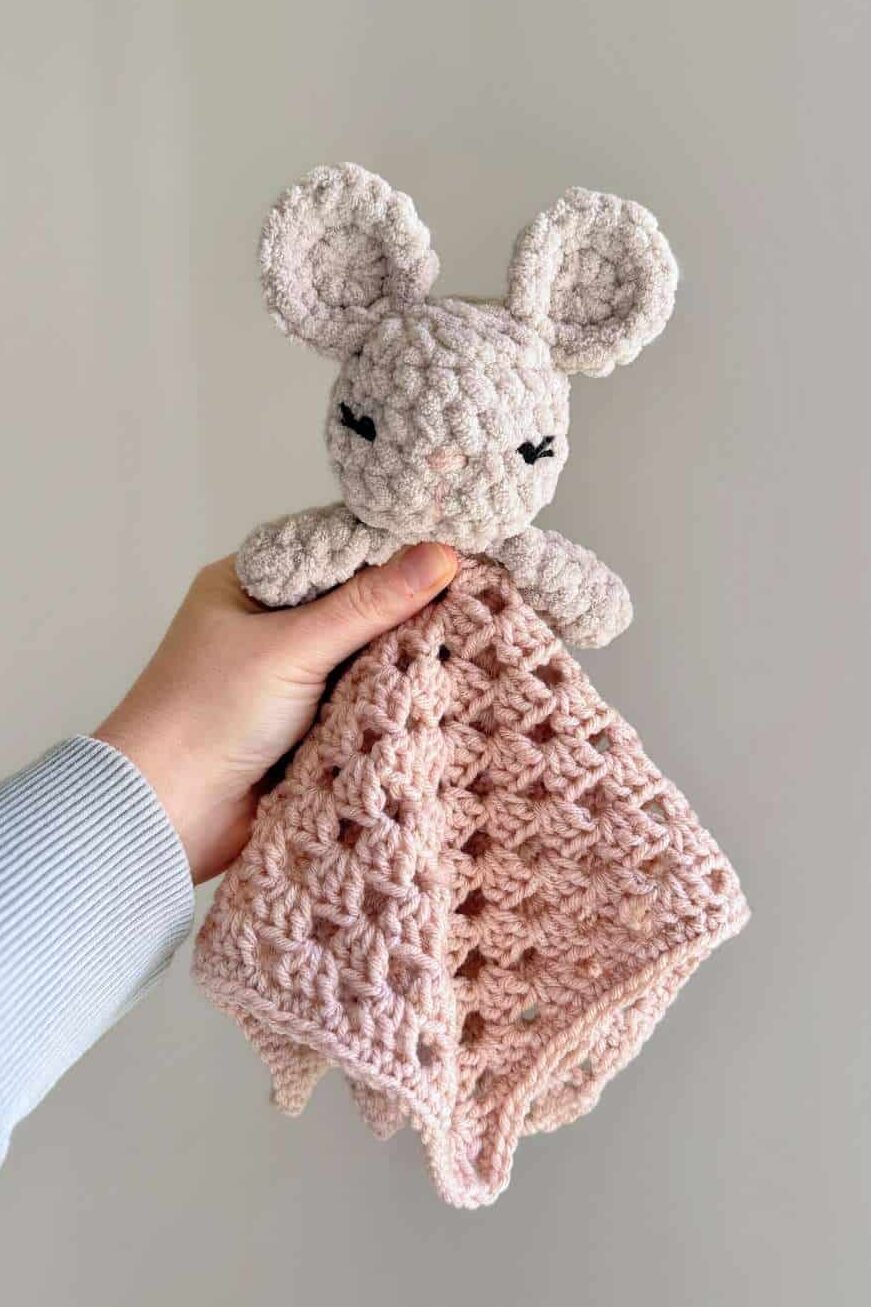
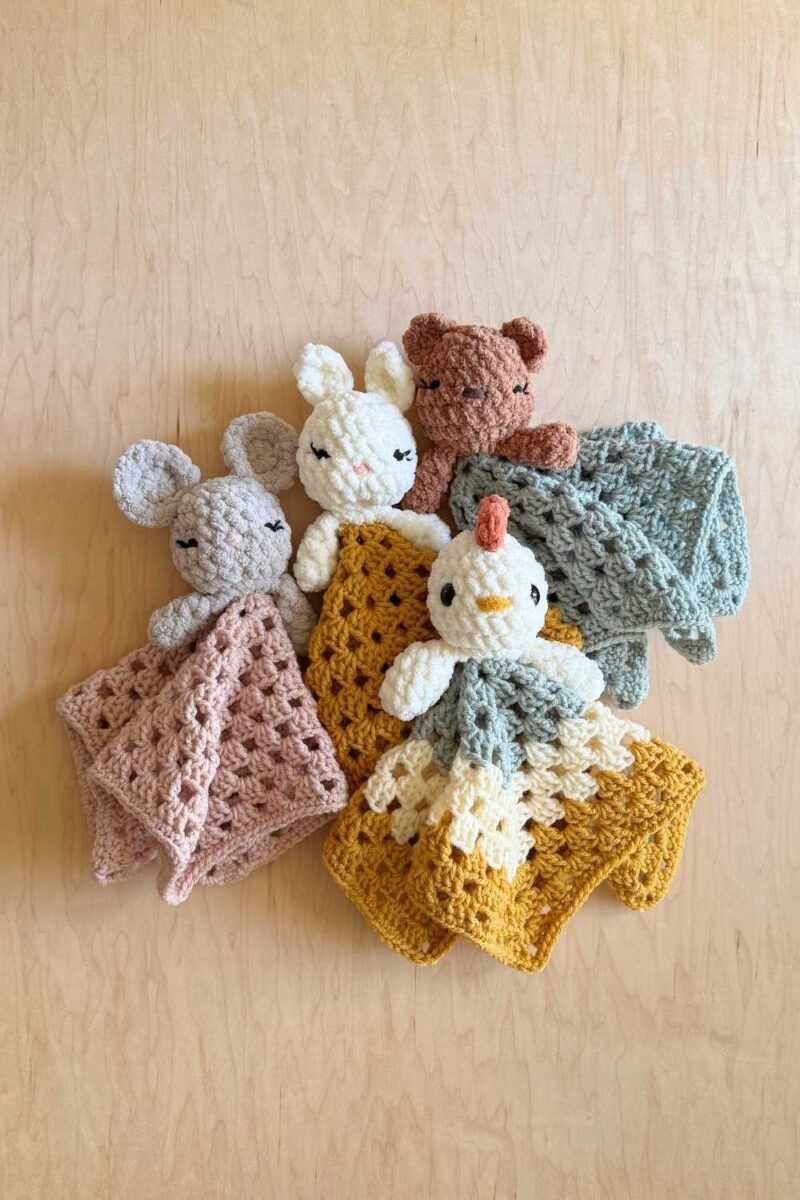
The head and arms on the top of the blanket are a modification of my Fable Baby patterns. There are so many little animal friends to choose from, it’s easy to customize this pattern any way you like!
These patterns are all available in my shop or on Etsy. Here are just some of the animals from the collection:

If you prefer an ad-free, downloadable PDF pattern, you can pick up a copy of the Blanket Baby Lovey Mod in my shop or on Etsy!

Let’s jump in!
This post contains affiliate links for Etsy and Amazon. If you make a purchase by clicking on them, I make a small commission at no extra cost to you. Read my full affiliate disclosure HERE. Thanks for your support!
SUPPLIES:
- Size 6 super bulky weight yarn
- Size 4 worsted weight yarn
- Your favorite Fable Baby friend
- 7mm crochet hook
- 5mm hook
- Stitch markers
- Scissors
NOTES:
- This pattern includes full instructions for the blanket, and requires one of the Fable Baby patterns that will be modified for the animal portion.
- This pattern requires some very basic knowledge of crochet stitches.
- Initial chain stitches count as a stitch.
- It’s recommended to use YO/YO for the granny square portion of this pattern, and YU/YO for the Fable Baby mod.
- Although you are welcome to use the safety eyes recommended in the Fable Baby pattern, this post refers to instructions for embroidering eyes, as they are recommended for children under 3.
- Finished size approx. 11” (28 cm) tall.
- You can use a different weight of yarn for this pattern, adjusting to the appropriate hook size, however the size of the finished product will be different.
ABBREVIATIONS:
(US Crochet Terms)
ch – chain
dc – double crochet
FO – fasten off
mc – magic circle
sc – single crochet
sl st – slip stitch
sp(s) – space(s)
st(s) – stitch(es)
YO – yarn over
YU – yarn under
A NOTE ABOUT CHANGING COLORS:
The blanket portion of this pattern can be made in a solid color or with multiple colors between rounds. A different method will be used to transition between each round depending on your choice.
SOLID COLOR
1: Once the final dc is completed from the previous round, sl st into 1st ch 3, sl st into the top of the next 2 dc and into the next corner sp.
2: Ch 3 to begin the 1st corner cluster of the next round.
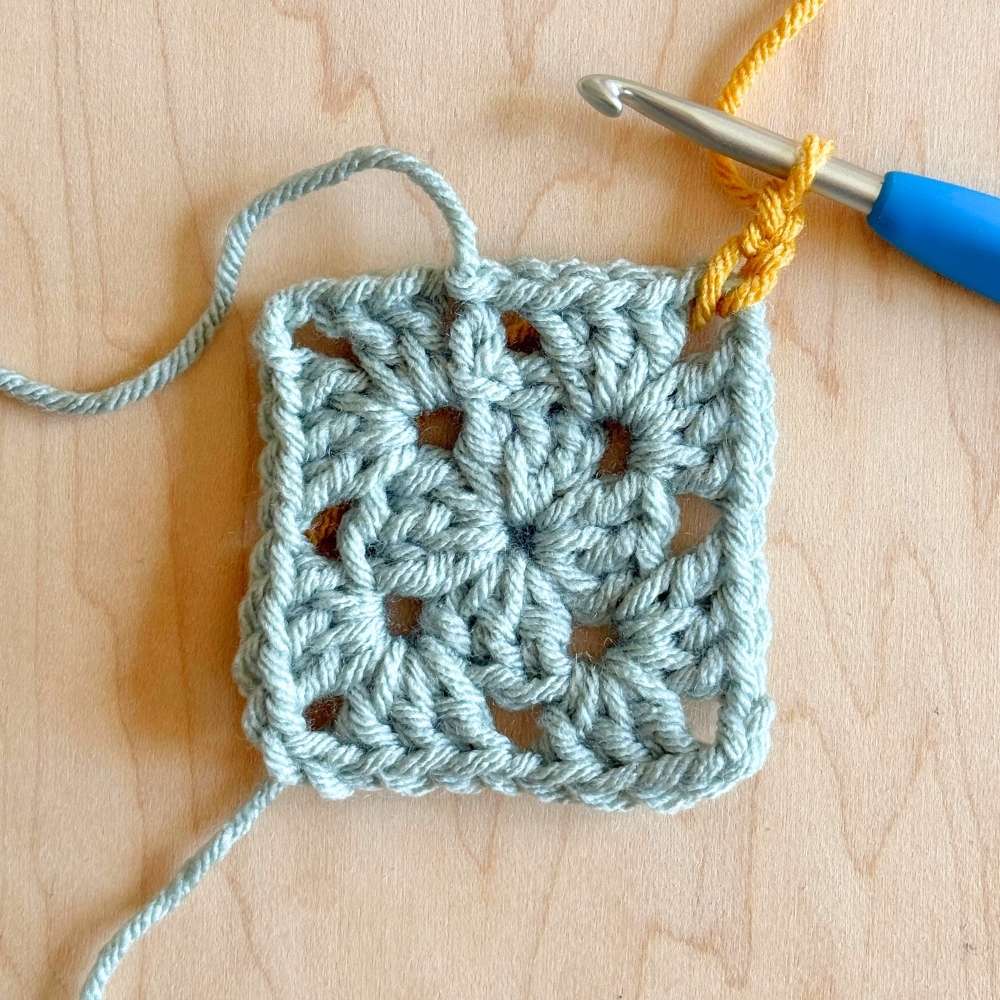
MULTIPLE COLORS
1: Once the final dc is completed from the previous round, sl st into 1st ch 3 and FO leaving a short tail.
2: Join color B in any corner from the previous round, ch 3 to begin the 1st corner cluster of the next round.
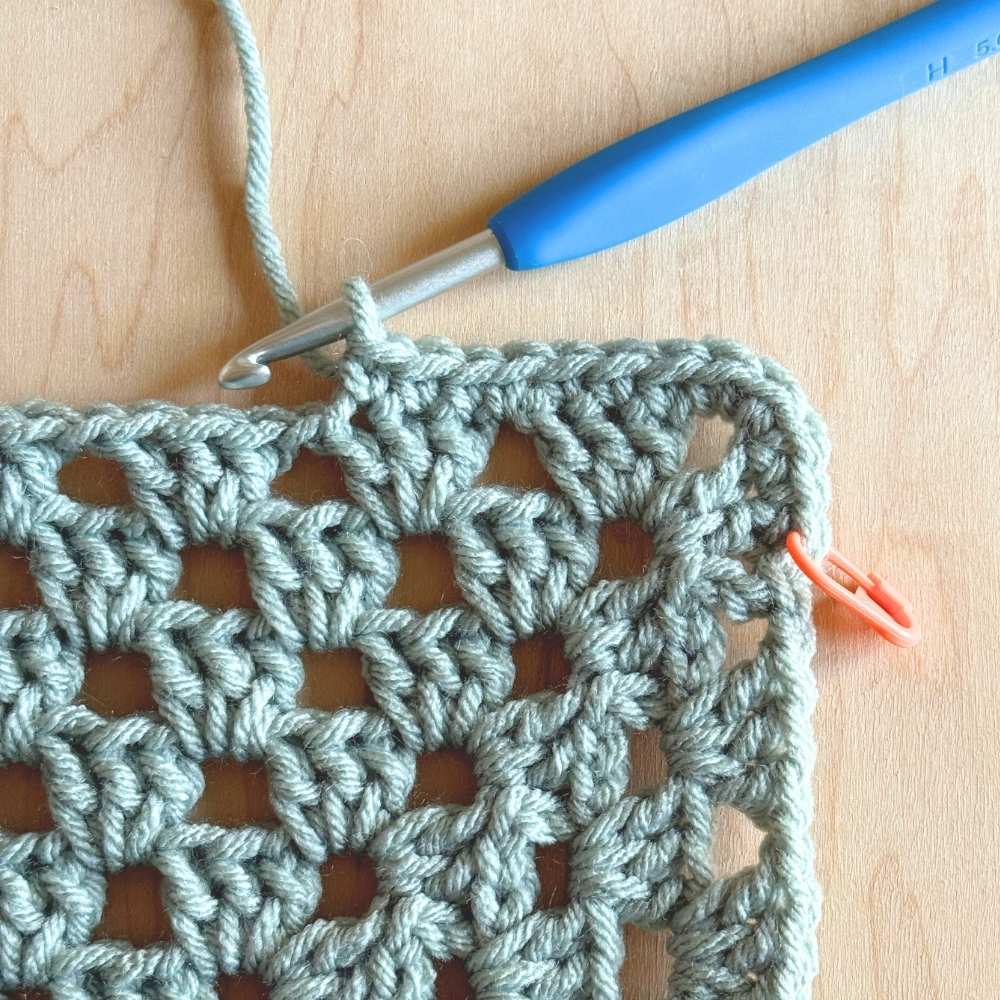
MAKING THE BLANKET:
Use a 5mm hook.
NOTE: These instructions are for a solid color blanket. Refer to Changing Colors section above if using different colors between rounds.
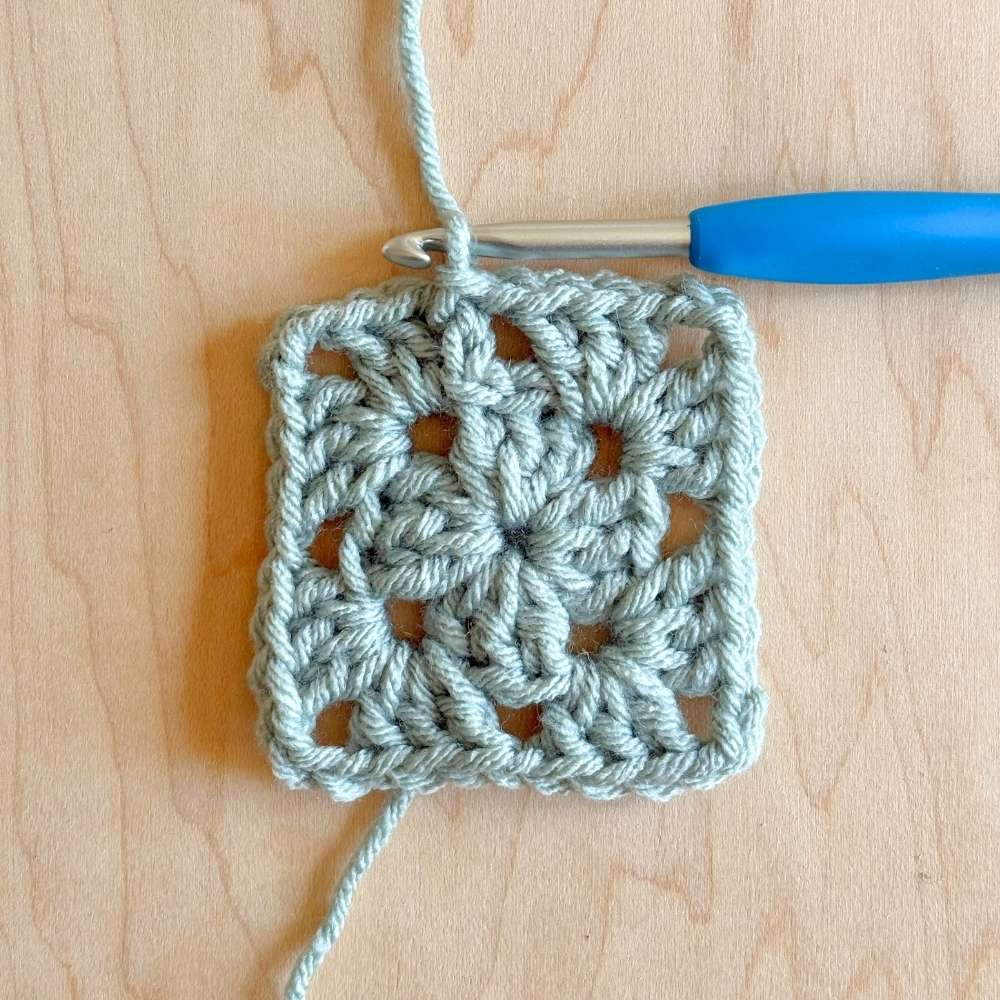
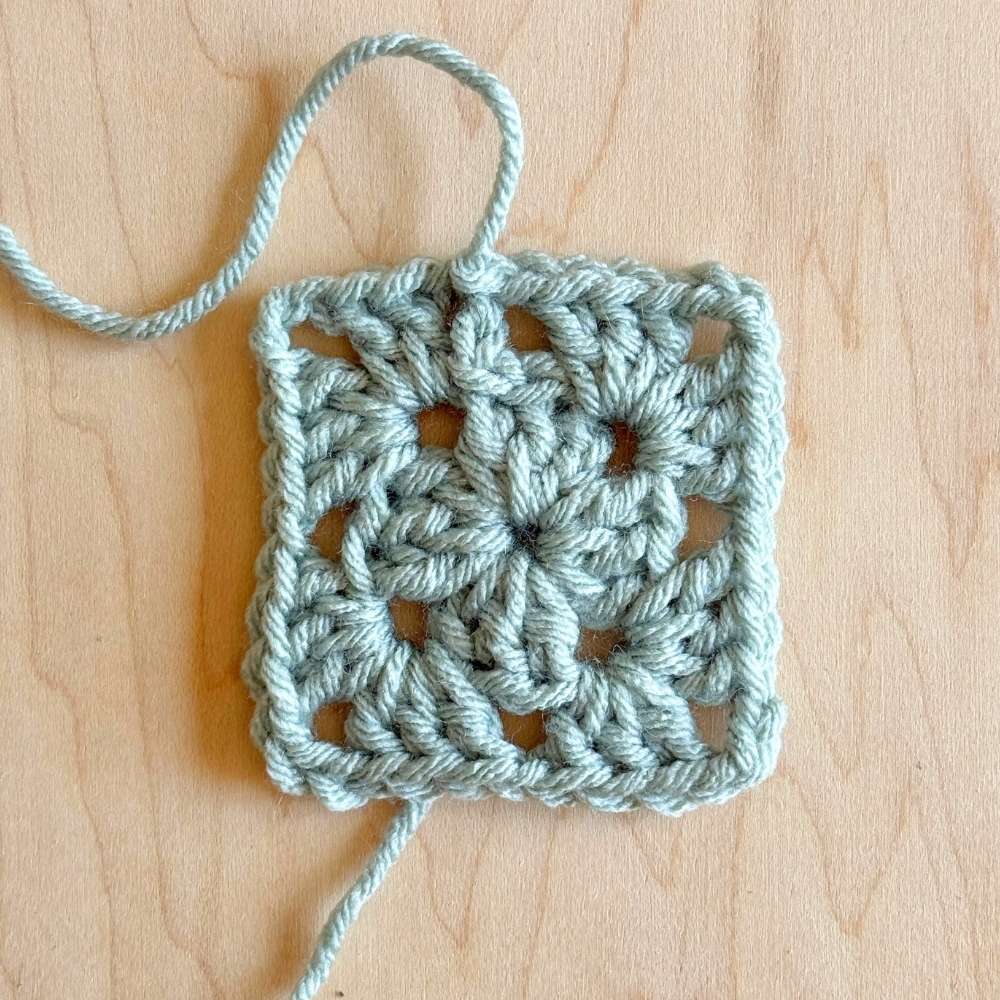
Round 1: Into a mc, and leaving an 18″ tail, ch 3, 2 dc, ch 2, (3 dc, ch 2) x 3, sl st into 1st ch 3, sl st into the top of the next 2 dc and into the next corner sp.
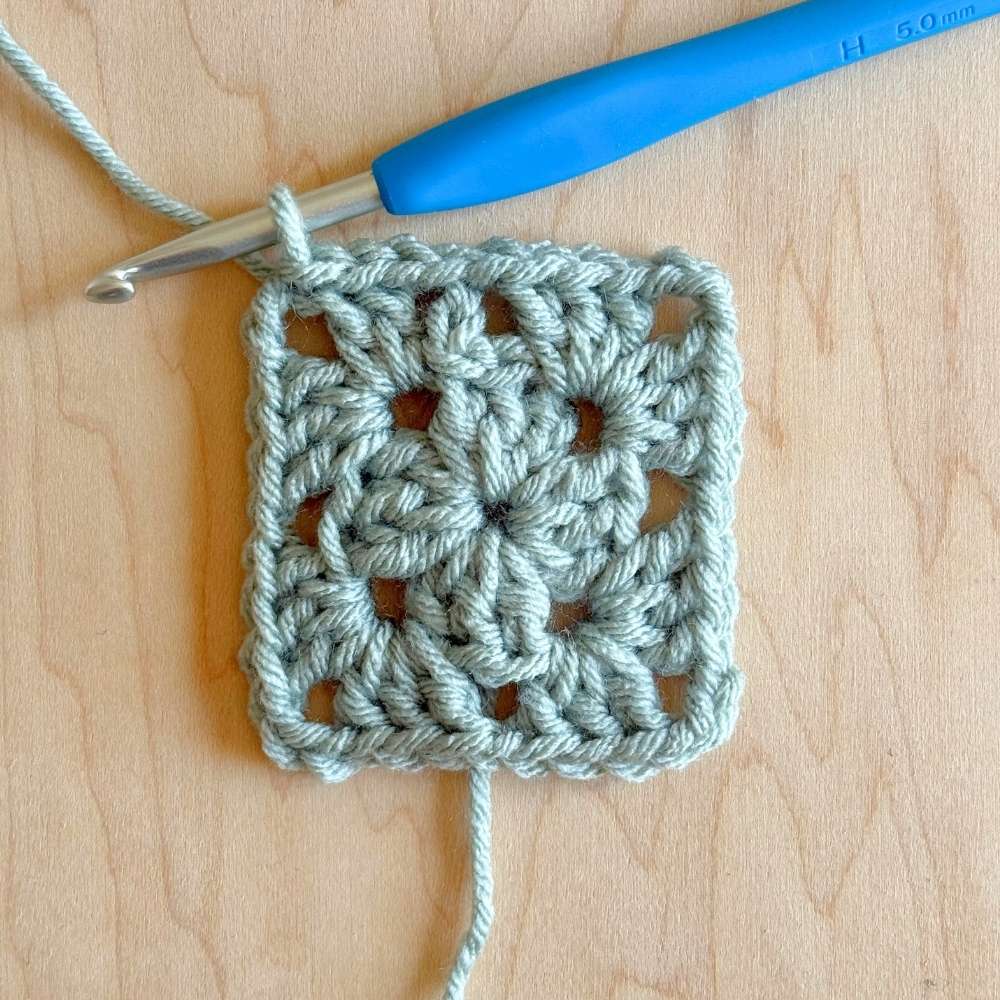
Round 2: Into corner sp, (ch 3, 2 dc, ch 3, 3 dc, ch 1). *Into next corner sp, (3 dc, ch 3, 3 dc, ch 1), repeat from * 2 more times. Sl st into 1st ch 3, sl st into the top of the next 2 dc and into the next corner sp.
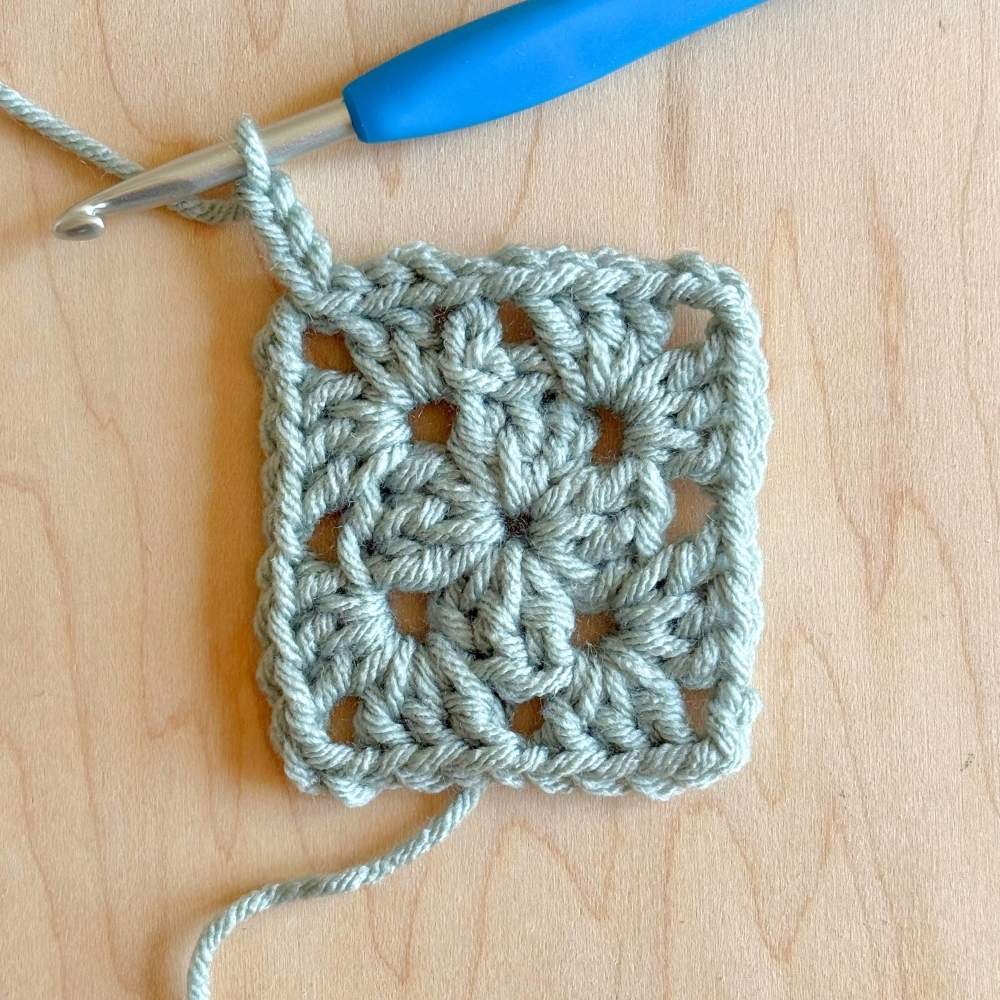
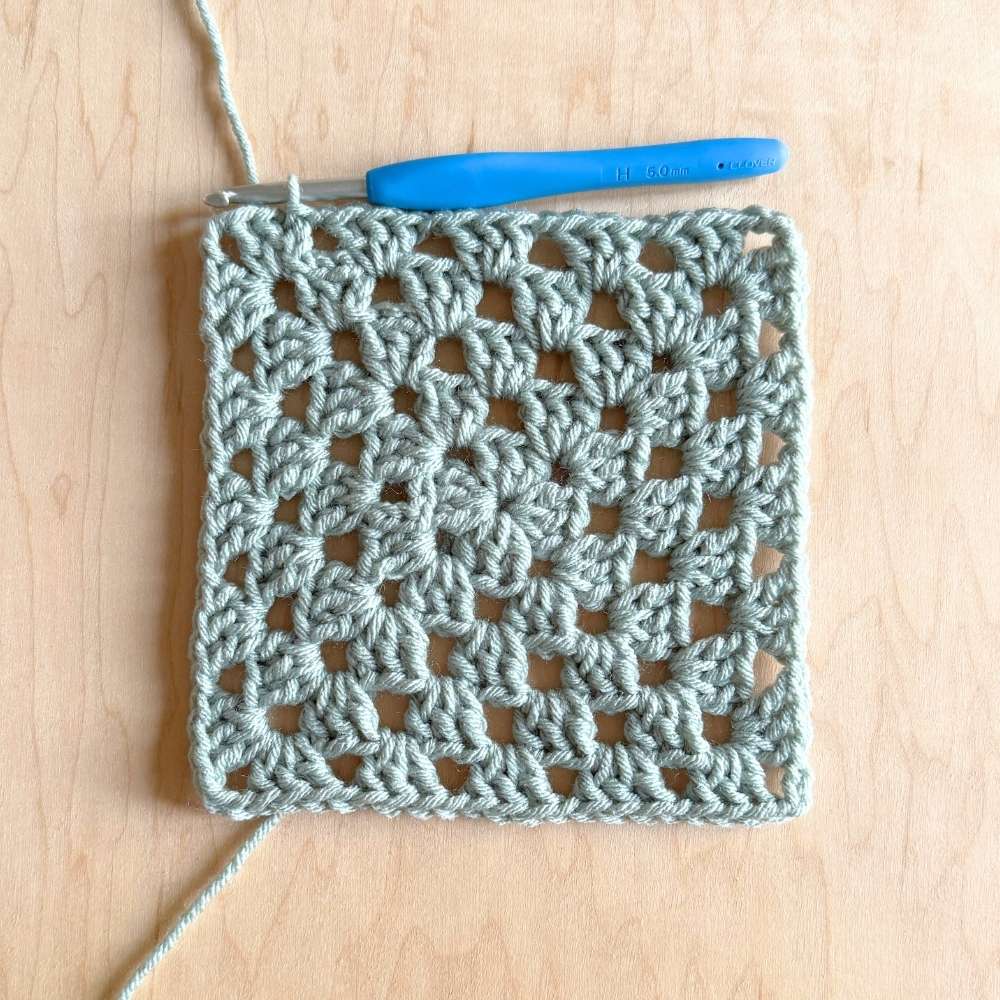
Round 3: Into corner sp, (ch 3, 2 dc, ch 3, 3 dc, ch 1), into next sp, (3 dc, ch 1). *Into next corner sp, (3 dc, ch 3, 3 dc, ch 1), into next sp, (3 dc, ch 1), repeat from * 2 more times. Sl st into 1st ch 3, sl st into the top of the next 2 dc and into the next corner sp.
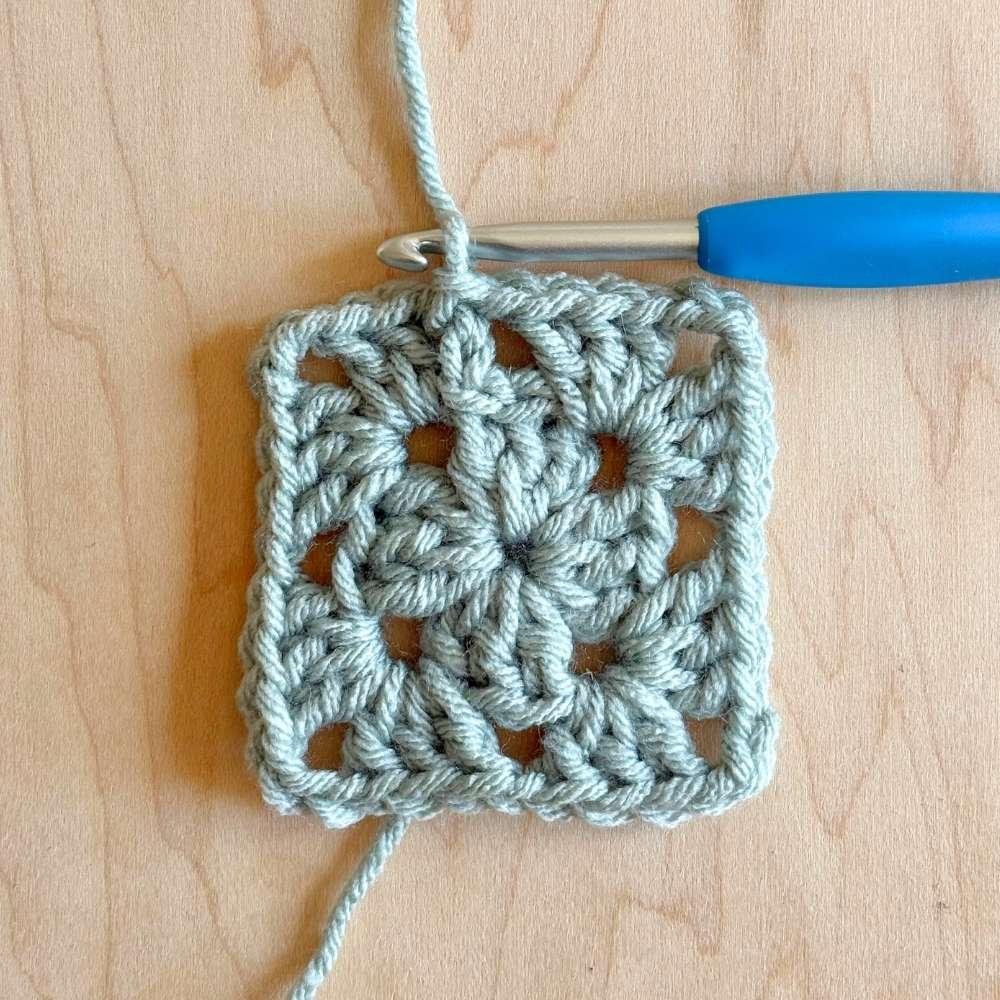
Round 4: Into corner sp, (ch 3, 2 dc, ch 3, 3 dc, ch 1), into next 2 sps, (3 dc, ch 1) in each. *Into next corner sp, (3 dc, ch 3, 3 dc, ch 1), into next 2 sps, (3 dc, ch 1), repeat from * 2 more times. Sl st into 1st ch 3, sl st into the top of the next 2 dc and into the next corner sp.
Round 5: Into corner sp, (ch 3, 2 dc, ch 3, 3 dc, ch 1), into next 3 sps, (3 dc, ch 1) in each. *Into next corner sp, (3 dc, ch 3, 3 dc, ch 1), into next 3 sps, (3 dc, ch 1), repeat from * 2 more times. Sl st into 1st ch 3, sl st into the top of the next 2 dc and into the next corner sp.
Round 6: Into corner sp, (ch 3, 2 dc, ch 3, 3 dc, ch 1), into next 4 sps, (3 dc, ch 1) in each. *Into next corner sp, (3 dc, ch 3, 3 dc, ch 1), into next 4 sps, (3 dc, ch 1), repeat from * 2 more times. Sl st into 1st ch 3, sl st into the top of the next 2 dc and into the next corner sp.
Round 7: Into corner sp, (ch 3, 2 dc, ch 3, 3 dc, ch 1), into next 5 sps, (3 dc, ch 1) in each. *Into next corner sp, (3 dc, ch 3, 3 dc, ch 1), into next 5 sps, (3 dc, ch 1), repeat from * 2 more times. Sl st into 1st ch 3, sl st into the top of the next 2 dc and into the next corner sp.
Round 8: Into corner sp, (ch 3, 2 dc, ch 3, 3 dc, ch 1), into next 6 sps, (3 dc, ch 1) in each. *Into next corner sp, (3 dc, ch 3, 3 dc, ch 1), into next 6 sps, (3 dc, ch 1), repeat from * 2 more times. Sl st into 1st ch 3, sl st into the top of the next 2 dc and into the next corner sp.
Round 9: Into corner sp, (ch 3, 2 dc, ch 3, 3 dc, ch 1), into next 7 sps, (3 dc, ch 1) in each. *Into next corner sp, (3 dc, ch 3, 3 dc, ch 1), into next 7 sps, (3 dc, ch 1), repeat from * 2 more times. Sl st into 1st ch 3, sl st into the top of the next 2 dc and into the next corner sp.
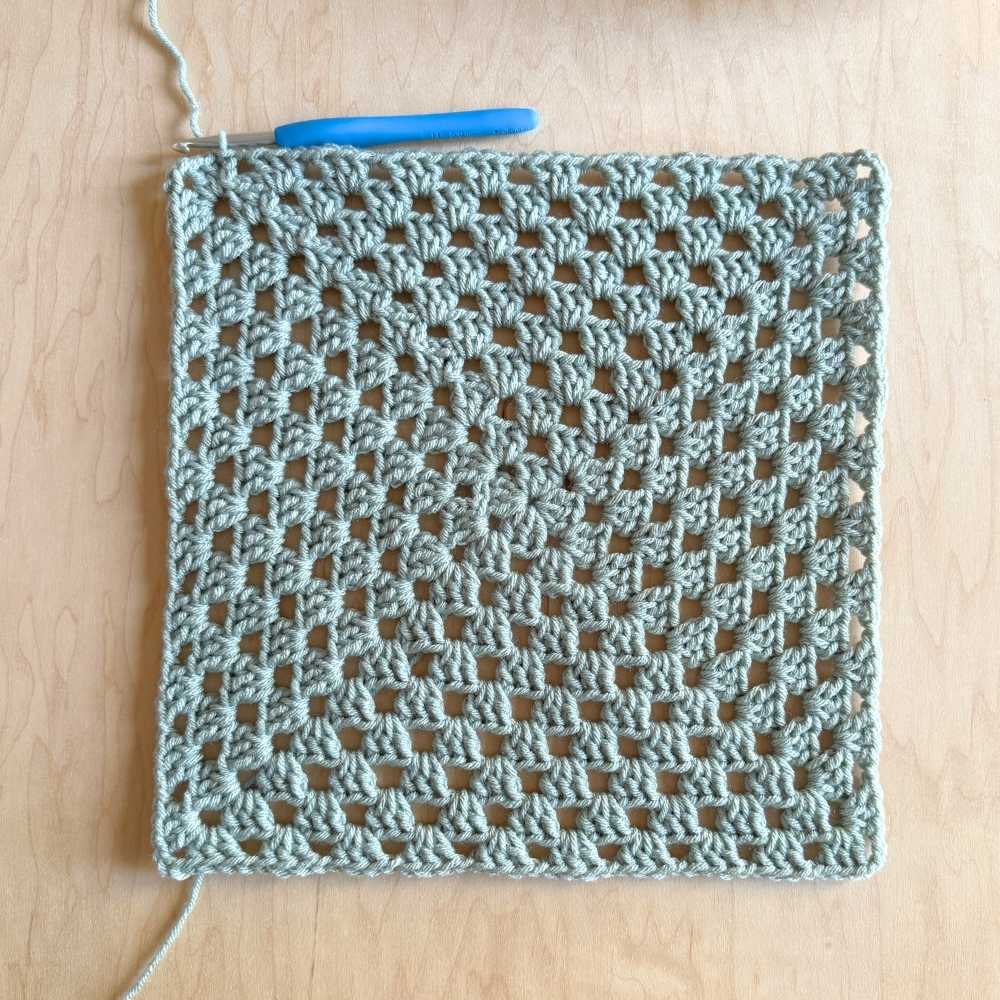
Round 10: Into corner sp, (ch 3, 2 dc, ch 3, 3 dc, ch 1), into next 8 sps, (3 dc, ch 1) in each. *Into next corner sp, (3 dc, ch 3, 3 dc, ch 1), into next 8 sps, (3 dc, ch 1), repeat from * 2 more times. Sl st into 1st ch 3.
Round 11: Ch 1, sc into tops of dc sts, working 2 sc into each corner sp and 1 sc into sps between 3 dc clusters.
Cut yarn leaving an 8″ tail and weave in ends.
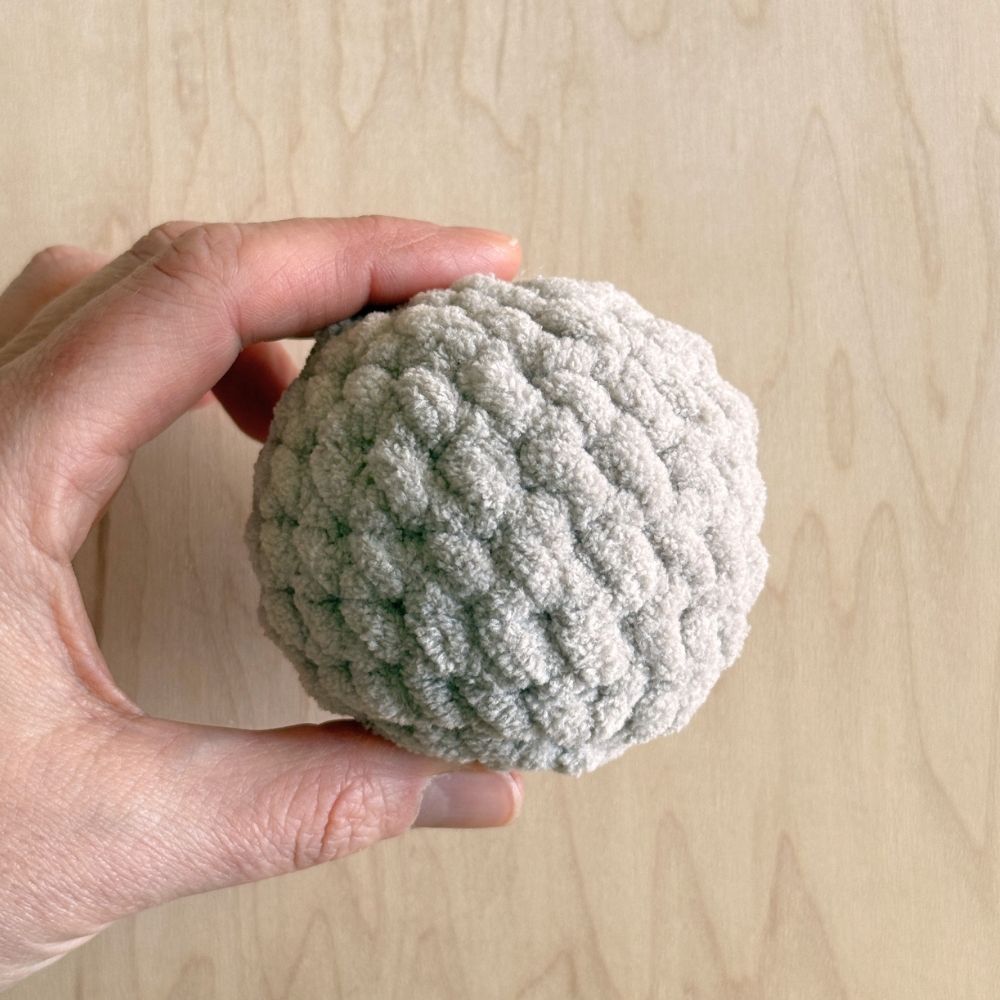
FABLE BABY HEAD MOD:
Use a 7mm hook.
- Start with 5 sc in a mc (5)
- Continue to Round 1 of the Head portion of your Fable Baby pattern (do not add safety eyes if adding embroidered eyes), attach ears as instructed.
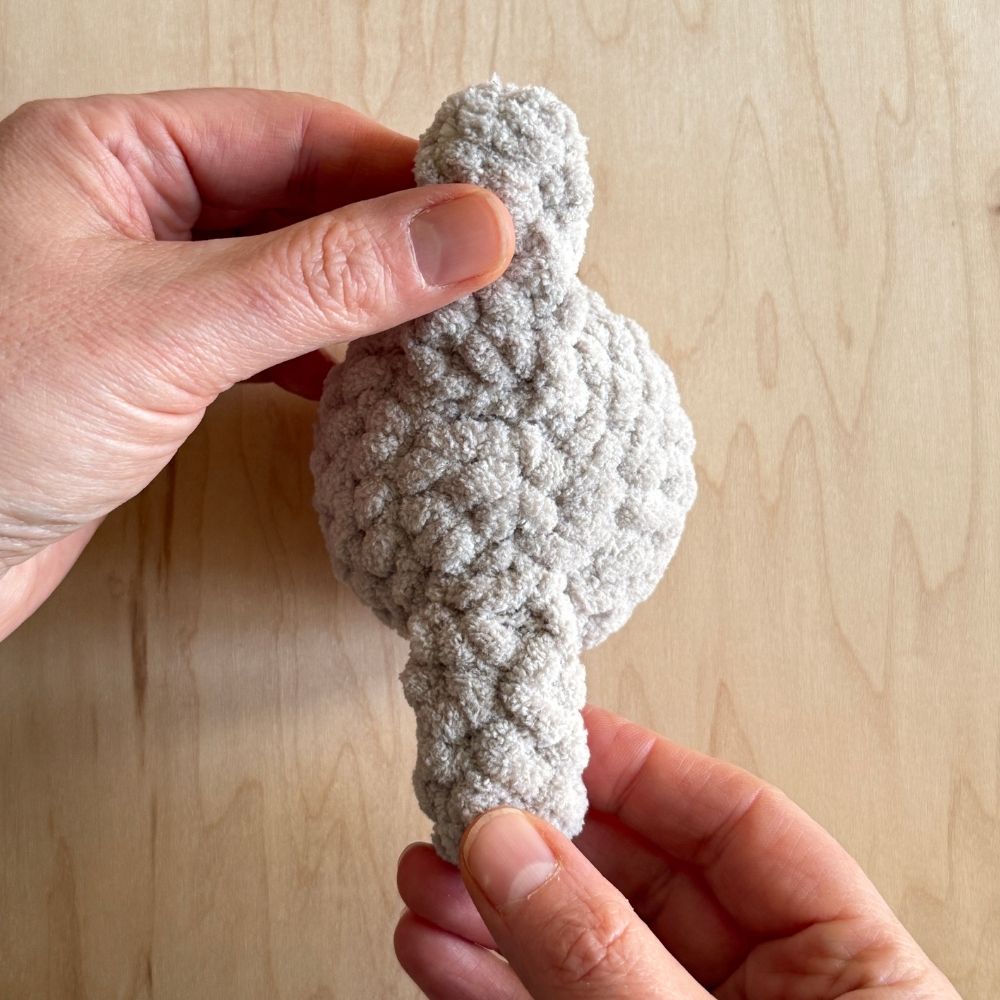
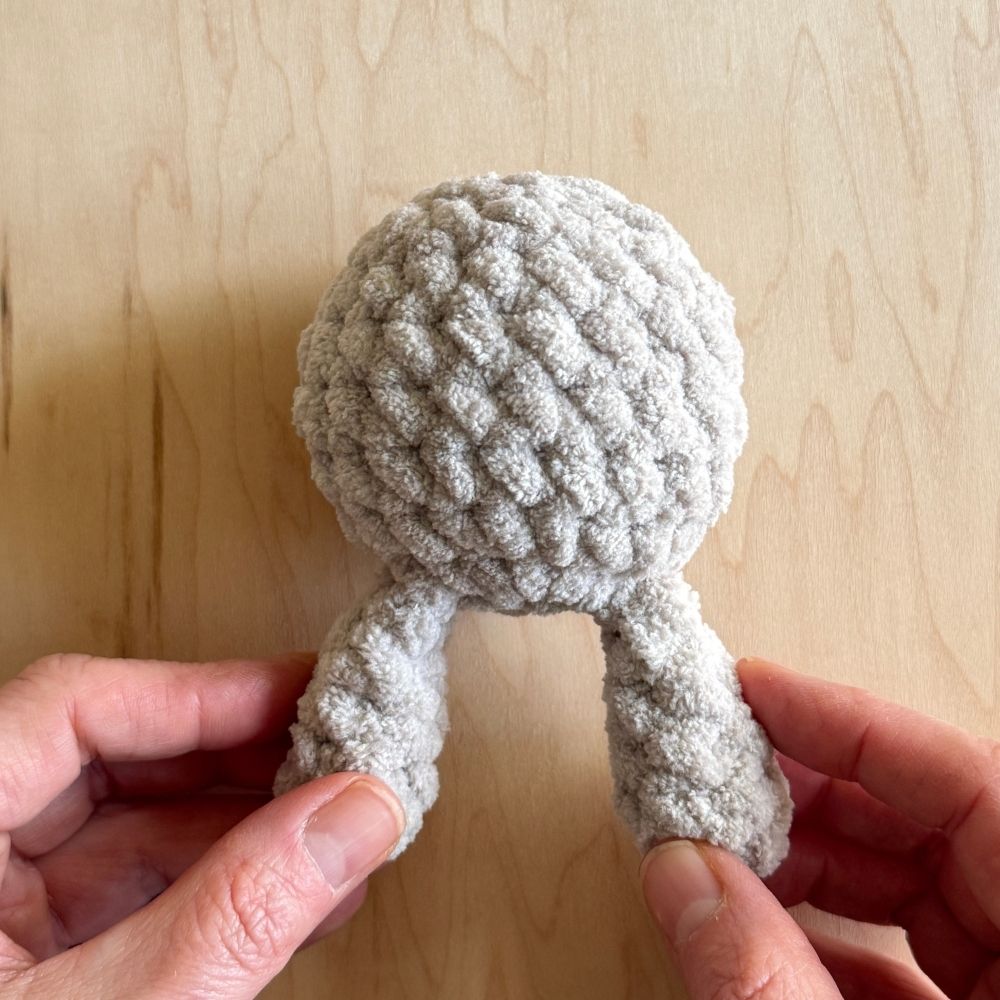
ATTACHING ARMS:
- Complete arms or wings as instructed from your Fable Baby pattern.
- Arms will be whipstitched onto either side of the base of the head between the mc and round 1.
EMBROIDERING EYES:
Check out this Embroidered Eyes Tutorial blog post for adding these sweet embroidered eyes on your Blanket Baby Lovey!
ATTACHING THE HEAD TO THE BLANKET:
- Place the long yarn tail from round 1 of the blanket onto a yarn needle and feed it through to the right side.
- Fold the blanket into a triangle, and place your Fable Baby head and arms at the top center.
- Whipstitch round 1 of the blanket to the magic circle of the Fable head together securely, spanning the width between the arms. Weave end into the underside of the blanket.
Your Blanket Baby Lovey is all finished! I hope you loved making these as much as I have. I can’t seem to stop making them!
Don’t forget – if you prefer an ad-free, downloadable PDF pattern, you can pick up a copy of the Blanket Baby Lovey Mod in my shop or on Etsy!
Happy Making!
Check out my other popular blog posts here:
Carrot Sleeping Bag Crochet Pattern
If you’d like to stay up-to-date with my latest blog posts and free patterns, sign up HERE for my newsletter!
All patterns, designs and photographs included in this blog post are property of Oak and Marlow. This pattern is for personal use only and may not be sold, distributed or transferred to any other person or website. Handmade items produced with this pattern may be sold as long as credit is given to the designer – Oak and Marlow. Copyright 2026.